A Four Tech Co RSW35 Radio Wireless Wheel Mouse User Manual UserMan
A Four Tech Co Ltd Radio Wireless Wheel Mouse UserMan
UserManual.wiki
>
A Four Tech Co
>
RSW35 User Manual
users manual
Navigation menu
Upload a User Manual
Namespaces
Wiki Guide
HTML
PDF
Info
Views
User Manual
Discussion / Help
Navigation

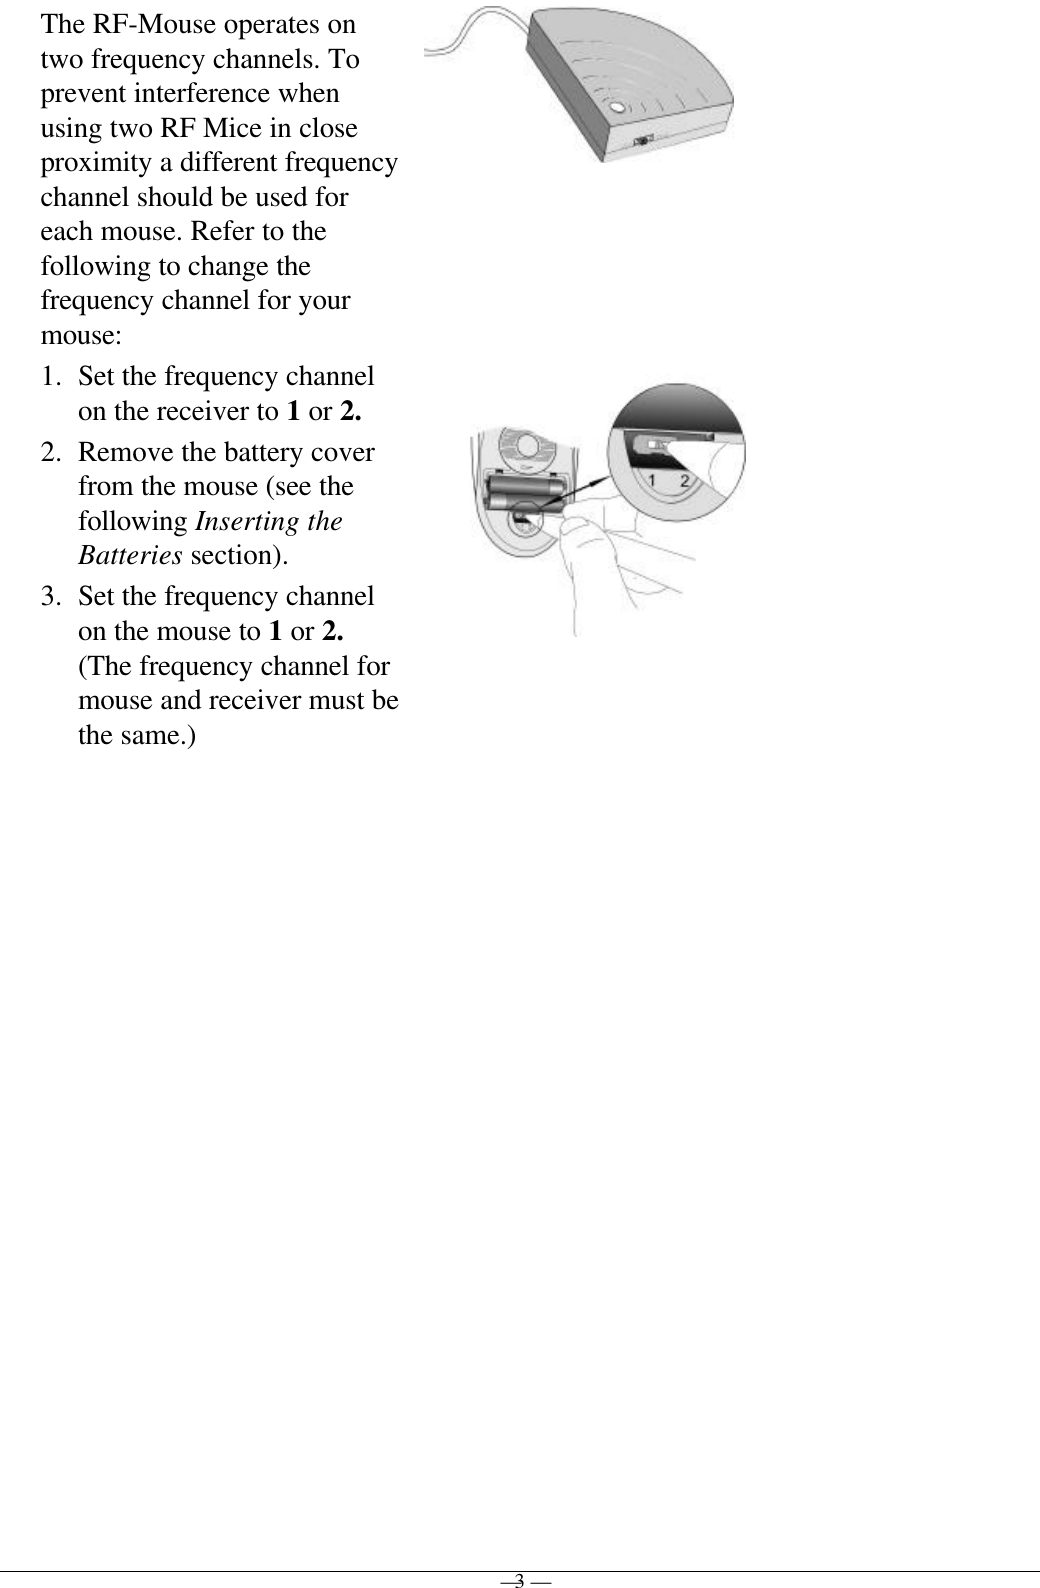
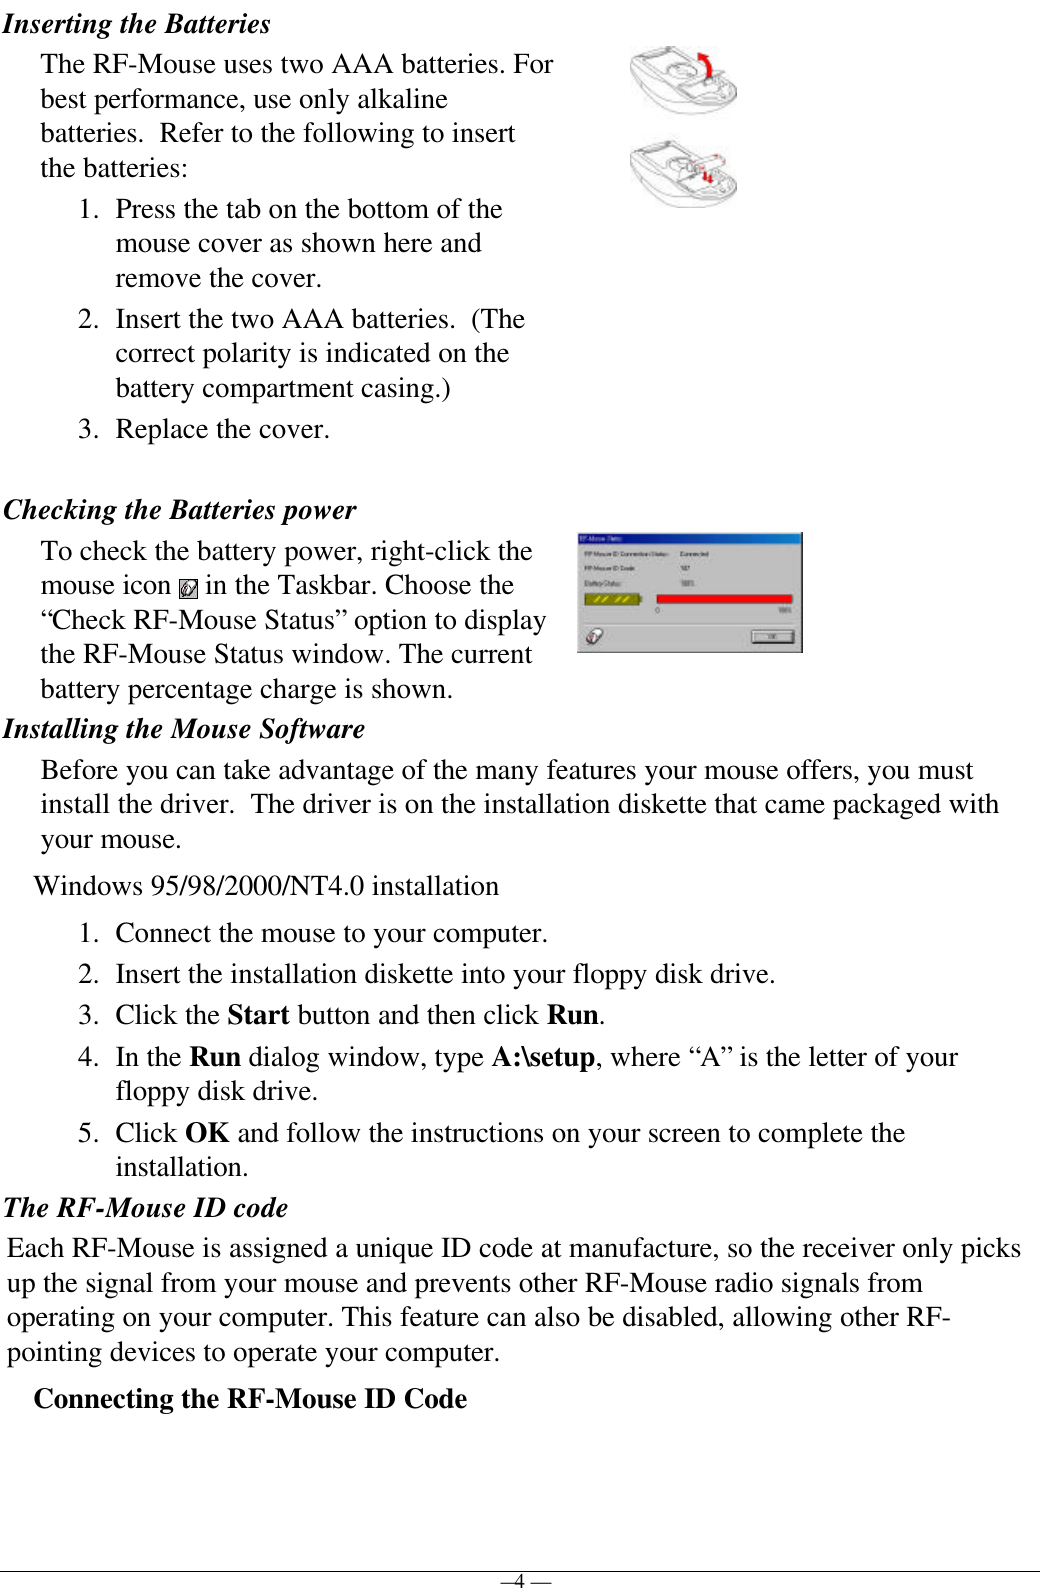
![— 5 —When the driver installation is finished yourcomputer reboots and the RF-Mousewindow (shown on the right) appears.CONNECT ID: Move the RF-Mouse for afew seconds to establish a connection, thenclick Connect ID. The unique ID code ofyour mouse is recognized and another RFpointing device will not function on yourcomputer.Exit: Click Exit if no other RF pointingdevices are within 3 meters range or if youwant other RF pointing devices to be able toaccess your computer.Changing the RF-Mouse ID CodeYou can use a new RF-Mouse on your computer without changing the Radio receiver;you just need to change the ID code. Refer to the following:1. Press [Shift + Alt + F11] or [Shift + Alt + F12] to call up the RF-Mouse ID Codewindow.2. Move the RF-Mouse for a few seconds to establish a connection, then click ConnectID.3. The new ID code is Connected and the RF-Mouse window closes.4. Click Exit to close the RF-Mouse ID code window.Identifying ComponentsThe mouse is designed to fit snugly into your hand. The scrollwheel is positioned on the top allowing for easy operation withthe index finger. Standard mouse buttons are positioned to eitherside of the scroll wheels and can be reached comfortably with theindex and ring fingers. A third button is placed under the verticalwheel and can be easily clicked by pushing down on the wheel.The following pages will tell you how to configure the scrollwheels and buttons to suit your specific needs.Cleaning the MouseClean the mouse regularly to ensure efficient operation. Refer to the following:](https://usermanual.wiki/A-Four-Tech-Co/RSW35/User-Guide-146414-Page-6.png)

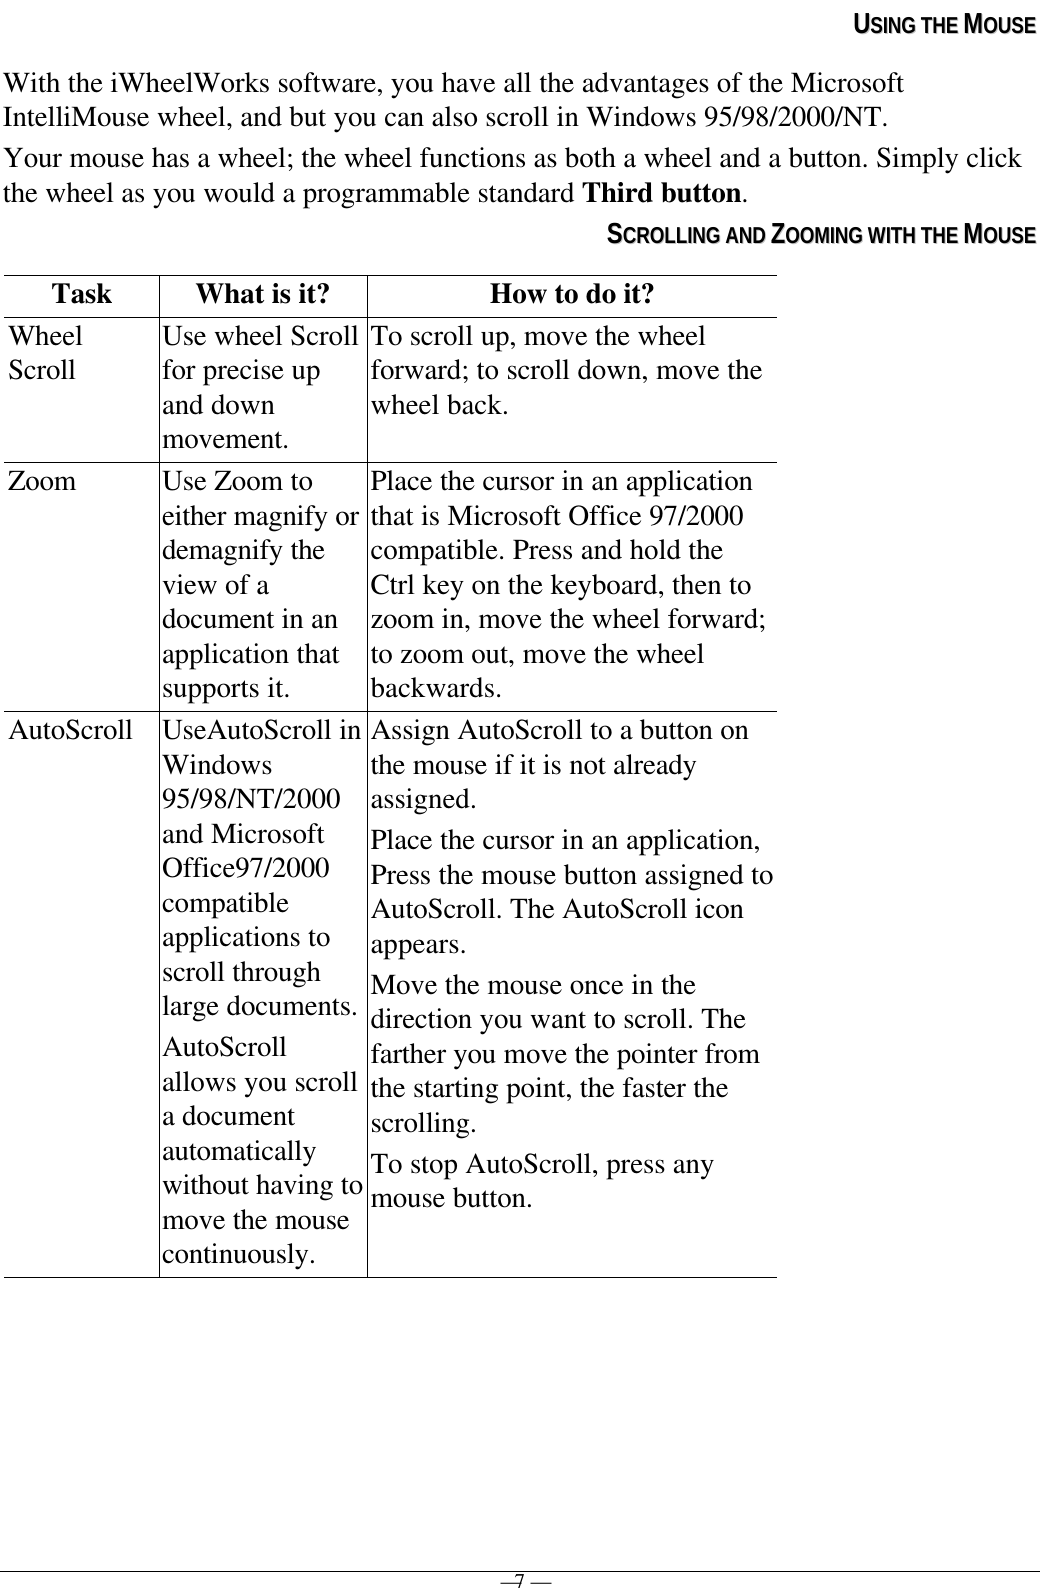
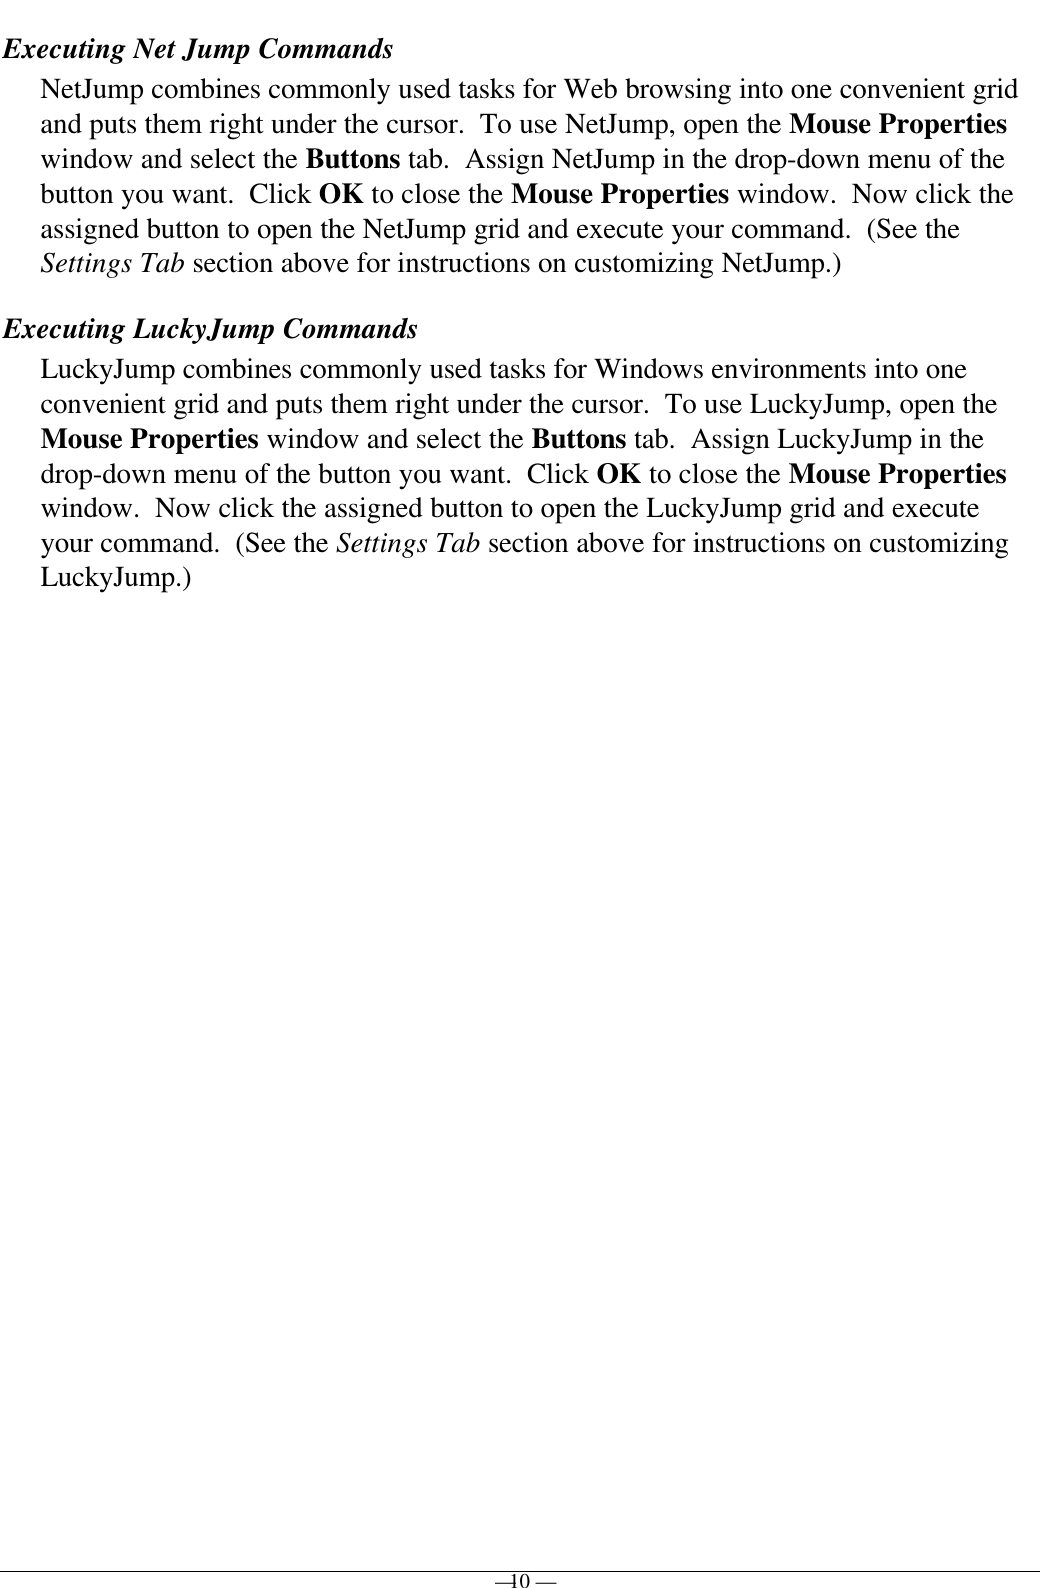
![— 8 — MMOOUUSSEE PPRROOPPEERRTTIIEESS SSEETTTTIINNGGSSFrom the Mouse Properties window you cancustomize many settings for your mouse includingbutton assignments, scroll wheels and cursormovement. To open the Mouse Propertieswindow double-click on the mouse icon in thesystem tray. The Mouse Properties window hassix tabs that are described below.SystemTrayButtons TabButton Assignments: Click the down arrow to select thepreferred function for each button. (See the Settings Tab formore information.)Double Click Speed: Increase the speed for executing adouble-click.Button Configuration: Configure your mouse for left- orright-hand use. The default setting for buttons 1 and 2 will bereversed.Pointers TabThe Pointers tab lets you change the way the cursor appears.Click the down arrow under Scheme and choose the settingyou want. The available pointers for each scheme are shownin the pane below. You can browse to additional pointers,then create your own scheme using the Save As button.Motion TabPointer Speed: Lets you adjust how fast the cursor moves onthe screen.SnapTo Button: Check this box to automatically have thecursor move to the default button in each new dialog box orwindow.Sonar: When this box is checked, pressing and releasing the[Ctrl] key will highlight the cursor.Trails: Check this box when you want your cursor to displaypointer trails. This option is useful when using an LCDdisplay that can make the cursor difficult to see.Settings Tab](https://usermanual.wiki/A-Four-Tech-Co/RSW35/User-Guide-146414-Page-9.png)