AMOI Electronics CA8A GSM Tri-band Digital Mobile Phone User Manual ver 3
AMOI Electronics Co., Ltd. GSM Tri-band Digital Mobile Phone ver 3
UserManual.wiki
>
AMOI Electronics
>
CA8A User Manual
Users Manual
Navigation menu
Upload a User Manual
Namespaces
Wiki Guide
HTML
PDF
Info
Views
User Manual
Discussion / Help
Navigation


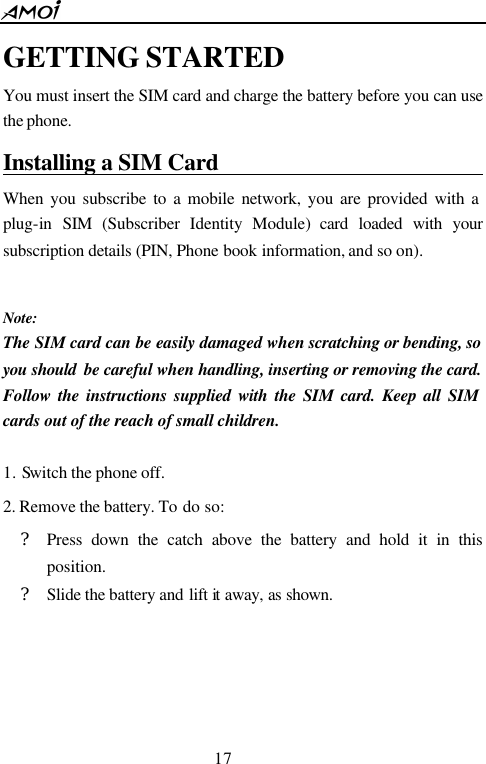
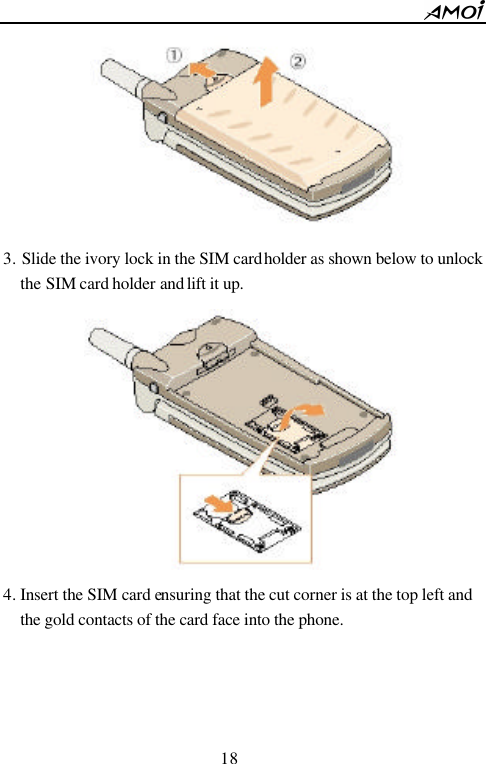

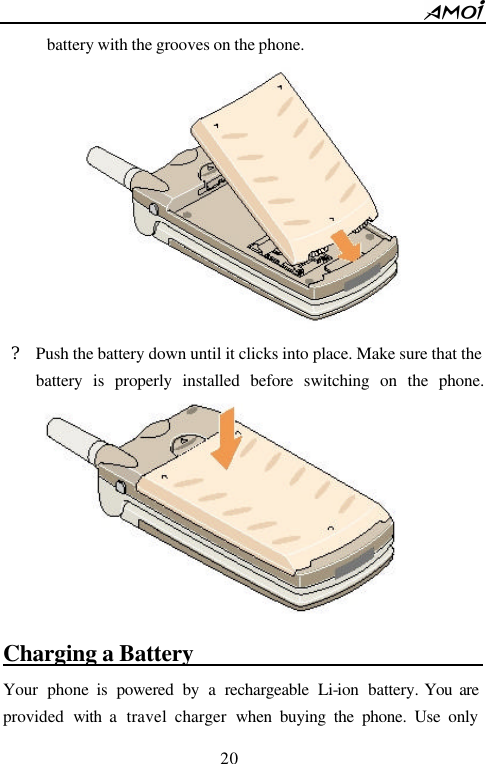
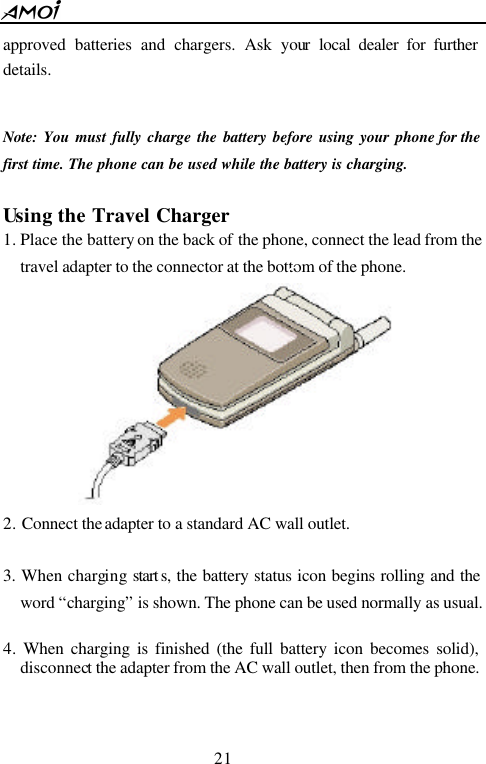
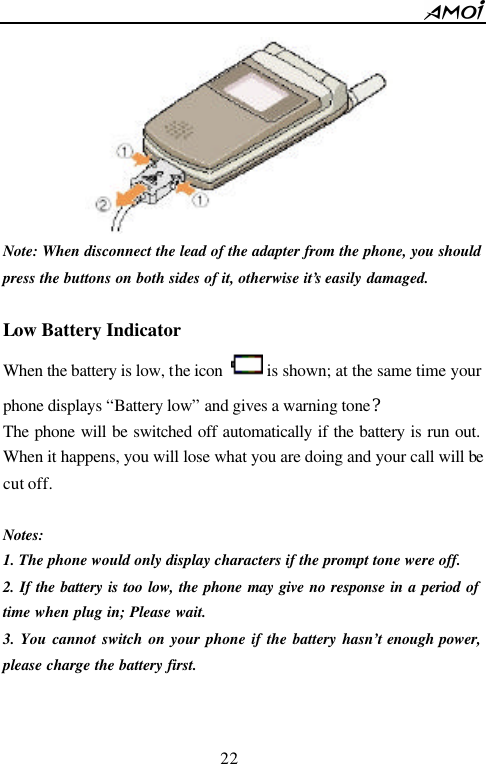

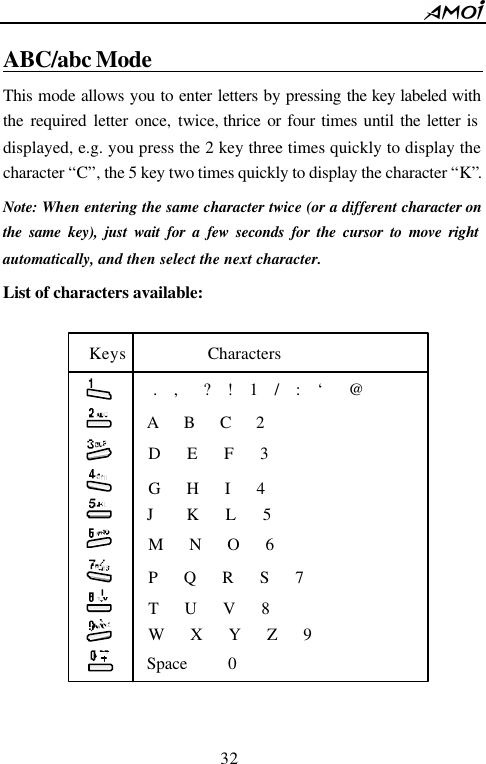
![33 Symbol . , : ; ? ! “ ‘( ) * + - / = <> # % _ [ ] @ {}$ ~ ^ \ ` | 1 2 3 4 5 6 7 8 Back 123 (Numeric) Mode 123 indicates numeric mode. It enables you to enter numbers into a text message. Press keys corresponding to the desired digits, and manually switch back to the text entry mode of choice. Insert Symbol 1. Press the OK key in the text entry mode; 2. Press the • or ‚ key to select the column which including the symbol mark you want to use; 3. Press the corresponding numeric key to insert the desired symbol mark. Then the phone automatically switches back to the text entry mode used just prior to selecting Symbols mode. Note: When in the English, ABC or abc mode, you can enter some often used symbol by pressing 1 numeric key one time or more times.](https://usermanual.wiki/AMOI-Electronics/CA8A/User-Guide-526528-Page-35.png)