AMT SATNOVA Digital Satellite Receiver User Manual manual pt 3
AMT Co., Ltd. Digital Satellite Receiver manual pt 3
UserManual.wiki
>
AMT
>
SATNOVA User Manual
>
manual pt 3
Contents
1.
manual pt 1
2.
manual pt 2
3.
manual pt 3
manual pt 3
Navigation menu
Upload a User Manual
Namespaces
Wiki Guide
HTML
PDF
Info
Views
User Manual
Discussion / Help
Navigation
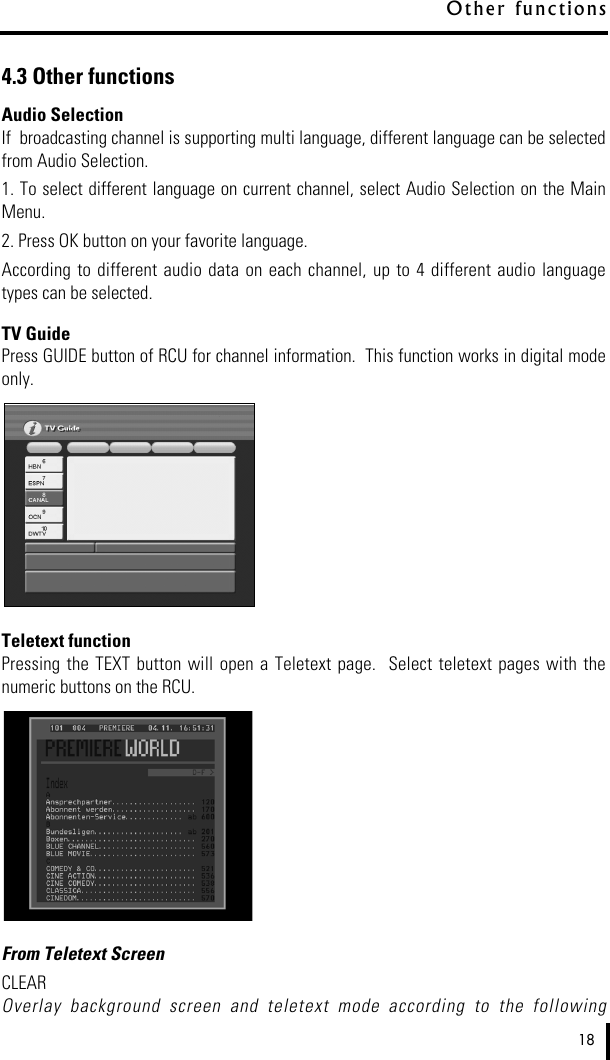
![order(transparency - Teletext only - Opacity)INFOHold of current Teletext pagePAGE UP/DOWNMove previous and next page in oneCH UP/DOWNMove previous and next page in oneFAV/TV/RADIO/F.BK/LANG/AUDIO100/200/300/400/500/600 page level0 ~ 9 Select Teletext pageEXITExit teletext modeClock Function- From the Front PannelMenu buttonThe clock shows 12:00 o’clock on the front panel when the power is off. If user pressMAIN button, the 12:00 o’clock is on and off continually and then user can set up thetime using the VOL, CH, OK buttons. If user press MENU button again, the setting isfinished and the time works regularly.Channel buttonThis CH allows user to set up the time.Volume buttonThis VOL allows user to set up the minute.OK buttonThis OK button allows user to finish the setup of time. If user press OK button aftersetting up time, the on and off is gone on the front panel and the time works regularly.[ Screen Division Function ]You can check other channels (still picture mode) while you are watching a specific alivechannel with this function.1. In the full screen mode, press "OSD” key in the Remote Control then you will get4 divided pictures. 19S e t t i ngs and O p e r a t i o n s](https://usermanual.wiki/AMT/SATNOVA.manual-pt-3/User-Guide-655167-Page-2.png)