Action Electronics 9R3ODM51331 Overhead With Integrated DVD/USB/HDMI(HD) System User Manual
Action Electronics Co.,Ltd. Overhead With Integrated DVD/USB/HDMI(HD) System
UserManual.wiki
>
Action Electronics
>
9R3ODM51331 User Manual
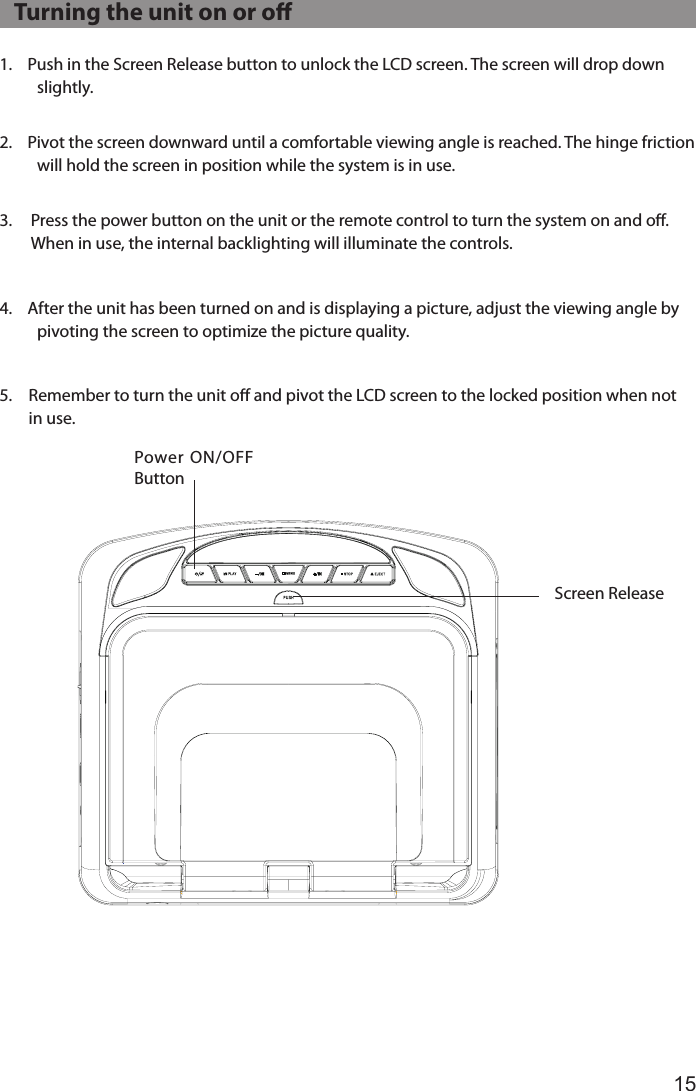
User manual
Navigation menu
Upload a User Manual
Namespaces
Wiki Guide
HTML
PDF
Info
Views
User Manual
Discussion / Help
Navigation