Anam Electronics DSB200 Bluetooth Speaker User Manual
Anam Electronics Co., Ltd. Bluetooth Speaker
UserManual.wiki
>
Anam Electronics
>
DSB200 User Manual
User Manual
Navigation menu
Upload a User Manual
Namespaces
Wiki Guide
HTML
PDF
Info
Views
User Manual
Discussion / Help
Navigation

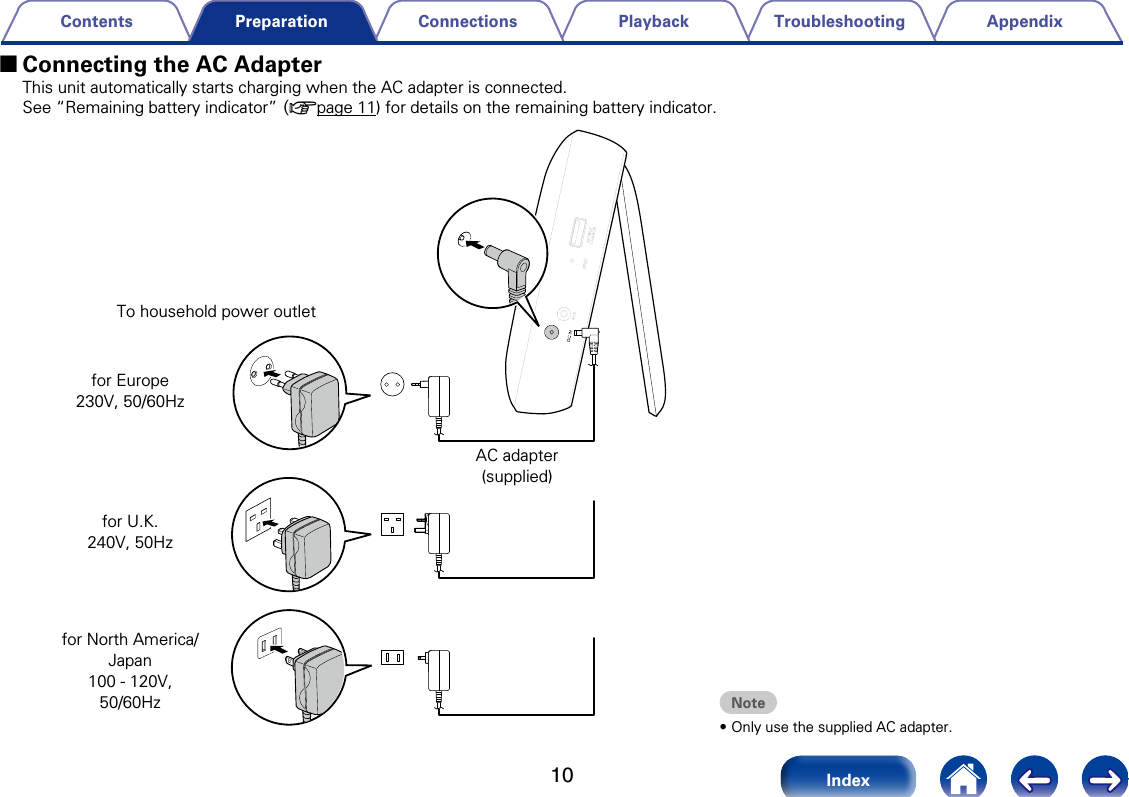
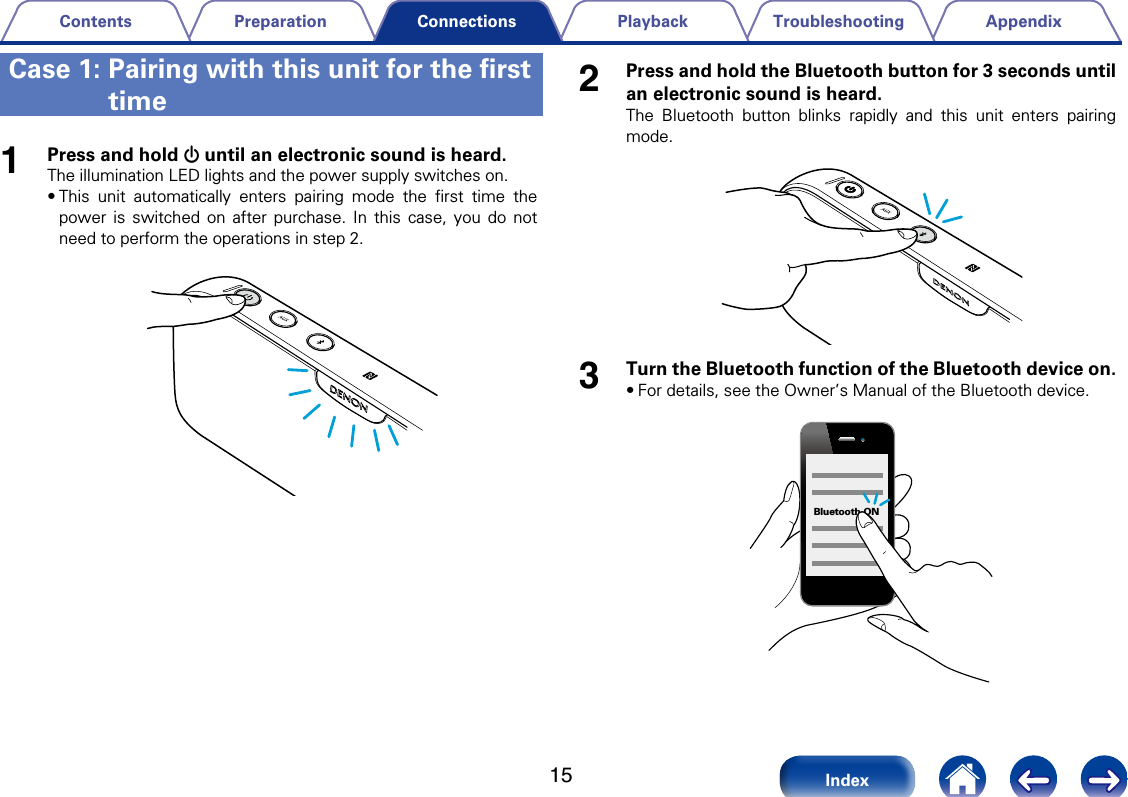
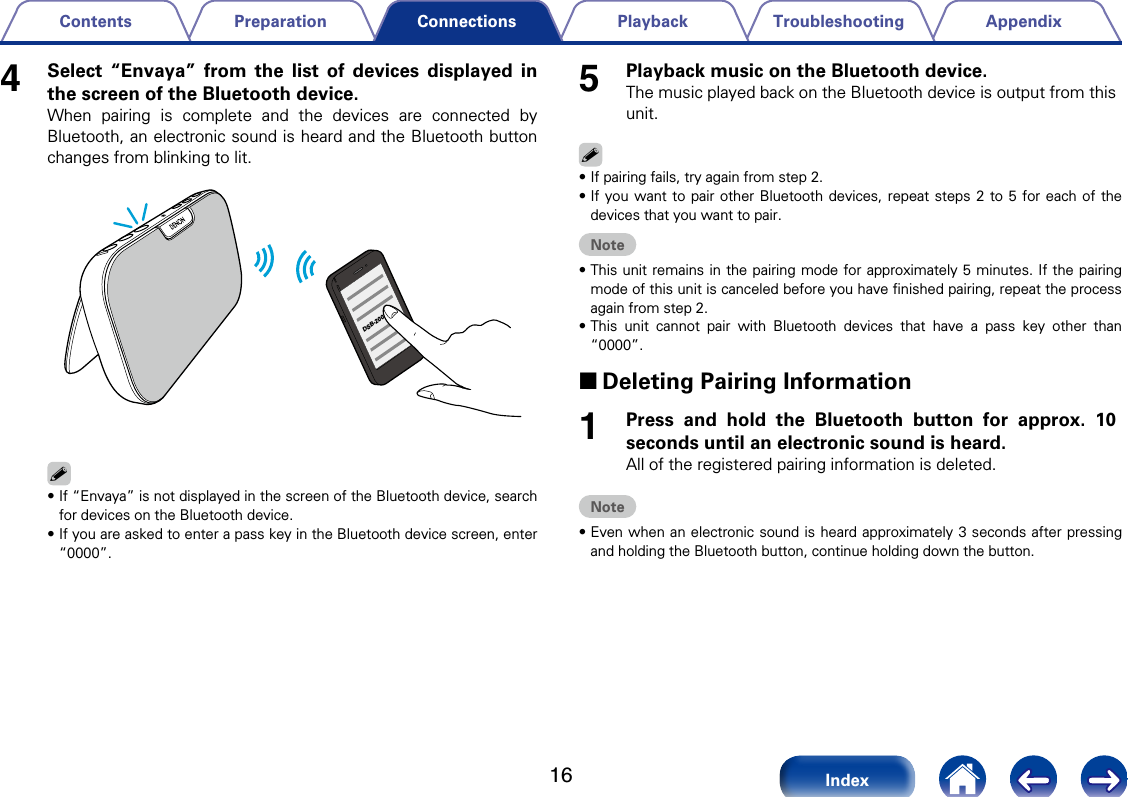
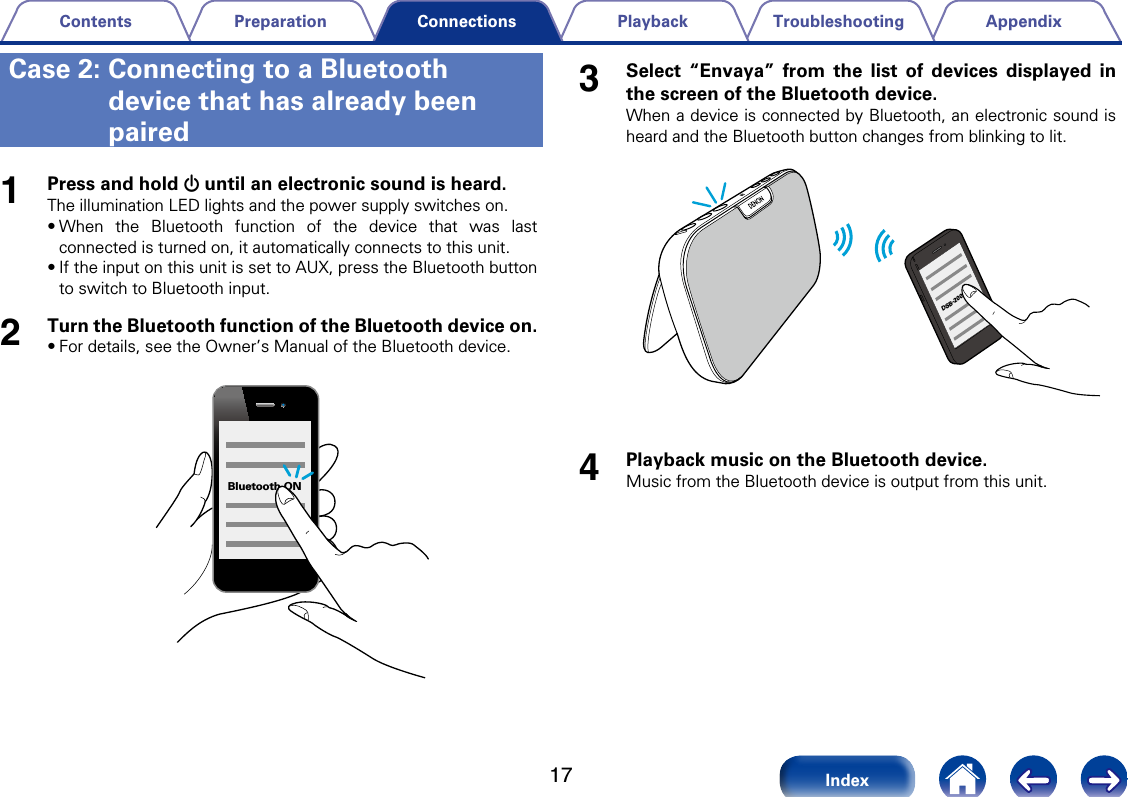
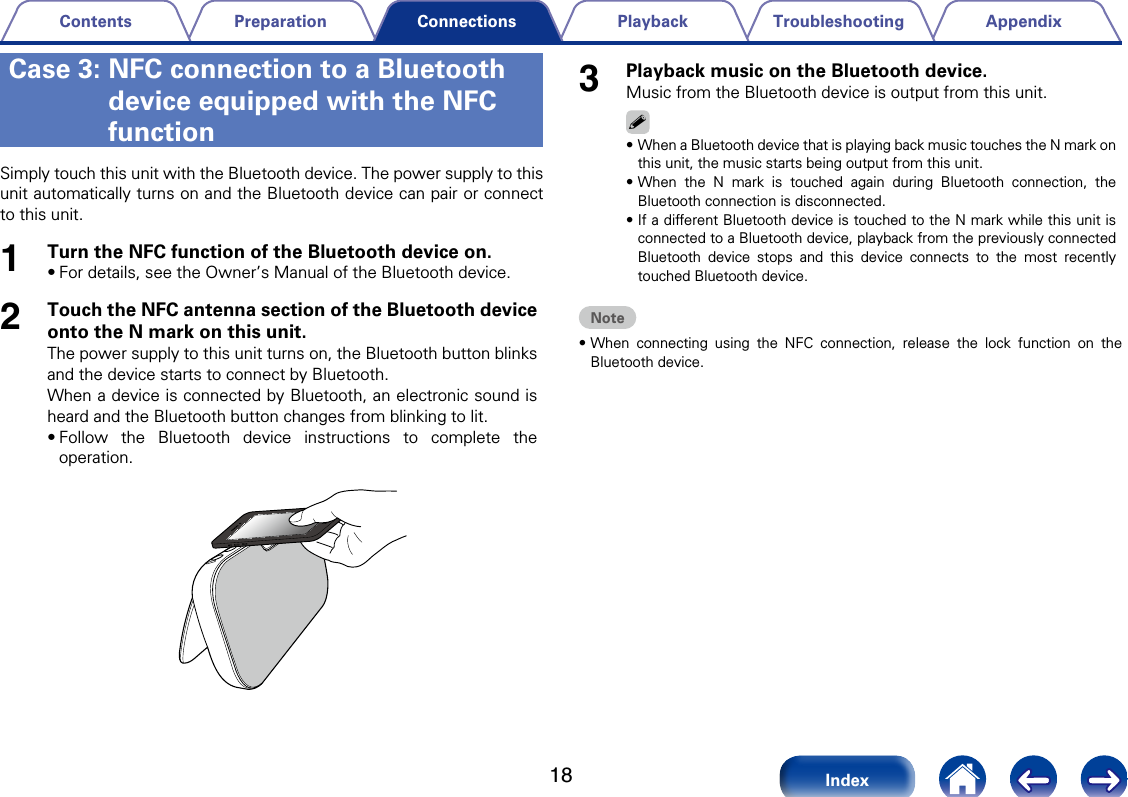
![9AppendixTroubleshootingPlaybackConnectionsContentsIndexPreparationCharging this UnitThis unit can be charged for use. It can also be used with the supplied AC adapter connected to a wall socket. Before using for the first time, be sure to fully charge this unit.%•It takes approximately O hours to fully charge the battery when it is completely discharged.•This unit can be used for approximately O hours when the battery is fully charged. 2Replacing the AC Adapter Plug Attach the adapter plug that fits the power socket in your region as shown in the figure.[Removing a replacement AC adapter plug]While pressing the q button, slide in the direction of the arrow to remove.q[Attaching a replacement AC adapter plug]Push in the direction of the arrow until a “click” sound is heard.Charging](https://usermanual.wiki/Anam-Electronics/DSB200/User-Guide-2203836-Page-10.png)