BOOKEEN CYBOY10 Cybook Odyssey User Manual FCC Statement
BOOKEEN Cybook Odyssey FCC Statement
UserManual.wiki
>
BOOKEEN
>
CYBOY10 User Manual
User manual
Navigation menu
Upload a User Manual
Namespaces
Wiki Guide
HTML
PDF
Info
Views
User Manual
Discussion / Help
Navigation

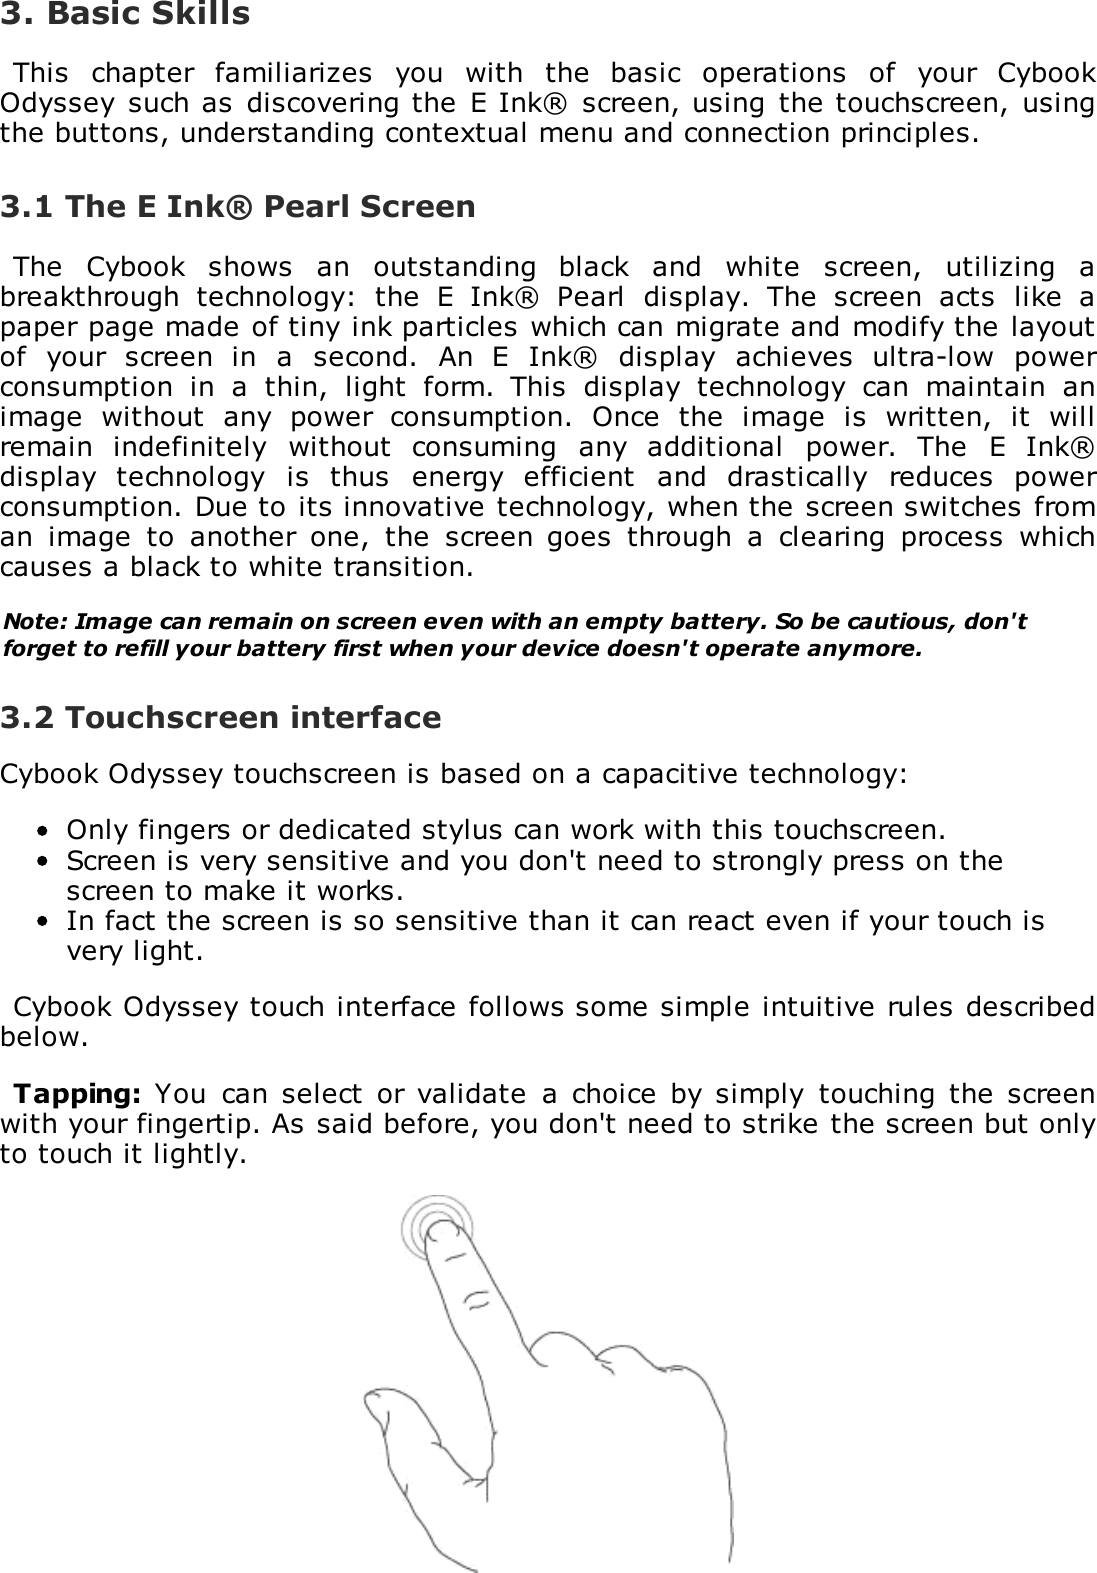
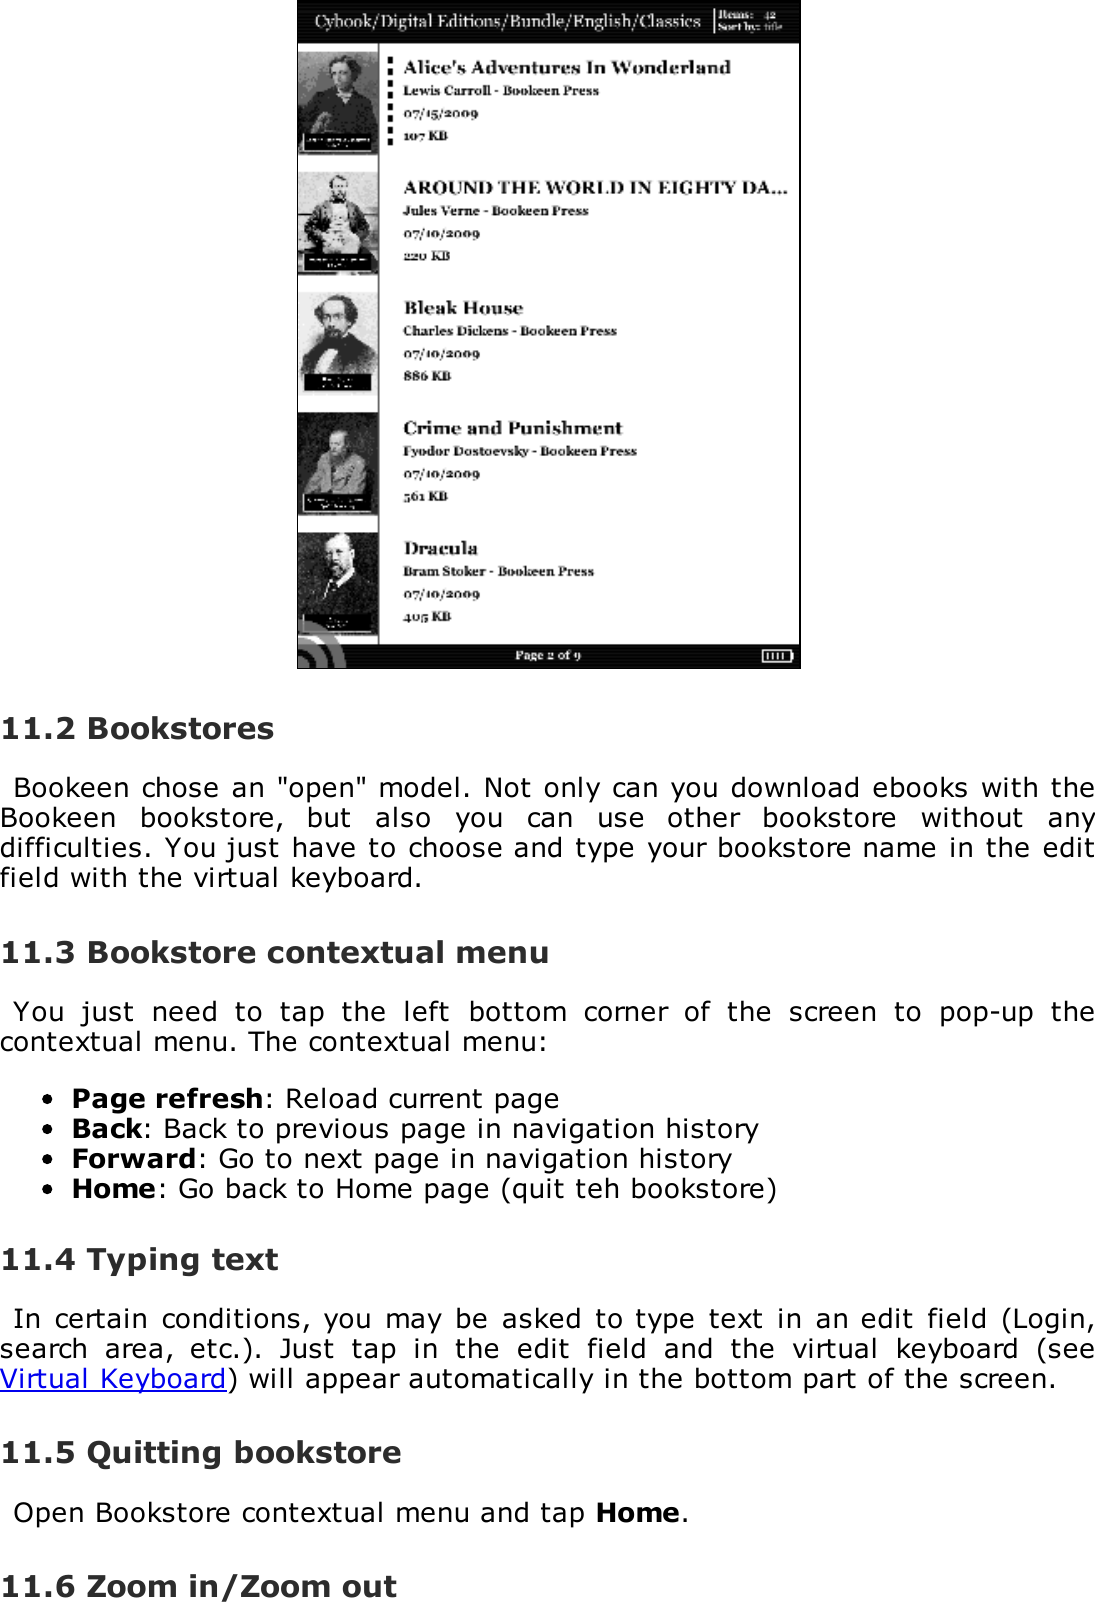
![2. Getting Started2.1 In the BoxOnce you receive your Cybook Odyssey, check the content of your package.You will find in the box:> Default components:Cybook OdysseyQuick Start GuideUSB Cable2.2 About your Cybook OdysseyThe illustrations hereafter introduce you to the various buttons, connectors,ports and physical features of your Cybook Odyssey.Front view[1] E Ink® touch screen: Touch, multi-touch, scroll, pan, swipe, pinch, rotate,flip... Your screen obeys at the touch of a finger.[2] Main menu button: This button takes you to the Cybook Odyssey's mainmenu wherever you are.[3] Page backward button: This button turns one page backward. If you holddown Page backward button, pages are browsed in accelerated mode.](https://usermanual.wiki/BOOKEEN/CYBOY10/User-Guide-1580896-Page-4.png)
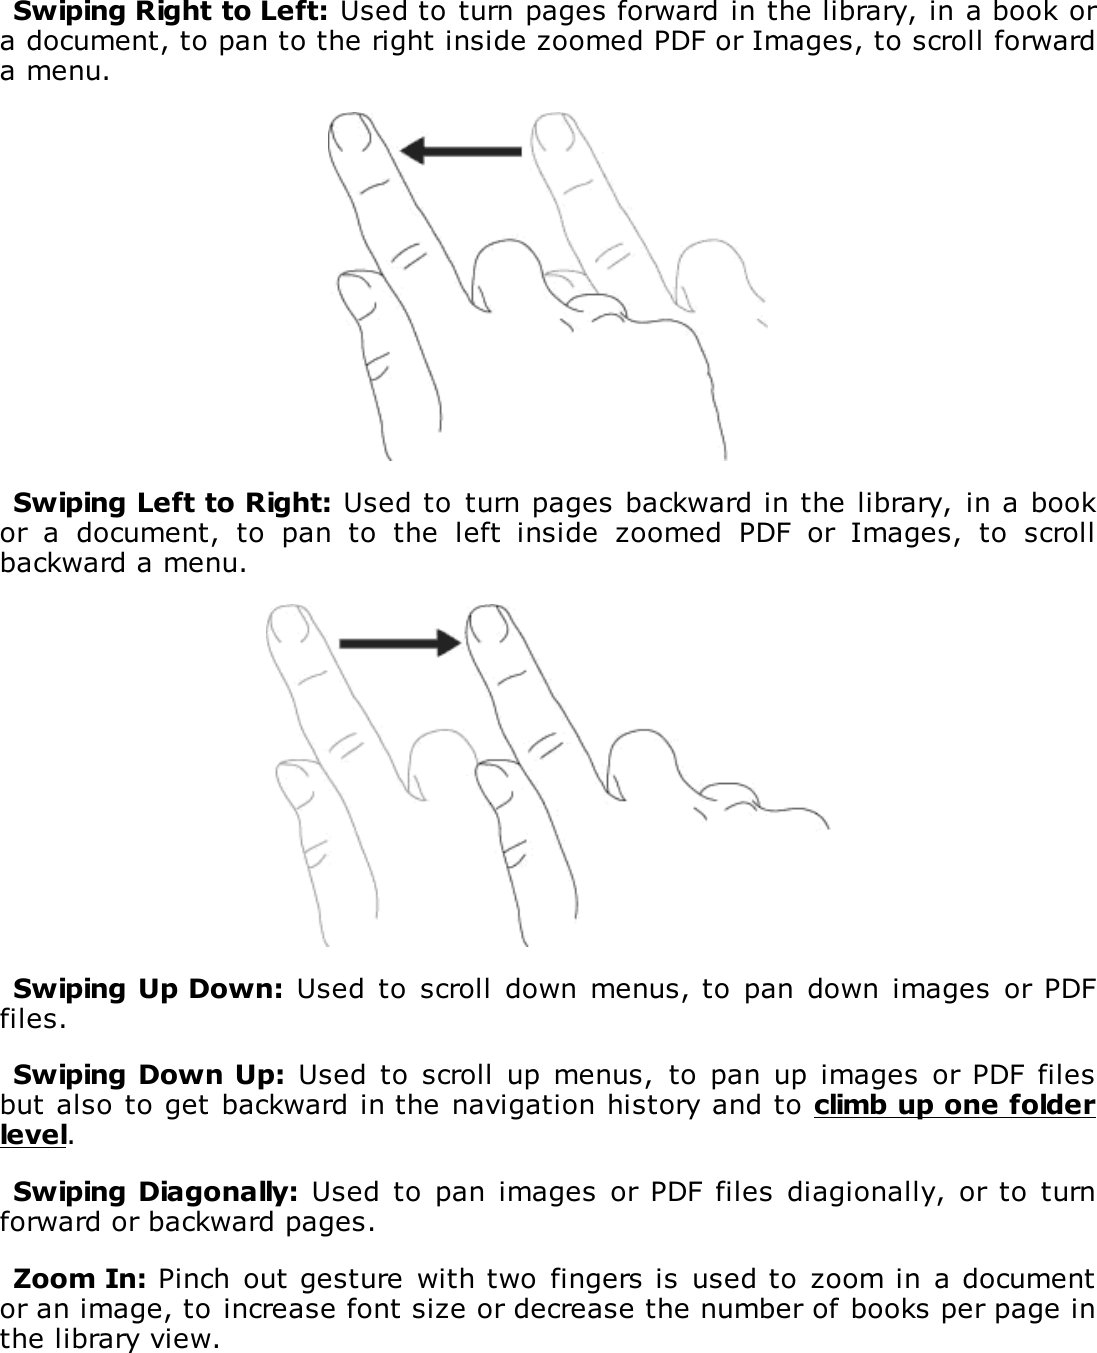
![[4] Page forward button: This button turns one page forward. If you hold downPage forward button, pages are browsed in accelerated mode.Back view[5] Activaty LED: When the device is operating, light is blue.[6] Charge LED: When charging battery through USB, light is orange. Whencharged, light is green.Caution: Label on the back indicates Serial and Model Numbers. Keep in mind that serialnumbers may be requested by Bookeen in case of interaction with support Service.Bottom view[7] earphone Connector: Accepts Bookeen's 3,5mm stereo earphones.[8] microUSB connector: it allows you to connect your Cybook to a computer ora USB Power adapter (not supplied) via USB cable.[9] microSD Slot: Enables you to add storage memory card.[10] Power Button: Slide the button and switch the Cybook Odyssey on andoff.2.3 Taking care of your Cybook Odyssey](https://usermanual.wiki/BOOKEEN/CYBOY10/User-Guide-1580896-Page-5.png)