Building Robotics RS-2BSU-2B Intelligent Light Sensor for Smart Networked Energy Saving Lighting Systems User Manual Ruggedized Sensor Installation

Enlighted, Inc. Intelligent Light Sensor for Smart Networked Energy Saving Lighting Systems Ruggedized Sensor Installation

Users Manual
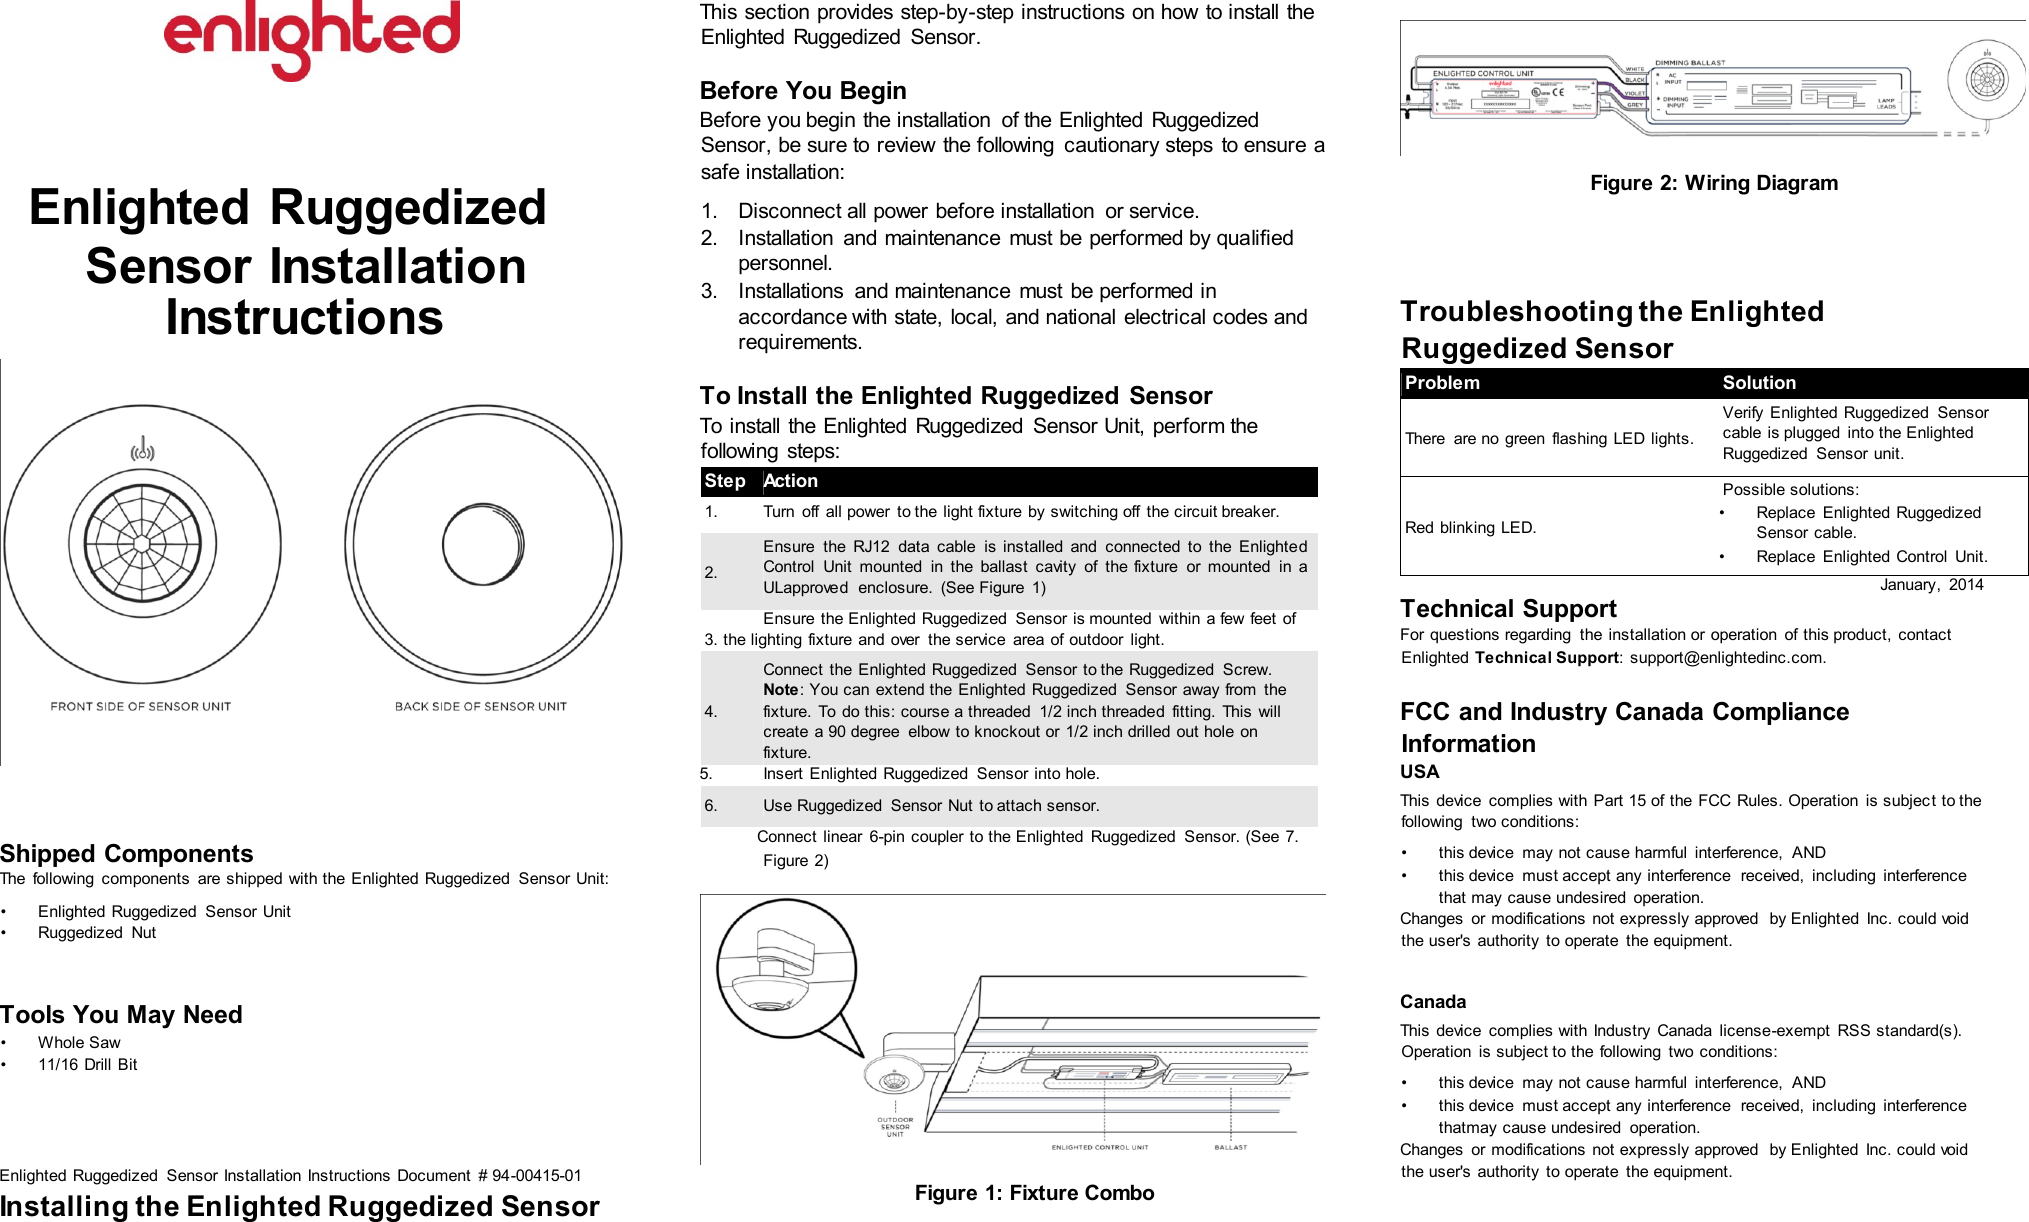
 Enlighted Ruggedized  Sensor Installation Instructions  Shipped Components The  following  components  are shipped  with the Enlighted Ruggedized  Sensor Unit: •  Enlighted Ruggedized  Sensor Unit •  Ruggedized  Nut  Tools You May Need •  Whole Saw •  11/16  Drill Bit Enlighted Ruggedized  Sensor Installation Instructions Document  # 94-00415-01 Installing the Enlighted Ruggedized Sensor This section provides step-by-step instructions on how to install  the Enlighted  Ruggedized  Sensor. Before You Begin Before you begin the installation  of the Enlighted  Ruggedized Sensor, be sure to review  the following  cautionary steps to ensure a safe installation: 1.  Disconnect all power before installation  or service. 2.  Installation  and maintenance  must be performed by qualified personnel. 3.  Installations  and maintenance  must  be performed in accordance with state, local, and national  electrical codes and requirements. To Install the Enlighted Ruggedized Sensor To install  the Enlighted  Ruggedized  Sensor Unit, perform the following  steps: Step Action 1.  Turn  off  all power  to the  light fixture  by switching off  the circuit breaker. 2.  Ensure  the  RJ12  data  cable  is  installed  and  connected  to  the  Enlighted Control  Unit  mounted  in  the  ballast  cavity  of  the fixture  or  mounted  in  a ULapproved  enclosure.  (See Figure  1) Ensure the Enlighted Ruggedized  Sensor is mounted  within a few  feet  of 3. the lighting fixture and over  the service  area of outdoor  light. 4. Connect  the  Enlighted Ruggedized  Sensor  to the  Ruggedized  Screw. Note: You can extend the Enlighted Ruggedized  Sensor away from  the fixture. To do this: course a threaded  1/2 inch threaded  fitting. This will create a 90 degree  elbow to knockout or 1/2 inch drilled out hole on fixture. 5.  Insert  Enlighted Ruggedized  Sensor  into hole. 6. Use Ruggedized  Sensor Nut  to attach sensor. Connect  linear  6-pin coupler to the Enlighted  Ruggedized  Sensor. (See 7. Figure 2)    Figure 1: Fixture Combo    Figure 2: Wiring Diagram Troubleshooting the Enlighted Ruggedized Sensor Problem Solution There  are no  green  flashing LED lights. Verify Enlighted  Ruggedized  Sensor cable is plugged  into the Enlighted Ruggedized  Sensor  unit. Red blinking LED. Possible solutions:  •  Replace  Enlighted Ruggedized Sensor cable. •  Replace  Enlighted Control  Unit. January,  2014 Technical Support For  questions regarding  the installation or  operation  of this product, contact Enlighted Technical Support: support@enlightedinc.com. FCC and Industry Canada Compliance Information USA This device  complies with Part 15 of the FCC Rules. Operation  is subject to the following  two conditions:  •  this device  may not cause harmful  interference,  AND •  this device  must accept any interference  received,  including  interference that may cause undesired  operation. Changes  or modifications not expressly approved  by Enlighted  Inc. could void the user's authority  to operate  the equipment. Canada This device  complies with Industry Canada  license-exempt  RSS standard(s). Operation  is subject to the following  two conditions:  •  this device  may not cause harmful  interference,  AND •  this device  must accept any interference  received,  including  interference thatmay cause undesired  operation. Changes  or modifications not expressly approved  by Enlighted  Inc. could void the user's authority  to operate  the equipment.
Le  présent appareil  est conforme  aux CNR d'Industrie  Canada  applicables  aux appareils  radio  exempts de  licence. L'exploitation  est autorisée  aux deux conditions suivantes:   •  l'appareil  ne doit pas produire  de brouillage,  ET •  l'utilisateur de  l'appareil  doit  accepter tout brouillage  radioélectrique  subi, même si le brouillage  est susceptible d'en compromettre  le fonctionnement. FCC ID: AQQ -RS-2BSU-2B  IC:  10138A-RS2BSU2B  Copyright  © 2014  Enlighted Inc., 930 Benecia Ave., Sunnyvale,  CA,94085 U.S.A. All rights reserved.  All other brand  or product  names  are trademarks of their respective  companies  or  organizations. Enlighted Ruggedized Sensor Installation Instructions   June, 2014

Navigation menu