ENUSTECH BHF700 WIRELESS HANDSFREE CARKIT User Manual BHF 700 manual 080111
ENUSTECH WIRELESS HANDSFREE CARKIT BHF 700 manual 080111
UserManual.wiki
>
ENUSTECH
>
BHF700 User Manual
USERS MANUAL
Navigation menu
Upload a User Manual
Namespaces
Wiki Guide
HTML
PDF
Info
Views
User Manual
Discussion / Help
Navigation

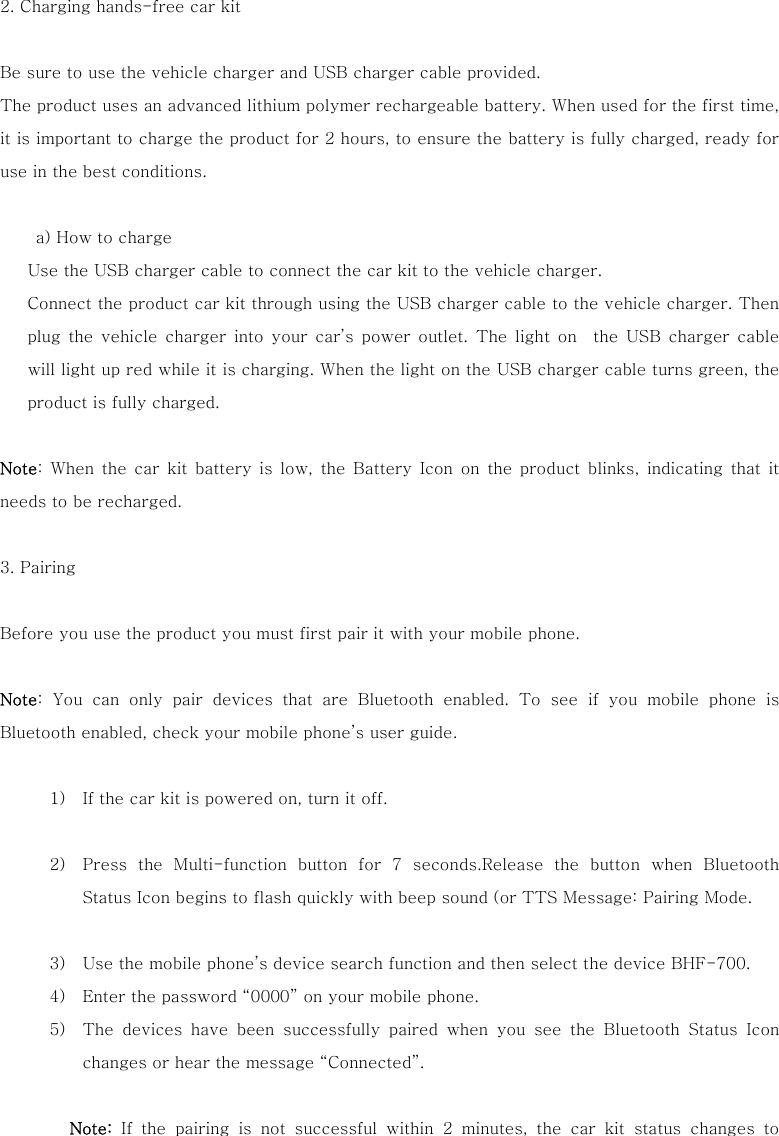
![7) Last numbers redial To redial the last number you called, press twice the Multi-function button. 8) Volume Up / Down Use the Volume Up / Down button to adjust the volume. 9) Mute / Un-mute Press and hold down the Volume Down button for 1 second during the call. In this case, you are able to hear the other person but she/he won’t be able to hear you. To un-mute the call, quickly press once the Volume Up or Volume Down button. 10) Remove a registered mobile phone entry from the lists. The car kit registers a list of recently connected mobile phones. To remove the list, press and hold down the Multi-function button, Volume Up button and FM/TTS button at the same time for 7 seconds. A beep indicates the list was removed from the car kit memory. Note: After removing the list the car kit remains in pairing mode. 11) Blind Mode To turn off the status icon while using the product, hold down the Volume Up button and FM/TTS button for 1 second at the same time. The light on the status icon will be switched off but the product will continue to function. Note: To switch off the Blind Mode, follow the above mentioned steps. 12) FM Transmission a. Check the pairing status. This function can be activated after pairing. b. To use the car audio system, press once shortly on the FM/TTS button then the FM Status icon will be on. c. Through the FM status icon and voice announcement, check the fixed frequency. d. Tune the car kit and the car audio system into the same frequency channel. [See the 13)] Note: 1. To switch off the FM transmitter function, press once shortly on the FM/TTS button. 2. The FM transmitter function will automatically switch off after 1 minute if you don’t try to](https://usermanual.wiki/ENUSTECH/BHF700/User-Guide-895854-Page-4.png)
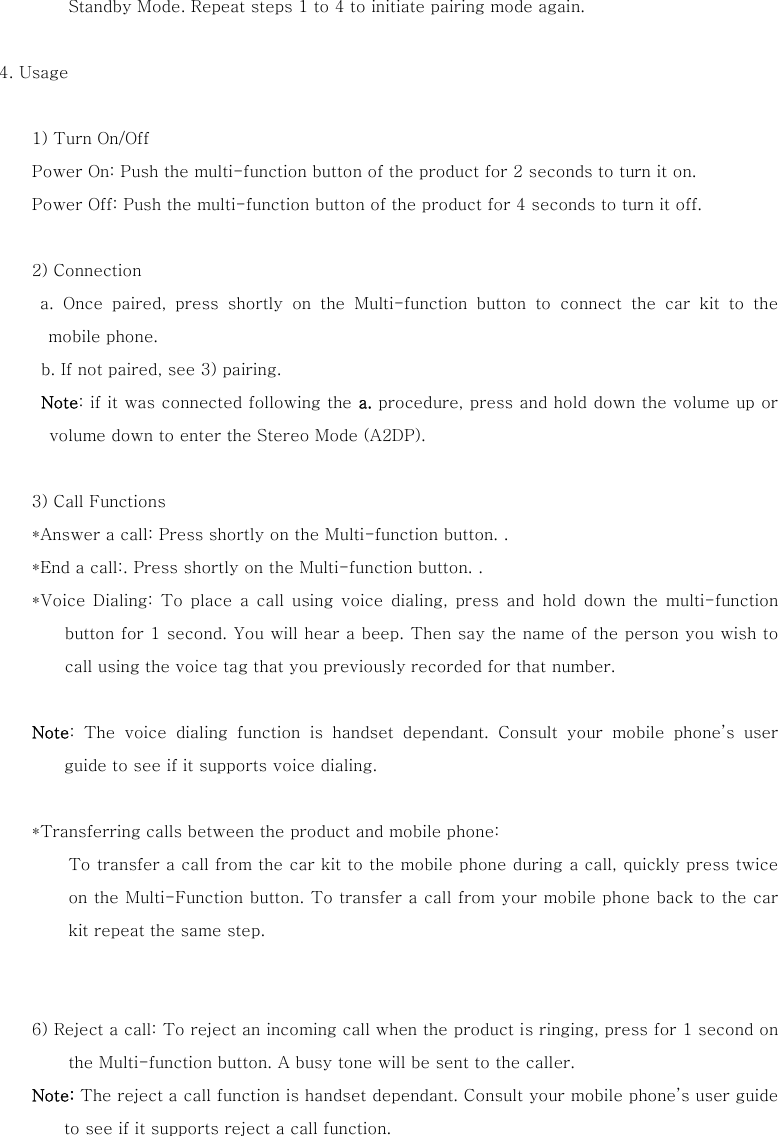
![16) TTS (Talk-to-Speech) Setting There are 9 languages supported in the following order: 1 UK English 2 US English 3 French 4 Italian 5 German 6 Spanish 7 Mexican Portuguese Portuguese 8 Brazilian Portuguese 9 Chinese The default language is British English. To change the TTS language (settings) follow these steps: 1) Enter the register mode. 2) Press on the FM/TTS button for 1 second until you hear the current language and enter the Language Selection mode. The Status LED and Connection LED are blinking. 3) Select the language by pressing the Volume Up and Volume Down button. 4) To exit selection mode, press and hold down the TTS/FM button for 1 sec. 5) After selecting the language, the language selected is announced and the devices enters into the register mode again. 6) To change the selected language, repeat steps 1) to 5) 1. Hands-free Status indication Hands free status LED indication Standby/Idle Connection LED blinks every 2 seconds Connected Connection LED on Incoming call Call Status LED blinks every 1 second. Active call Call Status LED on 메모 [^1]: Wasn’t it Mexican Spanish here?](https://usermanual.wiki/ENUSTECH/BHF700/User-Guide-895854-Page-6.png)