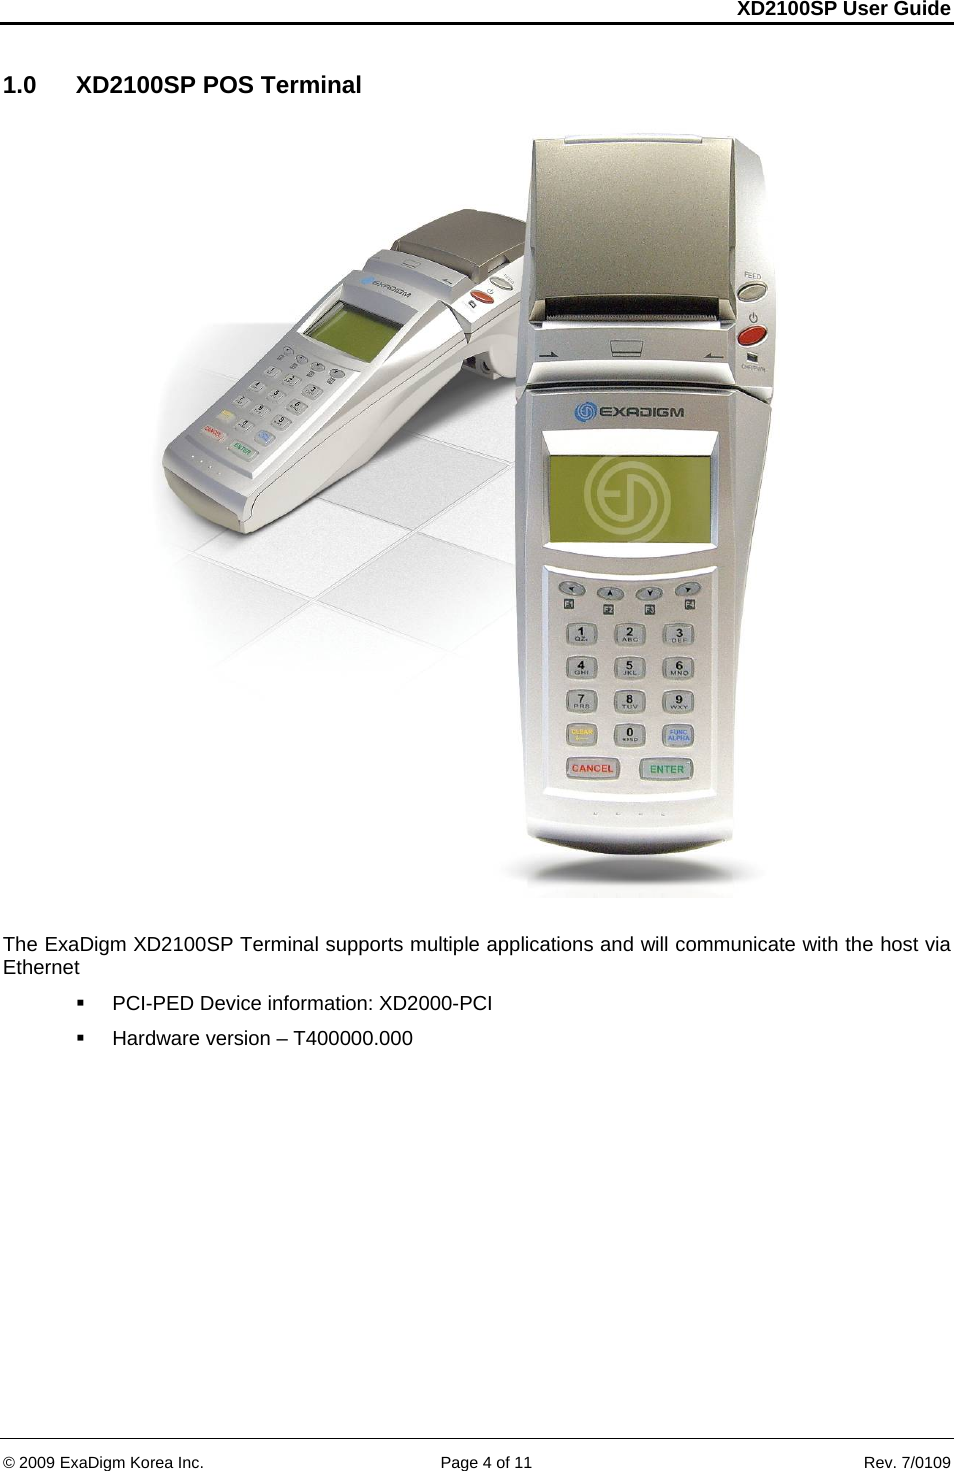
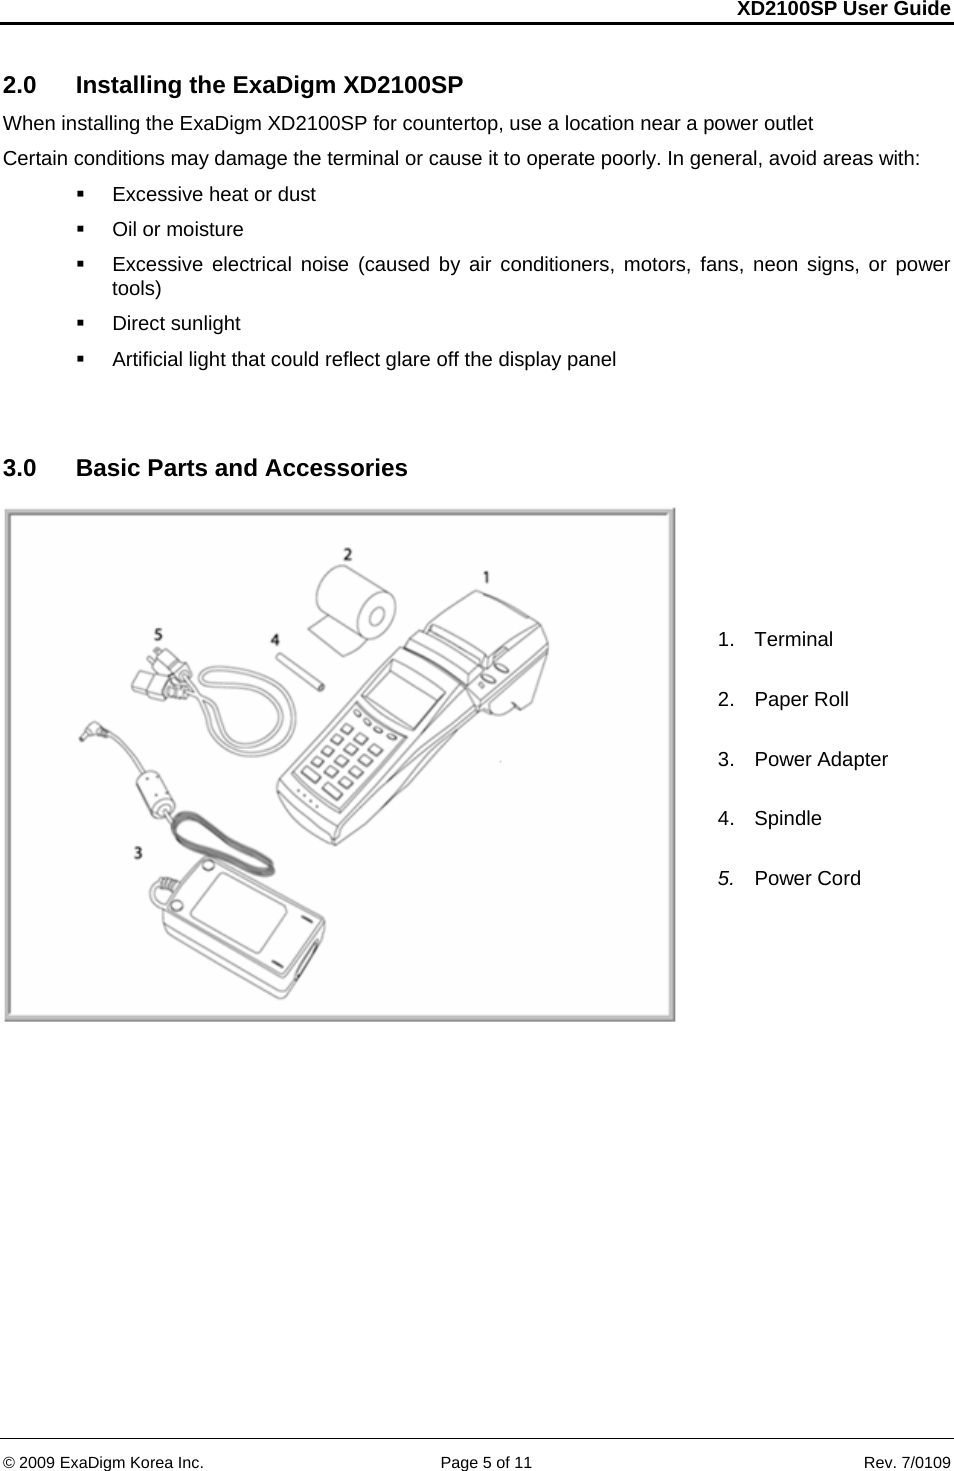
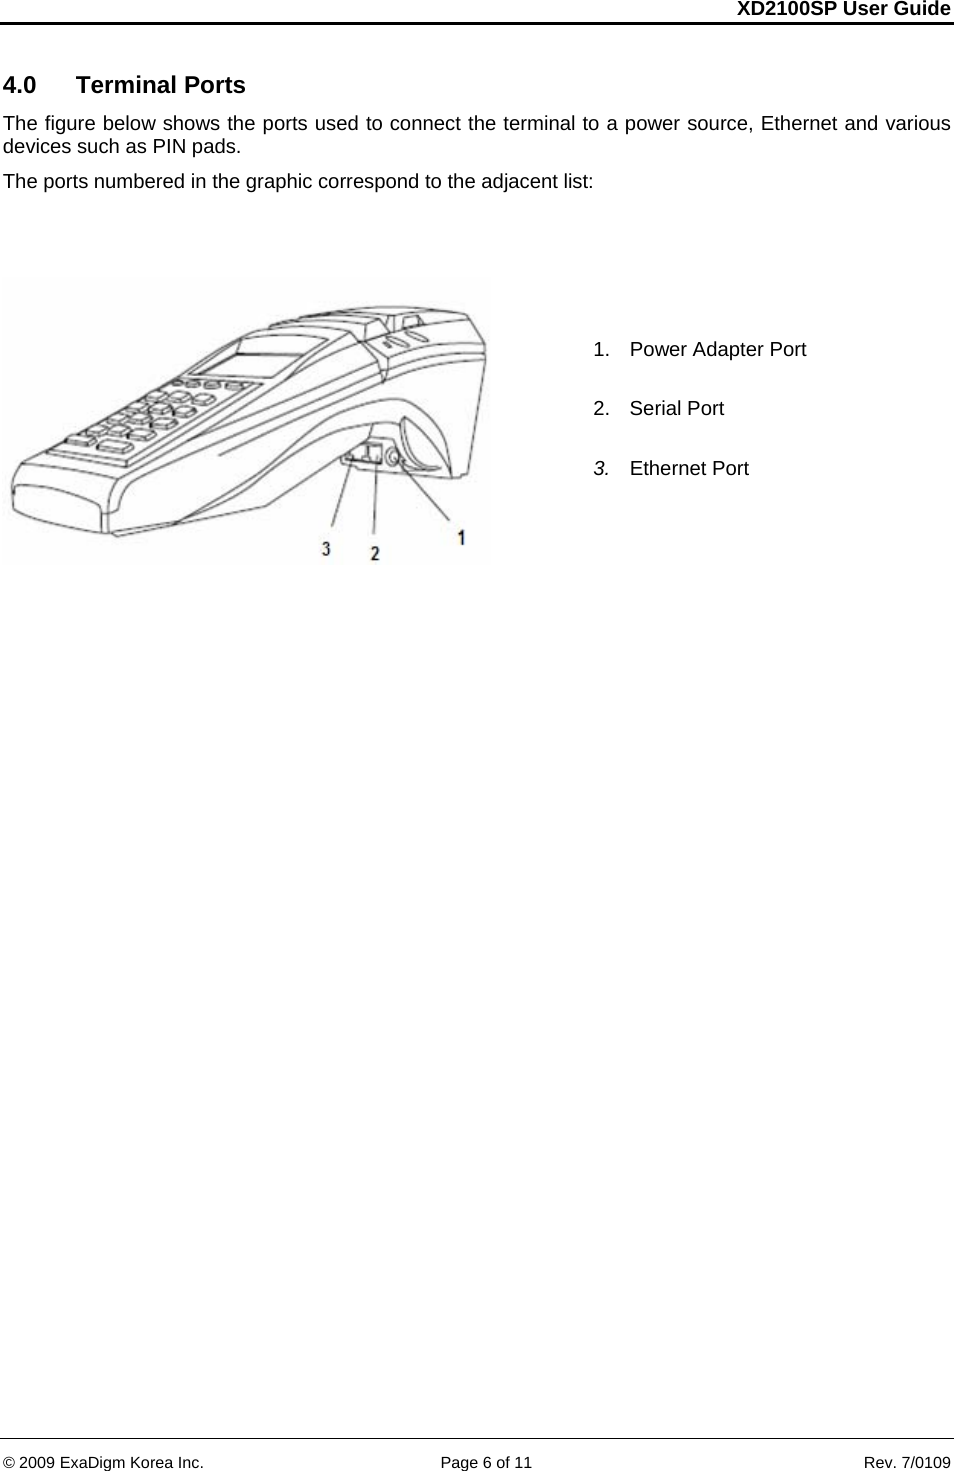
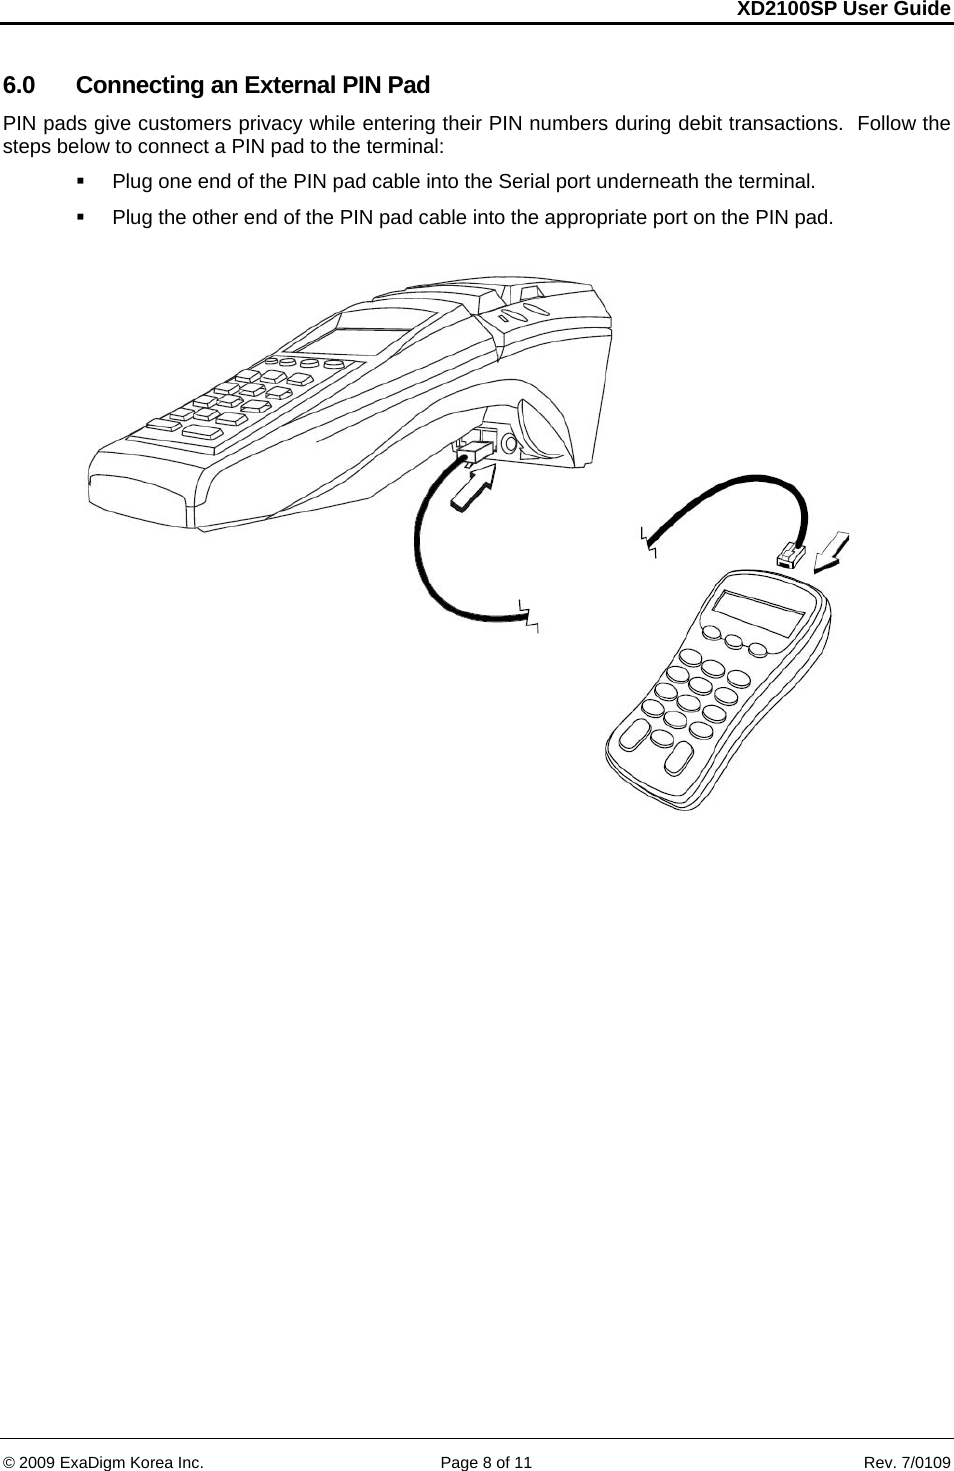
EXADIGM XD2100SP POS Terminal User Manual
EXADIGM INC. POS Terminal
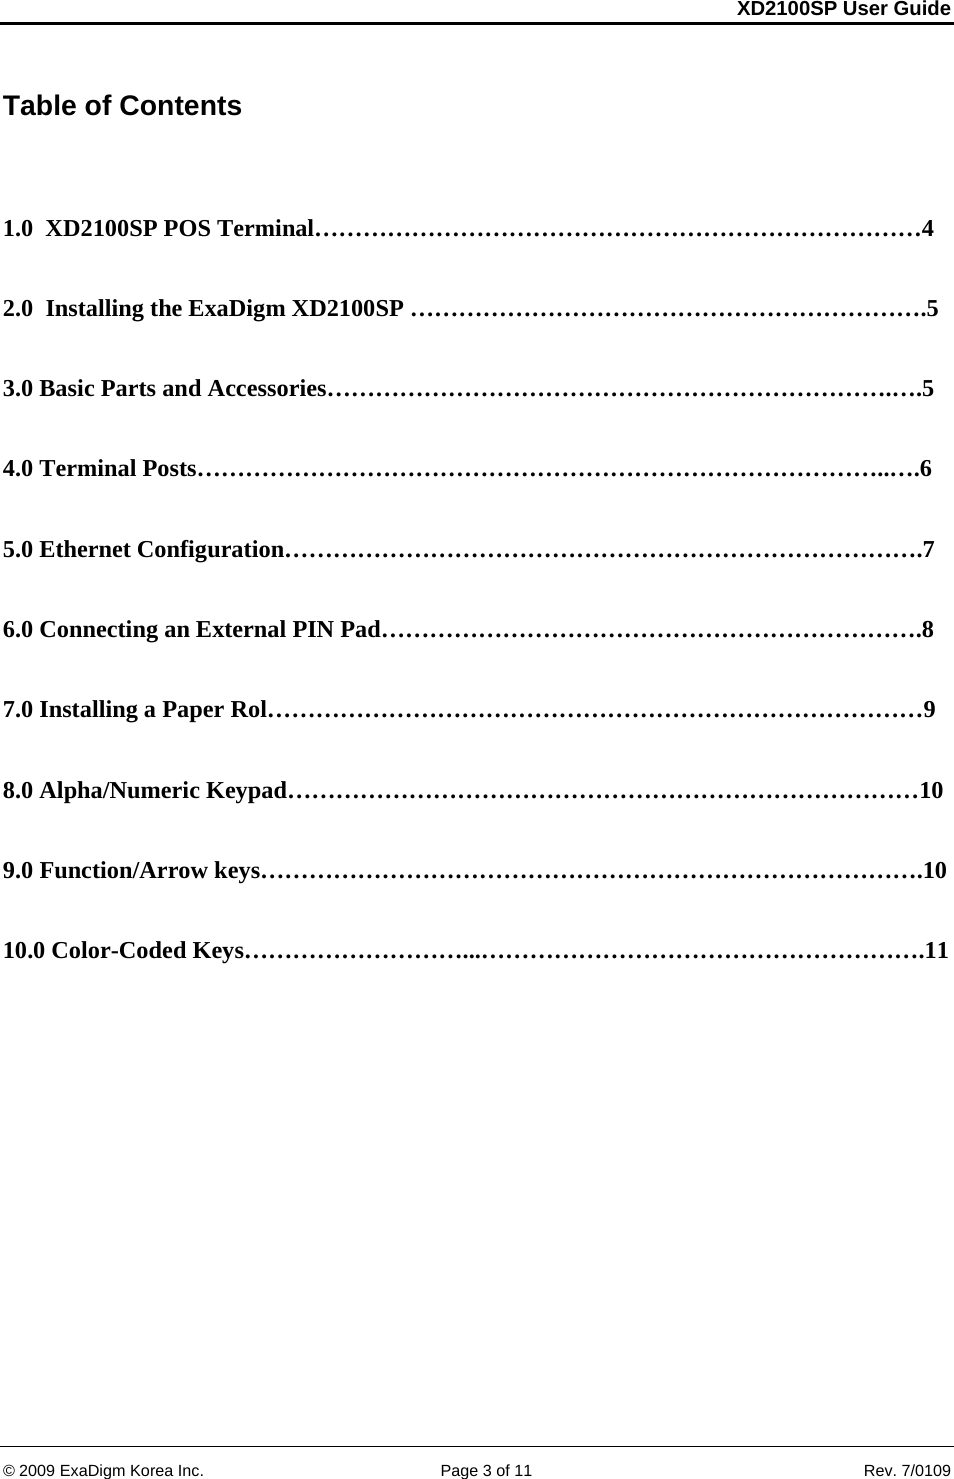
UserManual.wiki
>
EXADIGM
>
XD2100SP User Manual
User manual
Navigation menu
Upload a User Manual
Namespaces
Wiki Guide
HTML
PDF
Info
Views
User Manual
Discussion / Help
Navigation
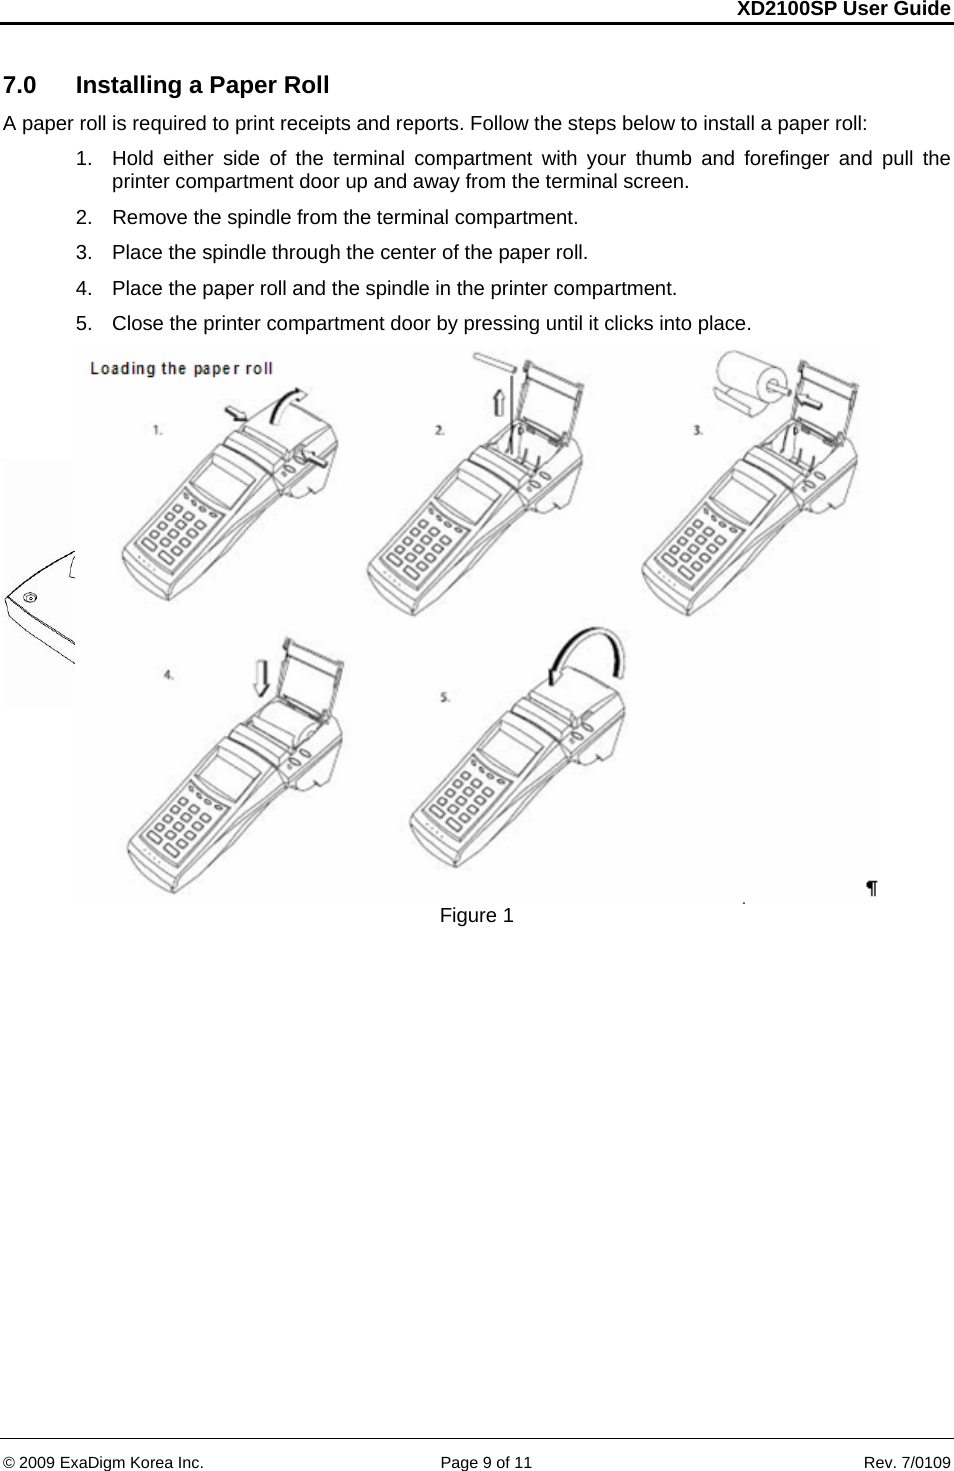
![XD2100SP User Guide © 2009 ExaDigm Korea Inc. Page 7 of 11 Rev. 7/0109 5.0 Ethernet Configurations The terminal can be connected to an Ethernet line in order to contact the host for transaction approvals and settlements. Connect the Ethernet cable to the Ethernet port underneath the terminal. Follow the steps below to connect the terminal to Ethernet: [Admin] [Setup] Enter Administrator Password (application specific) [Processor Name] [Comm Option] Select [SSL] [Cancel] out to Setup menu [Communication] [Ethernet] [Conn. Method] Select [Static], [DHCP] or [PPPoE] Static will require the following fields: i. [Set IP] ii. [Set Mask] iii. [Set Gateway] iv. [Set DNS1] v. [Set DNS2] [Cancel] back to the Communication Menu [Modem Init] Return to the Ethernet Menu [Test Connection] [Test] 0%packet loss [Cancel] back to Main Menu Run test transaction](https://usermanual.wiki/EXADIGM/XD2100SP/User-Guide-1122845-Page-7.png)
![XD2100SP User Guide © 2009 ExaDigm Korea Inc. Page 10 of 11 Rev. 7/0109 8.0 Alpha/Numeric Keypad The keypad contains horizontal rows of numeric keys with alphabetic characters. The keypad accepts numeric keys as the default. To activate the alphabetic keys, press the [FUNC/ALPHA] key to change from a numeric digit to an alpha character, press the numeric key with the desired alpha character and then press the [FUNC/ALPHA] key until the target alpha character displays. The following is a table representing the Numbers, Alpha Letters and Symbols on the keypad. Number Alpha 1 Alpha 2 Alpha 3 Alpha 4 Alpha 5 Alpha 6 1 Q Z q z . 2 A B C a b c 3 D E F d e f 4 G H I g h i 5 J K L j k l 6 M N O m n o 7 P R S p r s 8 T U V t u v 9 W X Y w x y 0 * , SPACE @ - _ $ # = ‘ “ + ! ~ % ^ & ( ) < > ? / \ | { } [ ] : ; For example press the numeric key [2], then press the [FUNC/ALPHA] key continuously until the desired alpha character displays. One press to display the alpha letter A (Capital), press twice to display the alpha letter B (Capital), and press four times for the alpha letter a (Lower case) to display. 9.0 Function/Arrow Keys F1 – Left Arrow Key F2 – Up Arrow Key F3 – Down Arrow Key F4 – Right Arrow Key](https://usermanual.wiki/EXADIGM/XD2100SP/User-Guide-1122845-Page-10.png)