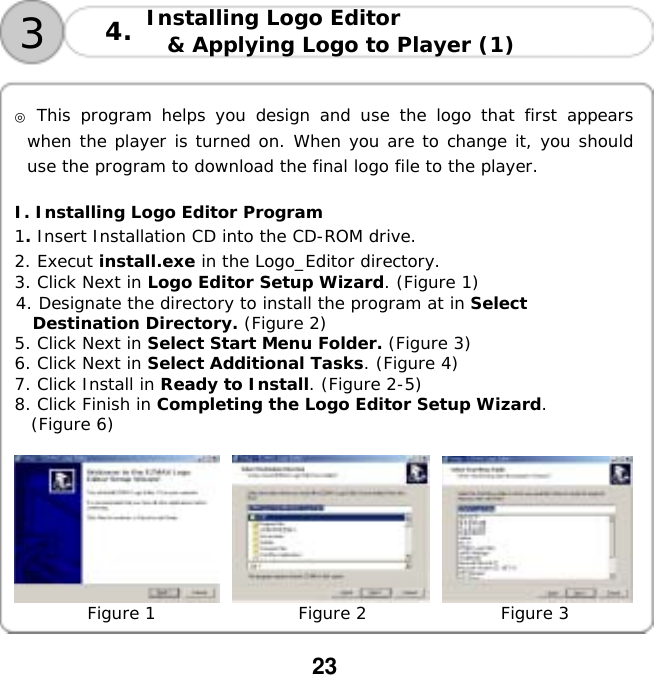
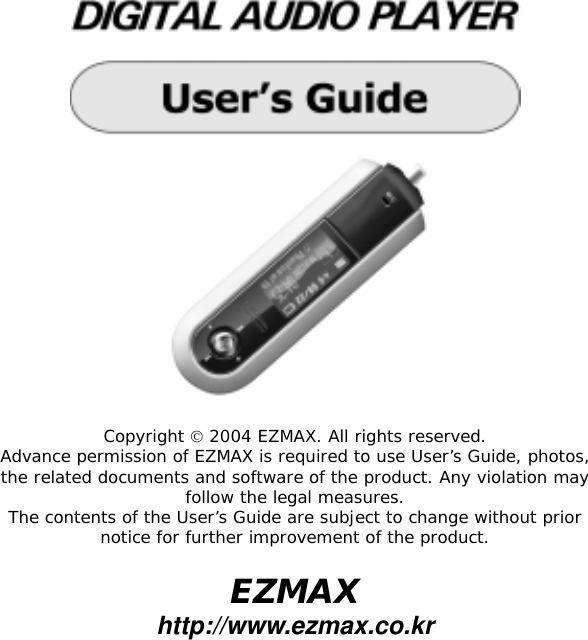
EZMAX EZMP-4000 MP3 Player User Manual EZMP3000 Manual
EZMAX Co.,Ltd. MP3 Player EZMP3000 Manual
UserManual.wiki
>
EZMAX
>
EZMP 4000 User Manual
User Manual
Navigation menu
Upload a User Manual
Namespaces
Wiki Guide
HTML
PDF
Info
Views
User Manual
Discussion / Help
Navigation

![16 Click [Start] – [Setting] – [Control Panel] to open “System” icon, and then click “Hardware” – “Device Manager” tab to check if USB driver is properly installed. !Note: The example of installing a driver above applies to a computer which adopts a removable disc for the first time. The specific installing process varies among users’ PC environments. In the event of the two devices in Device Administrator or the message “READY” being shown as above, the driver has bee successfully installed. It takes some 30 ~ 60 seconds to install the driver among various PC’s. 3 2. Installing USB Driver (6)](https://usermanual.wiki/EZMAX/EZMP-4000/User-Guide-426377-Page-17.png)
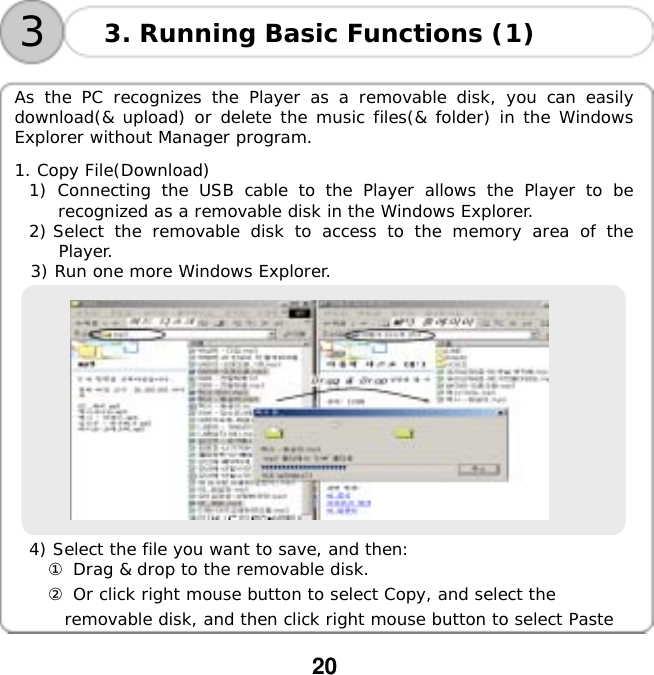
![18 Click [Start] – [Setting] – [Control Panel] to open “System” icon, and then click “Hardware” – “Device Manager” tab to check if USB driver is properly installed. !Note: The example of installing a driver above applies to a computer which adopts a removable disc for the first time. The specific installing process varies among users’ PC environments. In the event of the two devices in Device Administrator or the message “READY” being shown as above, the driver has bee successfully installed. It takes some 20 ~ 30 seconds to install the driver among various PC’s. 3 2. Installing USB Driver (8) – windows 98](https://usermanual.wiki/EZMAX/EZMP-4000/User-Guide-426377-Page-19.png)