Ewig Macao Commercial Offshore ET-902WS RF WIRELESS TRANSMITTER/LONG RANGE THERMO SENSOR User Manual MAV210 UserManual a
Ewig Industries Macao Commercial Offshore Limited RF WIRELESS TRANSMITTER/LONG RANGE THERMO SENSOR MAV210 UserManual a
Users Manual

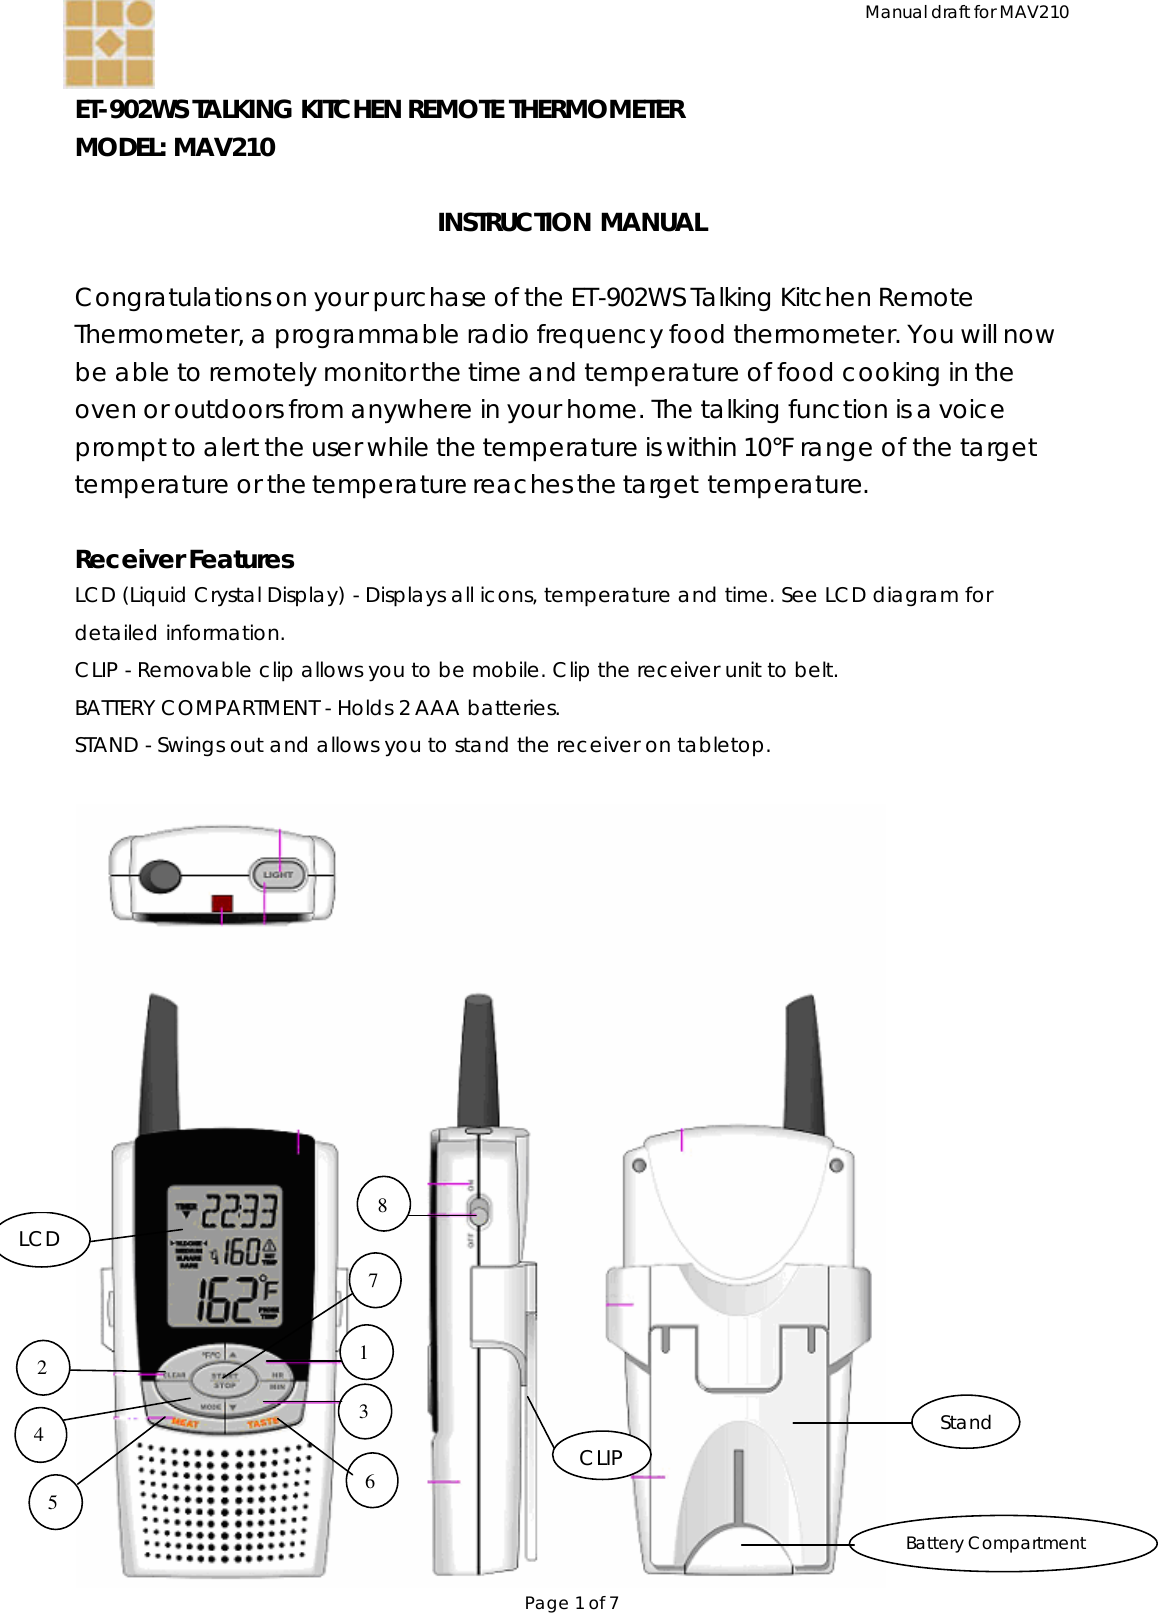
![Manual draft for MAV210 Page 2 of 7 Description of buttons 1. [HR/?] In timer mode, press to set hour. Press & hold for 2 seconds, the hours will increase 10 hours per second. In thermometer mode, press to increase the temperature value. Press & hold for 2 seconds, the temperature value will increase 10 degrees per second. 2. [CLEAR/°F/°C] When the timer count down or count up process is stopped, press to clear the timer reading. In thermometer mode, press to select temperature readings in Celsius or Fahrenheit. 3. [MIN/?] In timer mode, press to set minutes. Press & hold for 2 seconds, the minutes will increase 10 minutes per second. In thermometer mode, press to decrease the temperature value. Press & hold for 2 seconds, the temperature value will decrease 10 degrees per second. 4. [MODE] Press to select thermometer or timer mode. Press & hold for 2 seconds to register with the transmitter. 5. [MEAT] In thermometer mode, press to select meat type, BEEF, VEAL, LAMB, PORK, CHICK (chicken) or TURKY (turkey). 6. [TASTE] In thermometer mode, select the taste level, W.DONE (well done), MEDIUM, M. RARE (medium rare) or RARE. 7. [START/STOP] Press to start or stop the timer countdown or count up. 8. [ON/OFF] On normal operation with full function. Off turns receiver off.](https://usermanual.wiki/Ewig-Macao-Commercial-Offshore/ET-902WS/User-Guide-724822-Page-2.png)
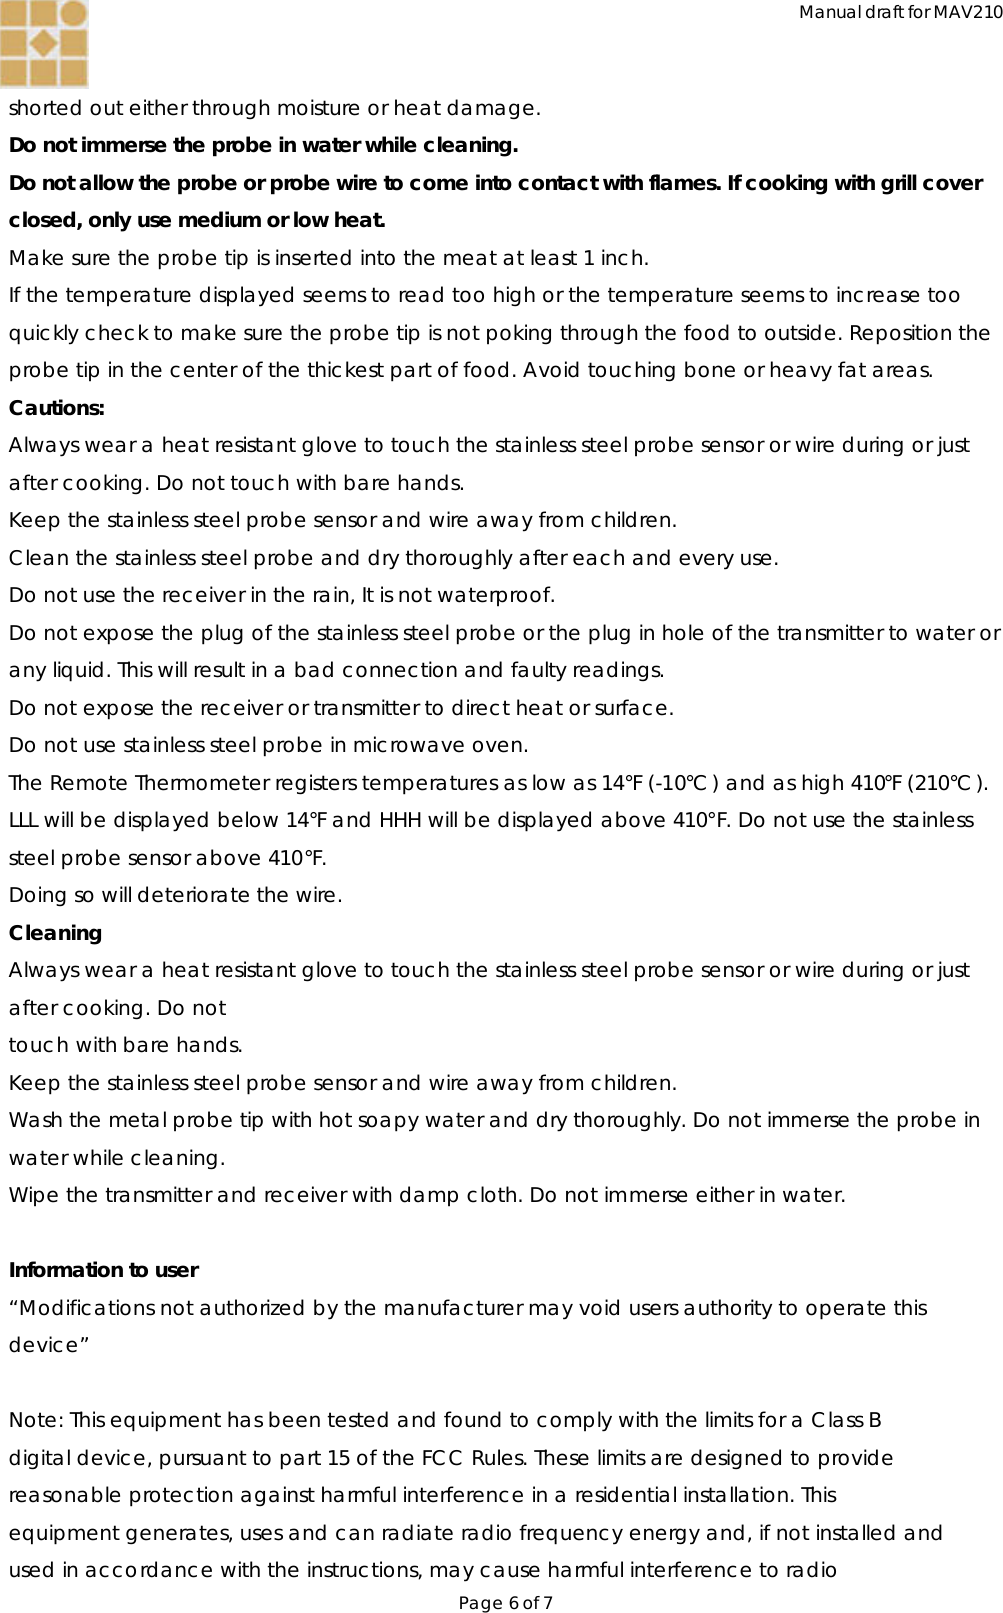
![Manual draft for MAV210 Page 3 of 7 Low battery indicator for transmitter base In thermometer mode, the main unit displays the food temperature measured by the remote sensor and prompts the user about the cooking level. The user firstly selects a food type (e.g. Turkey) and a cooking level (e.g. Well done). The main display unit will automatically set the target temperature (170 °F). When the food temperature is within 10°F of the target temperature (e.g. 160°F), the main unit will beep twice and voice prompt; “ Your food is almost ready”. The unit will repeat the above two beeps and the voice after 4 seconds silence. When the food temperature reaches the target temperature, the main unit will beep 3 times and voice prompt; “Your food is ready”; The unit will repeat the above three beeps and the voice at 30 second interval for 10 minutes. The alert icon will blink simultaneously. The user can press [STOP] button to stop the voice. When unit has not received any valid data from the linked transmitter base for more than 1 minute, the RED LED will blink at 1Hz and the speaker beep once every 3 seconds to prompt the user for a RF loss link. In order to re-link up the transmitter and the receiver, the user must get the transmitter base close to the receiver and make sure not iron obstacle between them to block the RF signal. Displayed food temperature range: -10°C to +250°C (+14°F to +482°F) Displayed temperature resolution : 1°C (2°F) Low battery indicator for receiver](https://usermanual.wiki/Ewig-Macao-Commercial-Offshore/ET-902WS/User-Guide-724822-Page-3.png)
![Manual draft for MAV210 Page 4 of 7 Transmitter Features BATTERY COMPARTMENT – holds 2 AA batteries. S1–plug in for stainless steel probe sensor Putting the receiver inside the transmitter base If you do not want to monitor your food remotely the unit can be used with the receiver docked inside the transmitter base. The receiver can be placed inside the transmitter base by locating the slot on the bottom of the receiver with the tab of the transmitter base and allowing the receiver to tilt back. Do not force the receiver onto the tab. Your unit should be stored this way when not in use. Description of buttons 1. CLOCK/TEMP – Slide switch to set the transmitter base to clock mode or cooking temperature mode. For battery power saving, keep the switch in clock position to display a clock time while the transmitter is not in use to monitor the cooking temperature. 2. TX – transmit manually, terminates the auto registration process. Press and hold for 2 seconds to register the radio frequency with the receiver. 3. SET – In clock time display mode, press and hold [SET] for 2 seconds to enter clock setting mode 4. UP – Increase the Hour or Minute in clock setting mode](https://usermanual.wiki/Ewig-Macao-Commercial-Offshore/ET-902WS/User-Guide-724822-Page-4.png)
![Manual draft for MAV210 Page 5 of 7 5. DOWN – Decrease the Hour or Minute in clock setting mode 6. Slide switch to C or F position to select temperature reading in Celsius or Fahrenheit Set the clock time 1. Press & hold [SET] button for 2 seconds to enter clock setting mode. 2. The hour digits will flash. Use the [UP] button to increase by one hour or [DOWN] button to decease by one hour to your desired hours. Holding down either button will change the increment unit rapidly. Press [SET] button to confirm. 3. The minute digits will flash. Use the [UP] button or [DOWN] button to set your desired minutes. Holding down either button will change the increment unit rapidly. Press [SET] button to confirm. Registration Procedures Open the battery compartment of receiver and insert the two “AAA” batteries. Remove the battery door of the transmitter and insert the two “AA” batteries. The Remote Thermometer needs the receiver to register the radio frequency signal from the transmitter. Battery installation for the transmitter. 1. Plug the stainless steel probe sensor into the plug in of the transmitter. 2. Turn the receiver on by sliding switch the [On/Off] switch from OFF to ON. 3. Insert 2 AA size 1.5V alkaline batteries into the transmitter according to battery polarity mark. This needs to be done within 60 seconds of turning on the receiver in order for the receiver to register the signal from the transmitter. If it doesn’t beep within 5-10 seconds, press and hold [TX] button inside the battery compartment of the transmitter for 2 seconds. 4. Registration is complete when the unit beeps and the probe temperature appears where the “---” was flashing. Receiver is off and transmitter is on. 1. Plug the stainless steel probe sensor into the plug in of the transmitter. 2. Turn the receiver on by sliding the [On/Off] switch from OFF to ON. 3. Press and hold [TX] button in the transmitter for 2 seconds. This needs to be done within 60 seconds of turning on the receiver in order for the receiver to register the signal from the transmitter. Once [TX] is released it will take several seconds for the receiver to register. If it doesn’t beep within 5-10 seconds press and hold [TX] again. 4. Registration is complete when the unit beeps and the probe temperature appears where the “---” was flashing. HELPFUL HINTS If the receiver and/or the transmitter display LLL or HHH instead of the probe temperature, wait for probe to reach room temperature. If LLL or HHH is still displayed it is likely the internal probe wire has](https://usermanual.wiki/Ewig-Macao-Commercial-Offshore/ET-902WS/User-Guide-724822-Page-5.png)

