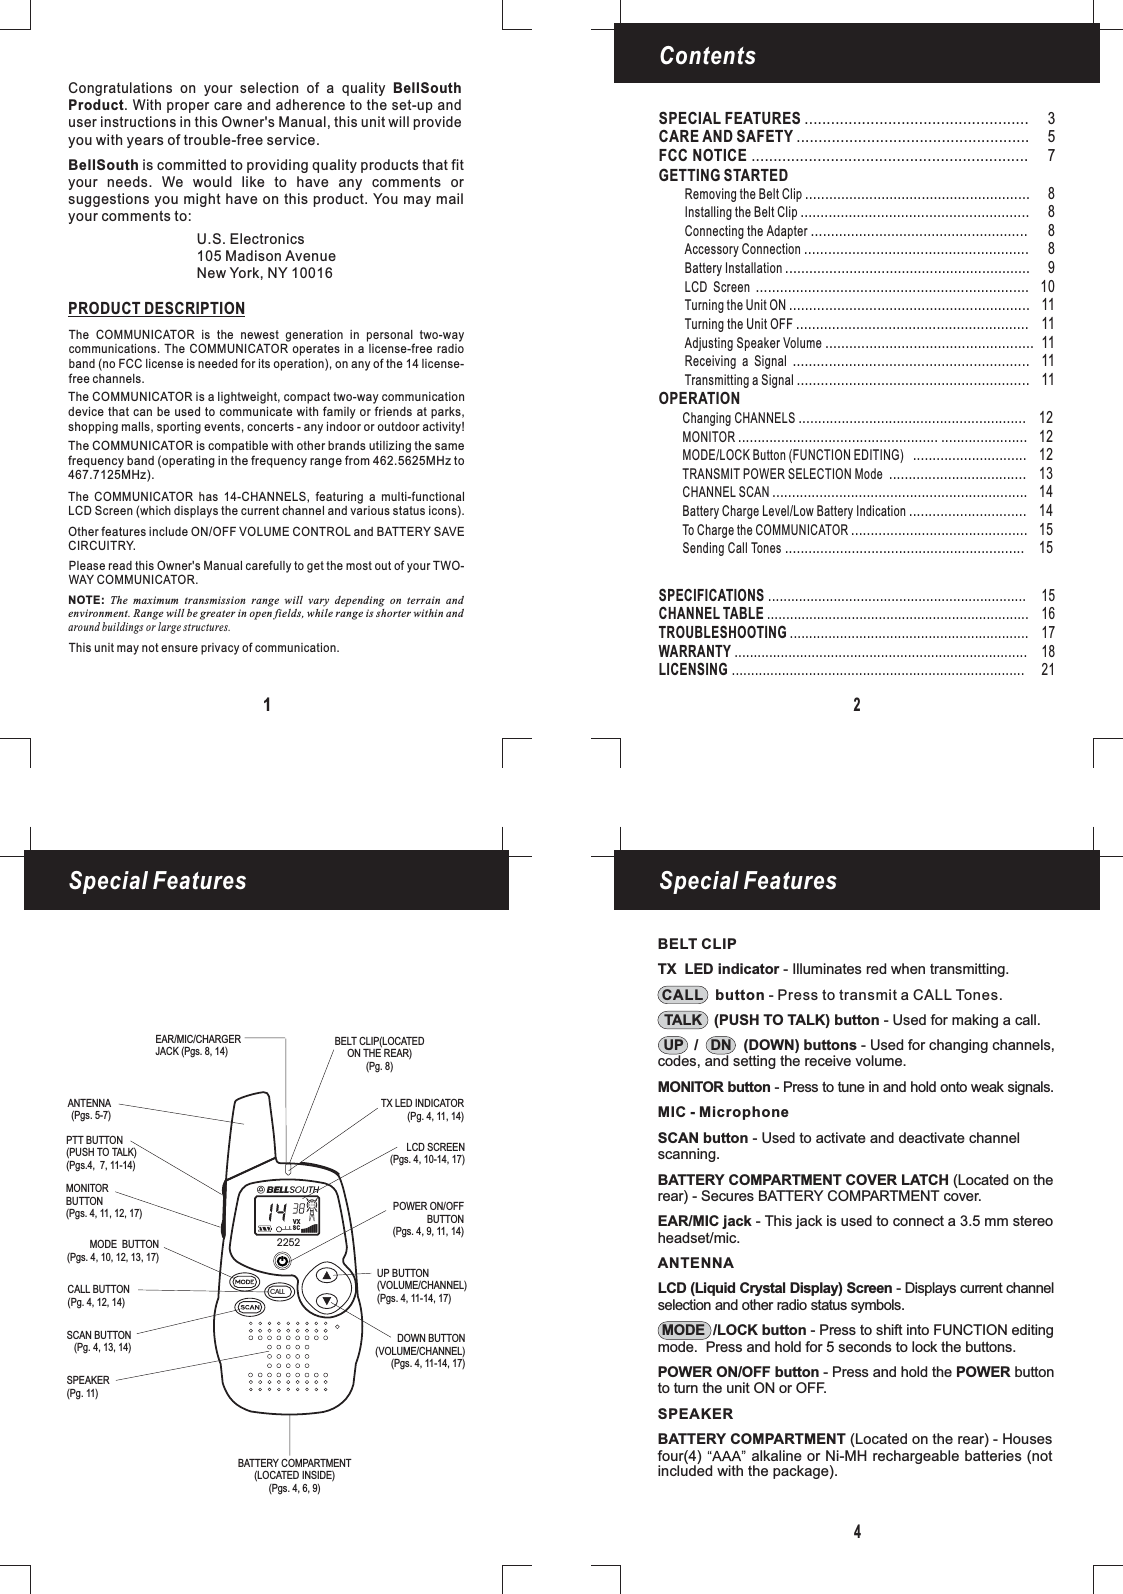
Lionda Technology Co 2252LD02 Face Held FRS Transceiver User Manual 2252 MANUAL 14CHAN
Lionda Technology Co Ltd Face Held FRS Transceiver 2252 MANUAL 14CHAN
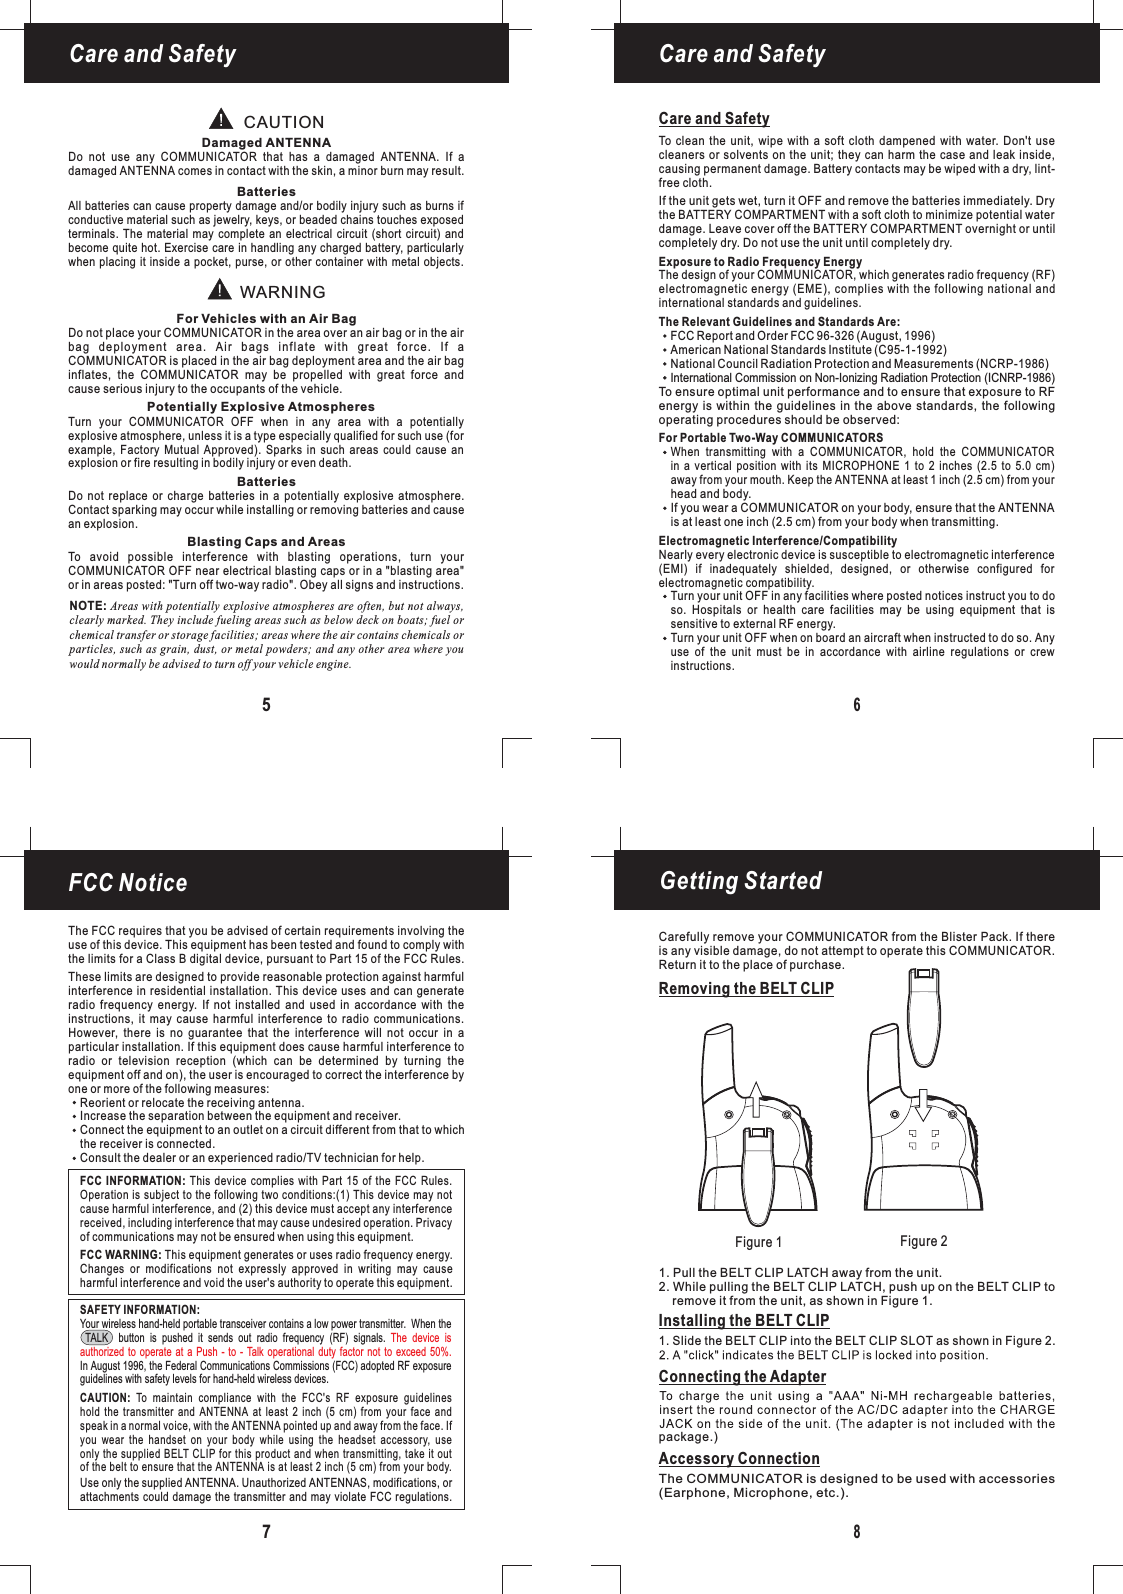
Contents
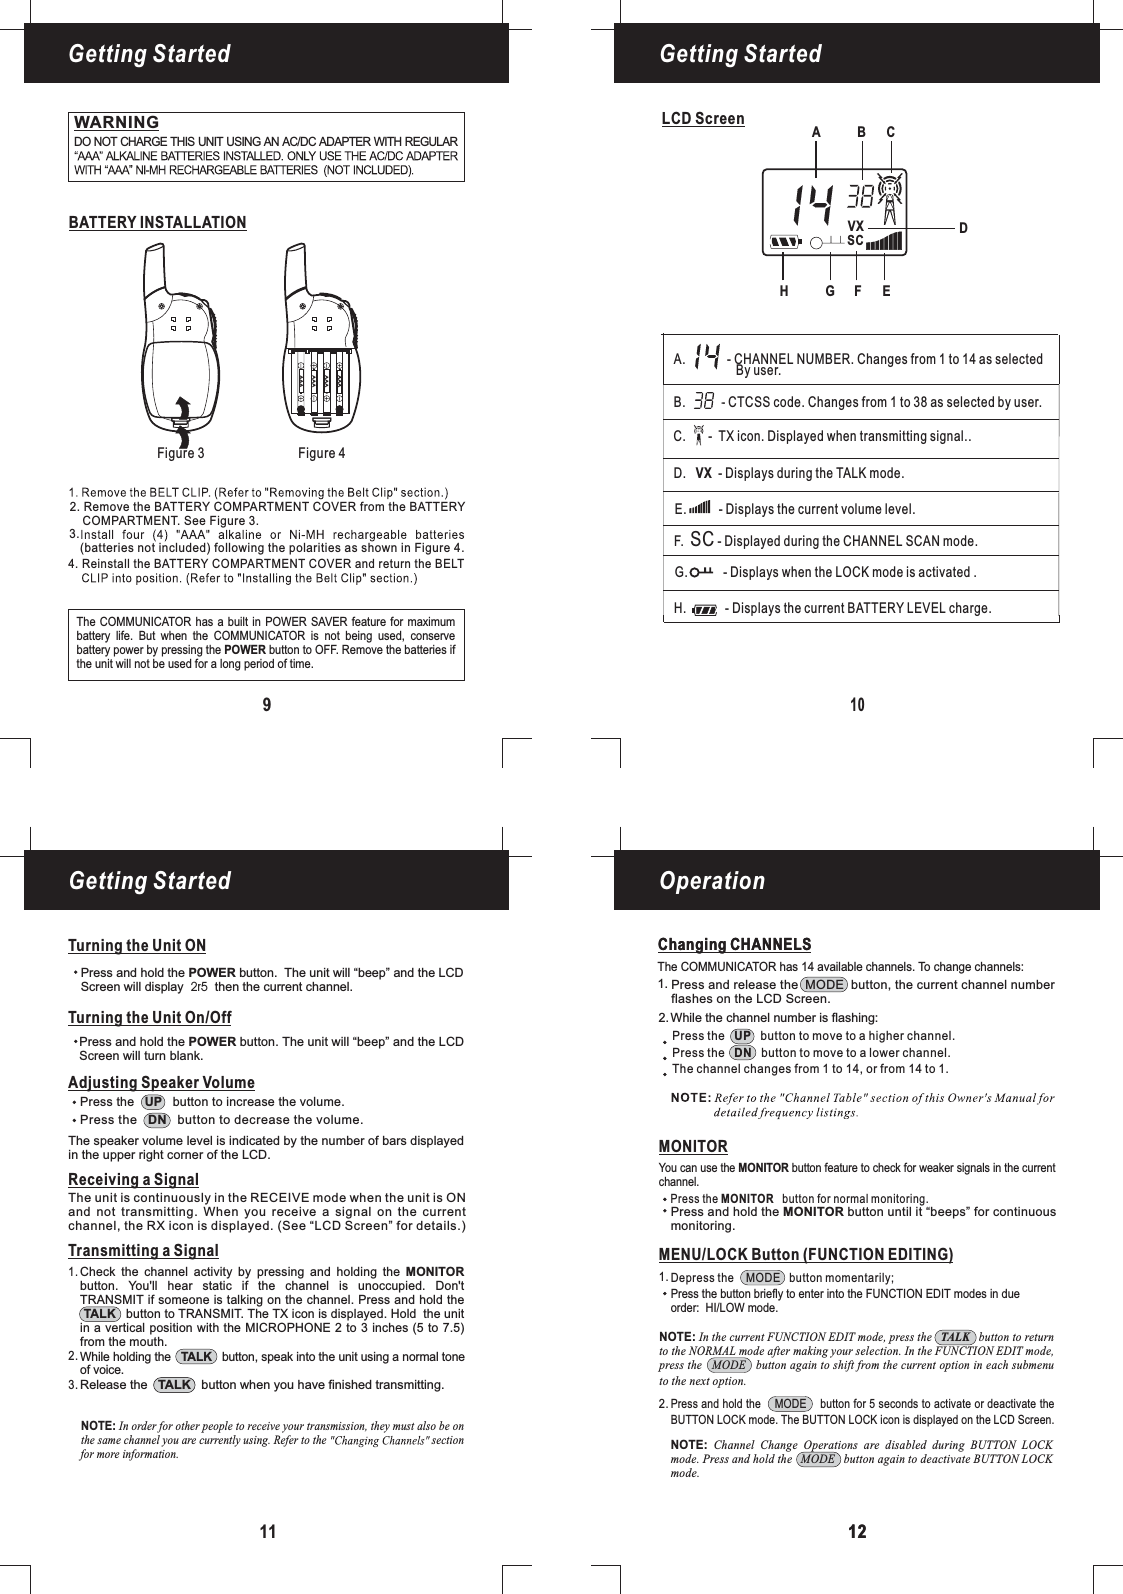
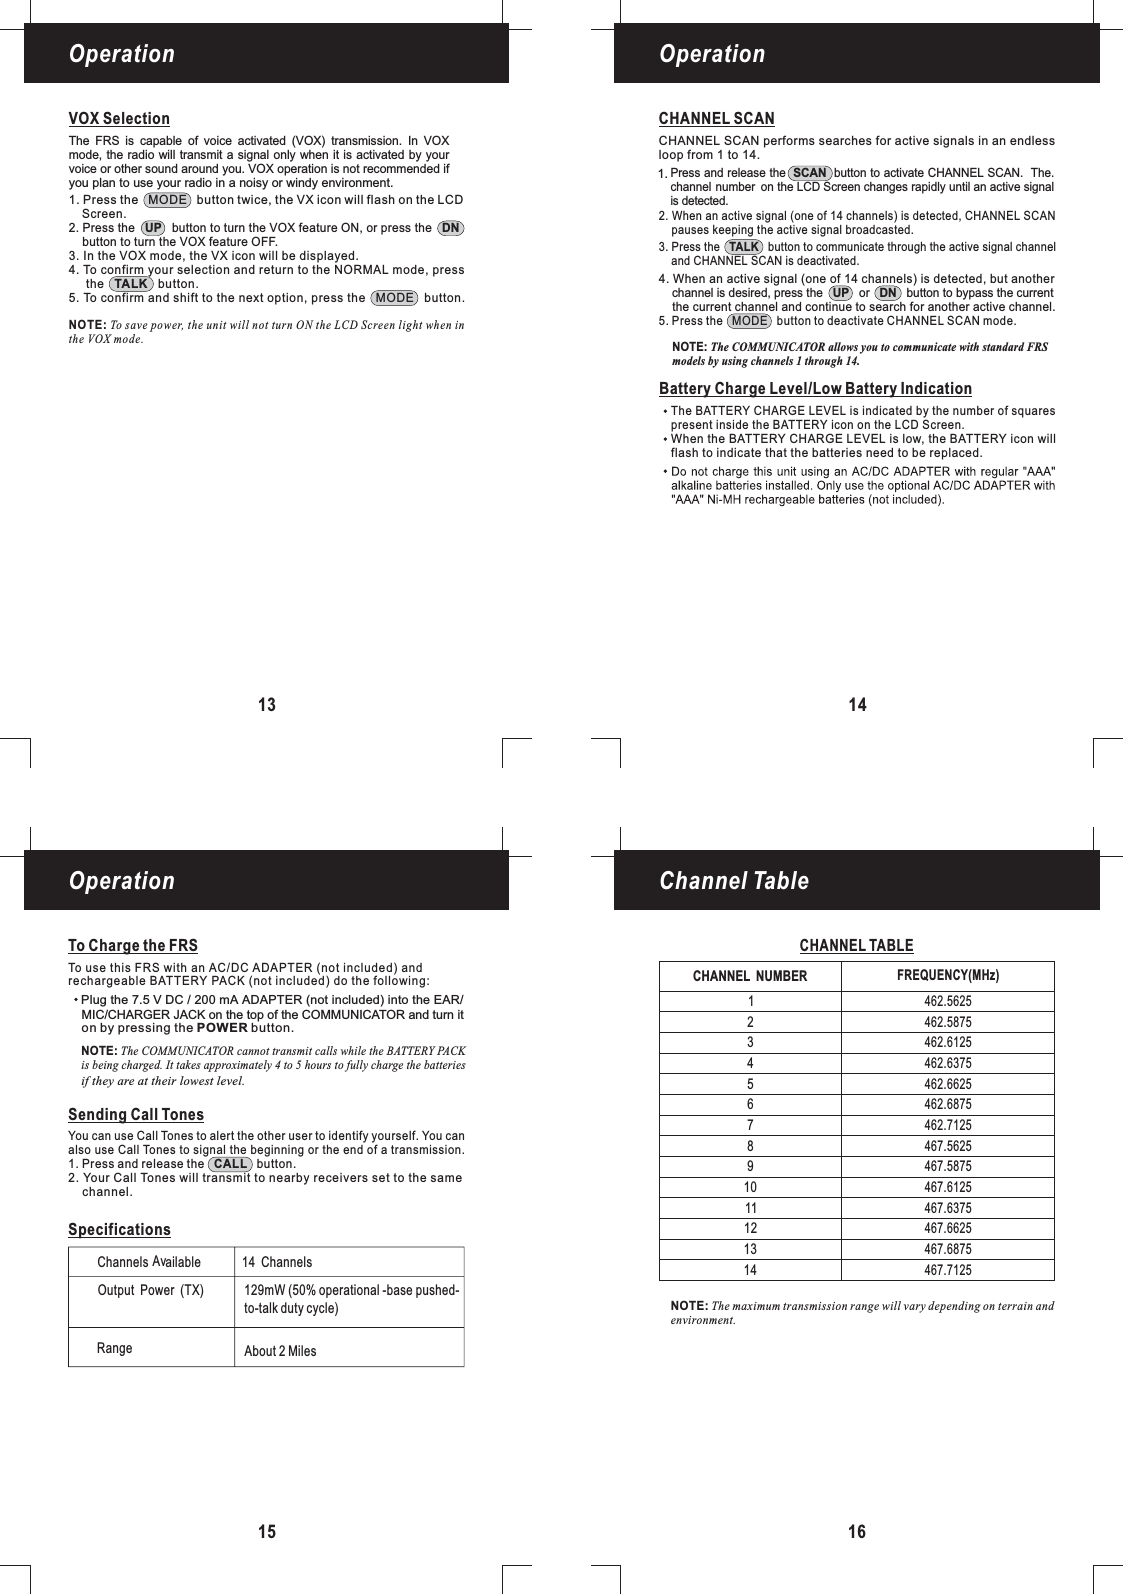
- 1. Revised Users guide
- 2. Revised manual with duty cycle statement
Revised manual with duty cycle statement