NVIDIA P3310 WLAN 2x2 MIMO 802.11a/b/g/n/ac with Bluetooth User Manual Jetson TX2 User Guidex
NVIDIA Corporation WLAN 2x2 MIMO 802.11a/b/g/n/ac with Bluetooth Jetson TX2 User Guidex
NVIDIA >
Contents
- 1. User_Guide
- 2. P3310_Integration_Notes
User_Guide
![Jetson TX2 Developer Kit User Guide Jetson | DA-07498-001v01 | Copyright © 2014 NVIDIA Corporation. All rights reserved. Page 3 of 25 Introduction The NVIDIA® Jetson TX2 Developer Kit is a full-featured development platform for visual computing. It is ideal for applications requiring high computational performance in a low power envelope. The Jetson TX2 Developer kit is designed to get you up and running quickly: It comes pre-flashed with a Linux environment, includes support for many common APIs, and is supported by NVIDIAs complete development tool chain. The board exposes many standard hardware interfaces, enabling a highly flexible and extensible platform. Go to http://developer.nvidia.com/embedded-computing for access to software updates and the developer SDK supporting the OS image and host development platform that you want to use. The SDK includes an OS image that you will load onto your device, developer tools, supporting documentation, and code samples to help you get started. Getting Started Individual development efforts will vary and may result in modifications to the system configuration. It is recommended that you begin with the basic system configuration (as shipped) to ensure proper system operation prior to any further development. Assumptions > You have a Jetson TX2 Tegra Developer System, equipped with the NVIDIA® Tegra® TX1 processor. > Your developer system should be cabled as follows: Serial cable plugged into the serial port on the target connected to your Linux host directly or through a serial-to-USB converter. (To setup serial console on the Linux host.) (Not included in the developer kit) To connect USB peripherals such as keyboard, mouse, and [optional] USB/Ethernet adapter (for network connection), a USB hub should be connected to the working USB port on the Jetson TX2 system. An HDMI cable plugged into the target which is connected to an external HDMI display. An Ethernet cable plugged into the on board Ethernet port. Powering Up the Tegra Device 1. Connect a USB keyboard to the USB Type A connector of your device. 2. Connect an HDMI-compatible display to the HDMI connector on your device. 3. Connect the AC adapter supplied in your kit to the power connector of your device. Use the supplied AC adapter since it is appropriately rated for your kit. 4. Plug the power adapter into an appropriately rated electrical outlet. 5. They system should power on. If not, press and release the power button on the device.](https://usermanual.wiki/NVIDIA/P3310.User-Guide/User-Guide-3262290-Page-3.png)
![Jetson TX2 Developer Kit User Guide Jetson | DA-07498-001v01 | Copyright © 2014 NVIDIA Corporation. All rights reserved. Page 4 of 25 Login Credentials > Username: ubuntu > Password: ubuntu Force Recovery Mode To update your system, you will need to be in Force USB Recovery Mode so you can transfer system software to the developer board. When in Force USB Recovery Mode, you are able to update system software and write the boot loader, boot configuration table (BCT), and partition configuration to the Tegra device. See the Developer SDK documentation for OS specific instructions when updating system software on your developer board. To place system in Force USB Recovery Mode: 1. Power down the device. If connected, remove the AC adapter from the device. The device MUST be powered OFF, not in a suspend or sleep state. 2. Connect the Micro-B plug on the USB cable to the Recovery (USB Micro-B) Port on the device [4] and the other end to an available USB port on the host PC. 3. Connect the power adapter to the device. 4. With the system powered on, press and release the POWER button, if necessary; press and hold the RECOVERY FORCE button; while depressing the RECOVERY FORCE button, press and release the RESET button; wait two seconds and release the RECOVERY FORCE button.](https://usermanual.wiki/NVIDIA/P3310.User-Guide/User-Guide-3262290-Page-4.png)

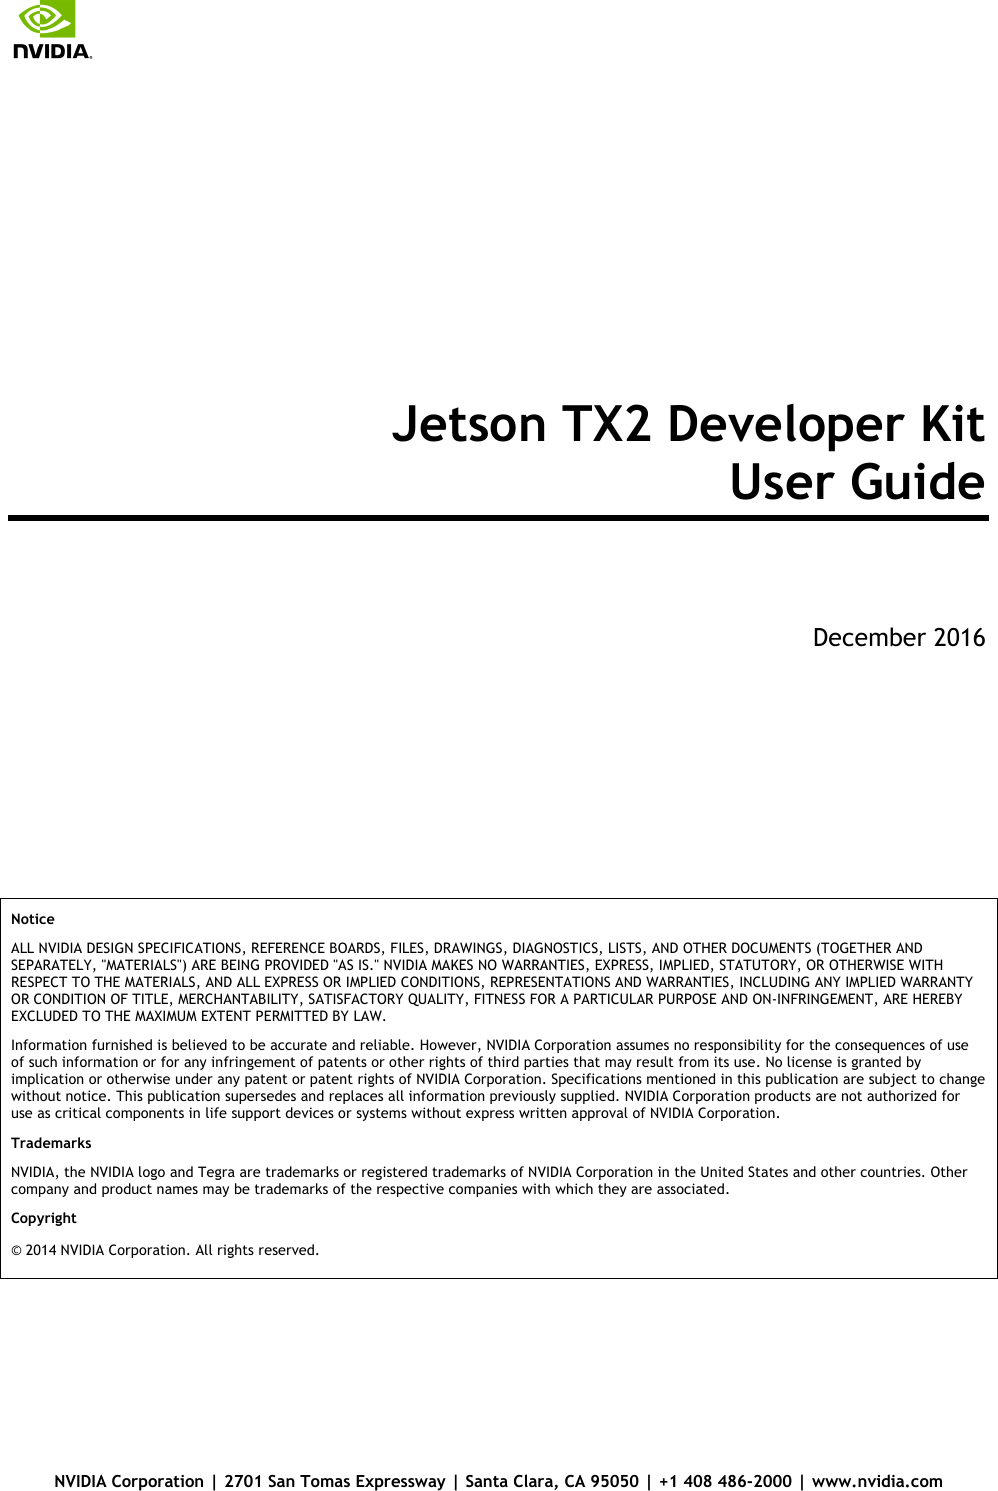
![Jetson TX2 Developer Kit User Guide Jetson | DA-07498-001v01 | Copyright © 2014 NVIDIA Corporation. All rights reserved. Page 6 of 25 -L <PATH_TO_FASTBOOT_BIN_FILE> For example: $ sudo ./flash.sh –L bootloader/<platform>/fastboot.bin <platform> <rootdev> The boot loader and kernel will load. For more information on U-Boot, see the U-Boot Guide chapter of this document. Flash Script Usage You can find the most up-to-date usage information by running flash.sh –h (using the flash.sh script included in the release). The basic usage information is as follows. Usage sudo ./flash.sh [options] <platform> <rootdev> Where you specify the required parameters and one or more of the options shown in the following table. Parameters Description <platform> Is jetson-tx2. <rootdev> Is one of following: mmcblk0p1 Specifies internal eMMC. mmcblk1p1 Specifies external SDCARD. sda1 Specifies external USB device (such as, USB memory stick or HDD). eth0 Specifies nfsroot via external USB Ethernet interface. Options Description -h Specifies to print this usage information. -b <bctfile> Specifies the NvFlash Boot Configuration Table (BCT) file. -c <cfgfile> Specifies the NvFlash configuration file. -d <dtbfile> Optionally specifies a device tree file to use instead of the default. -e <emmc_file> Specifies the eMMC size of the target device. -f <flashapp> Specifies the path to flash application: nvflash or tegra-rcm. -i Specifies to pass the user kernel command line to the kernel as-is. -k <partition id> Specifies the kernel partition ID to be updated (minimum = 5). -n <nfs args> Specifies the static NFS network assignments: <Client IP>:<Server IP>:<Gateway IP>:<Netmask> -o <odmdata> Specifies the ODM data value. -p Total eMMC HW boot partition size. -r Specifies to skip building and reuse existing system.img.](https://usermanual.wiki/NVIDIA/P3310.User-Guide/User-Guide-3262290-Page-6.png)
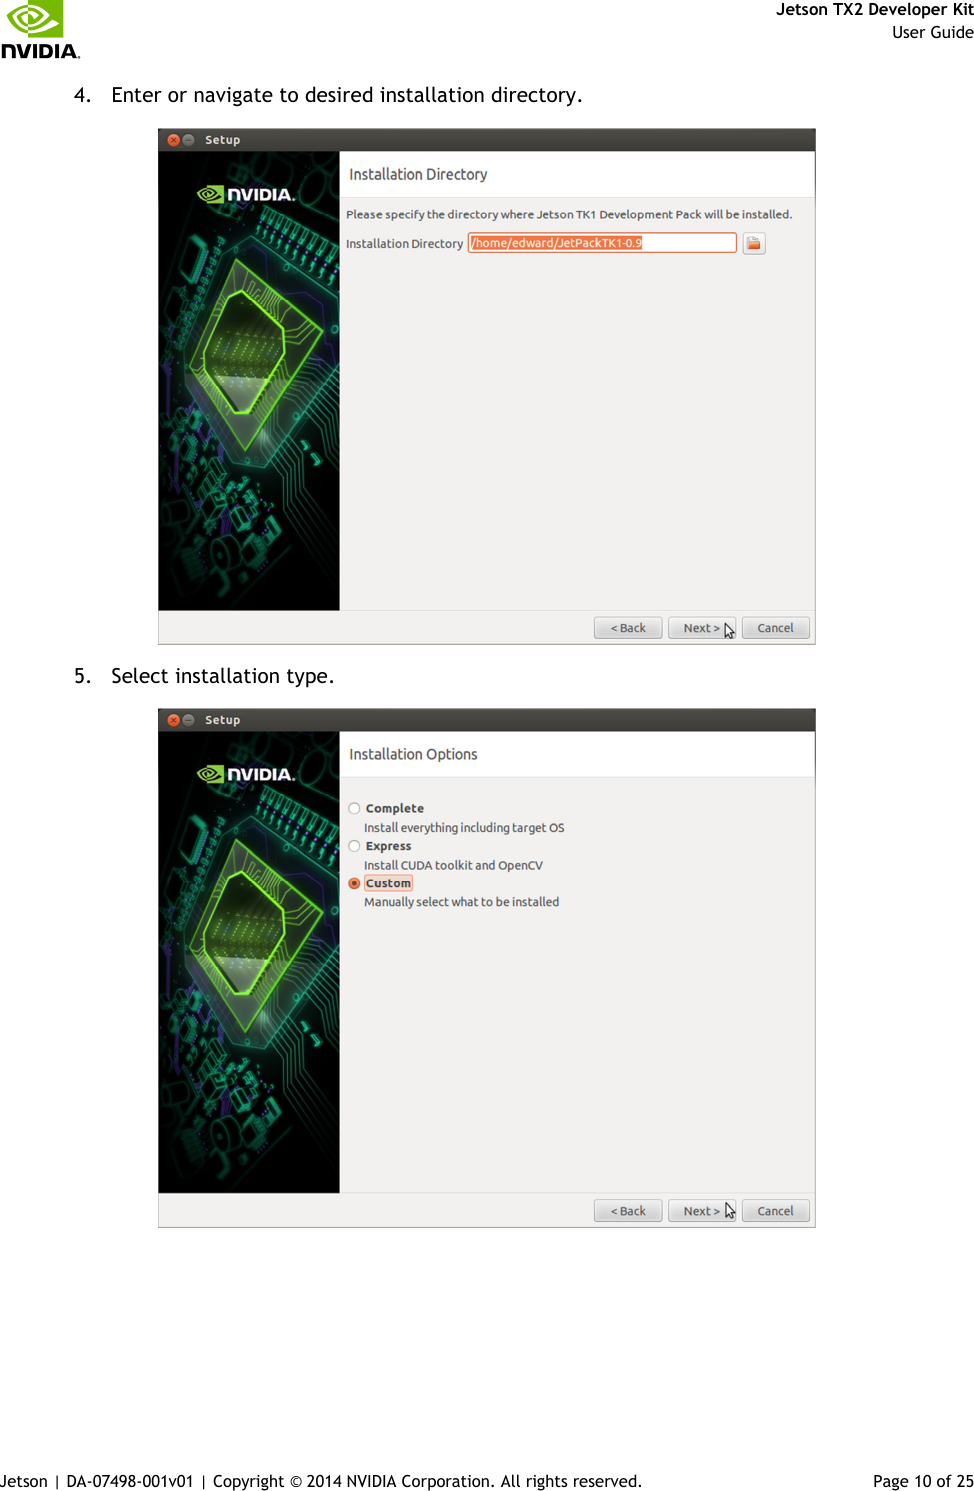
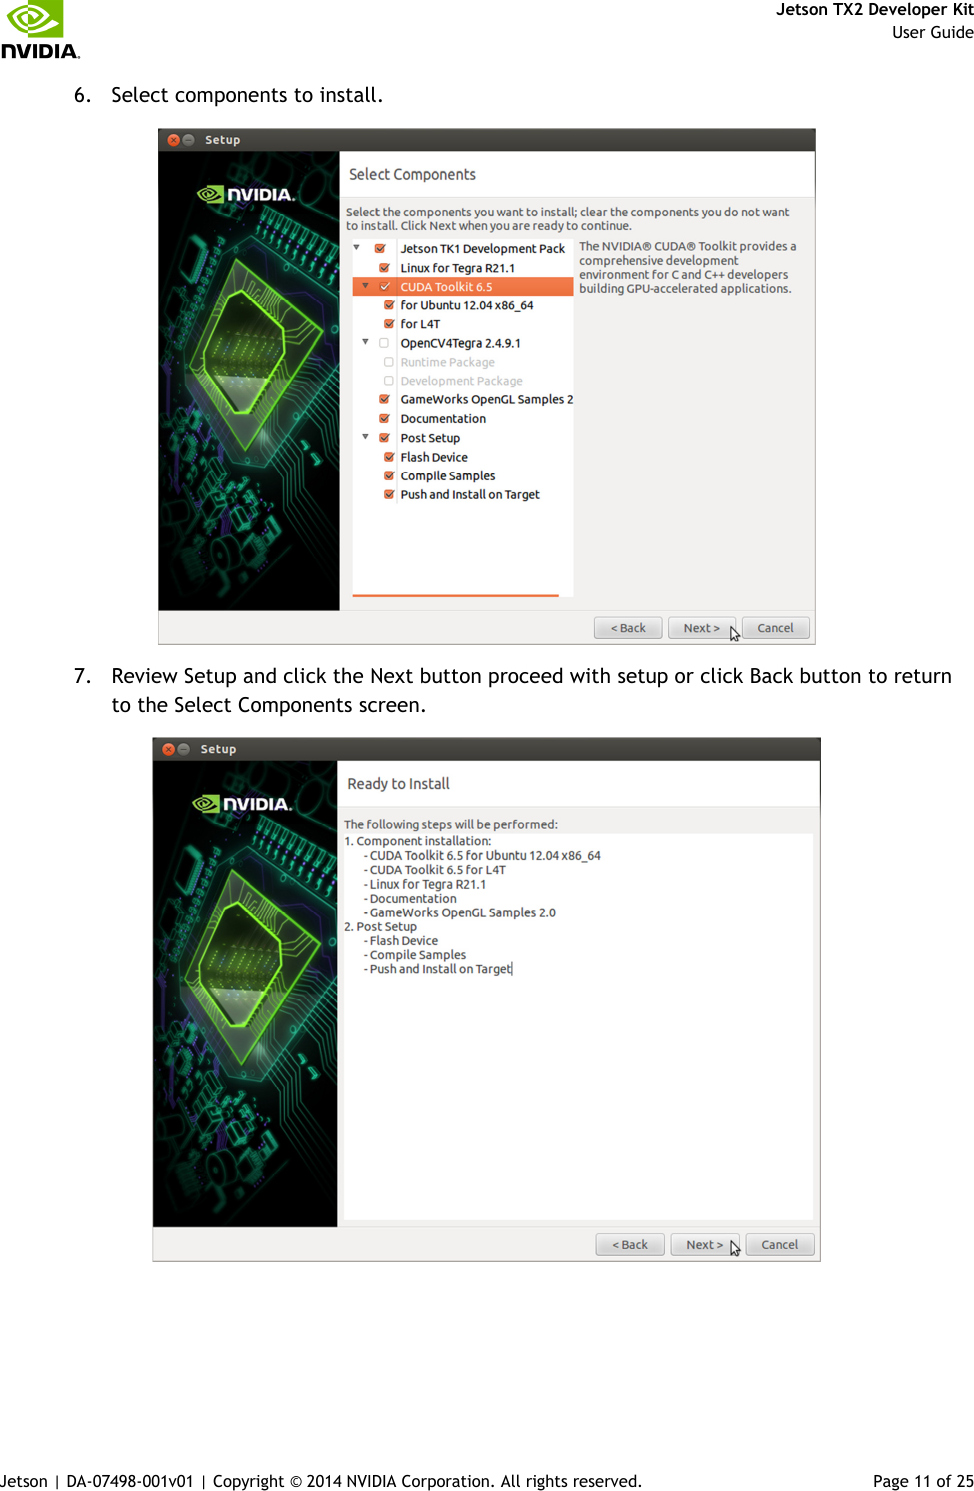
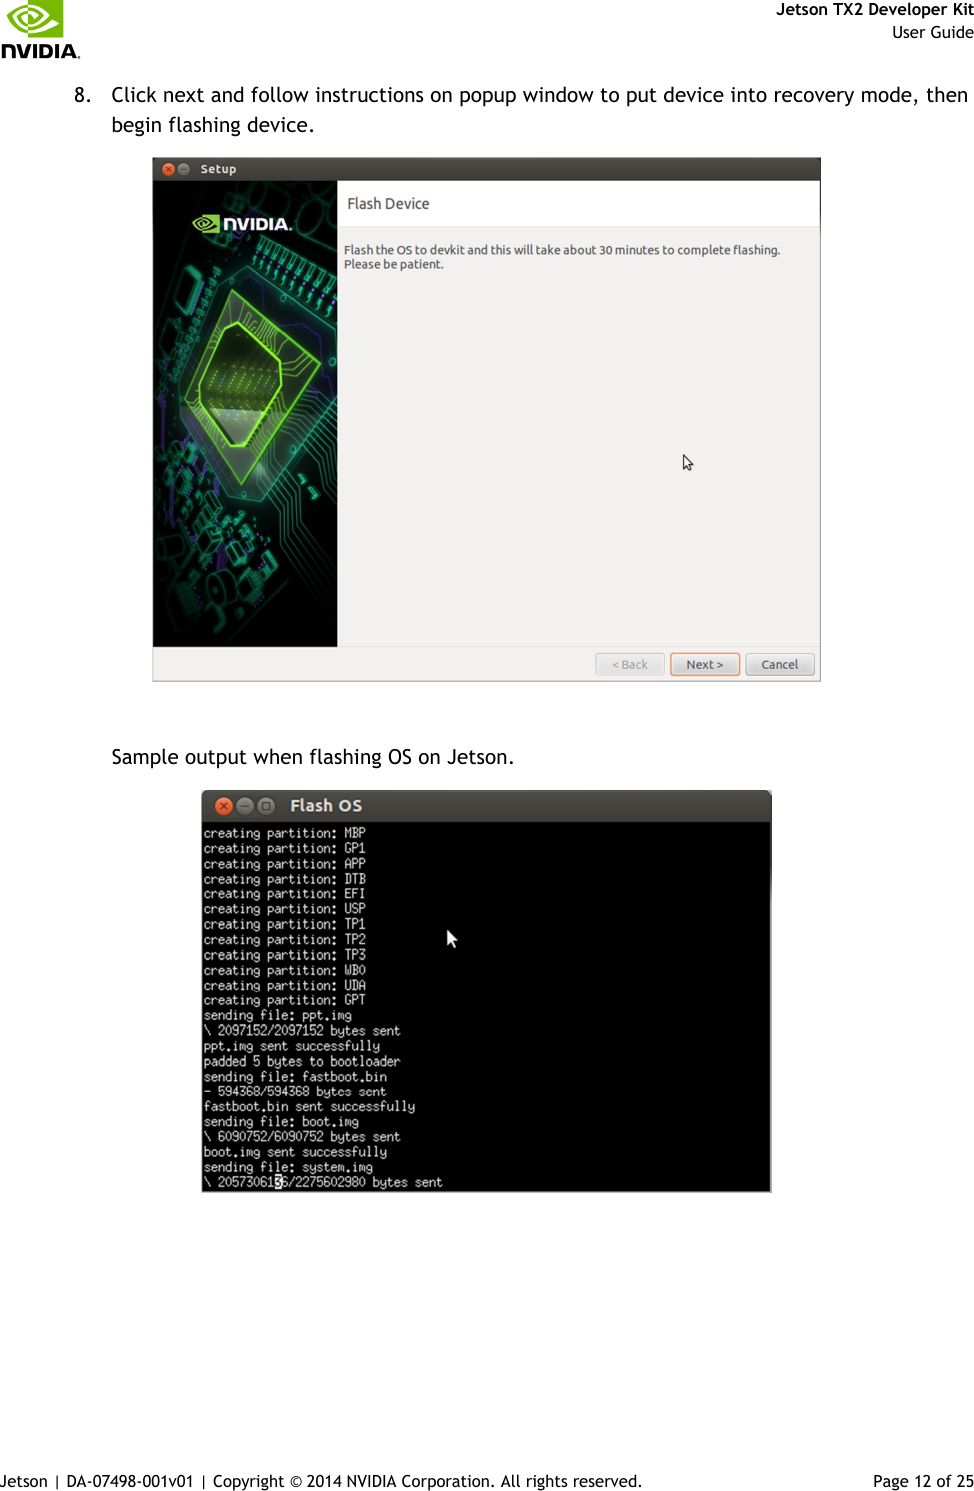
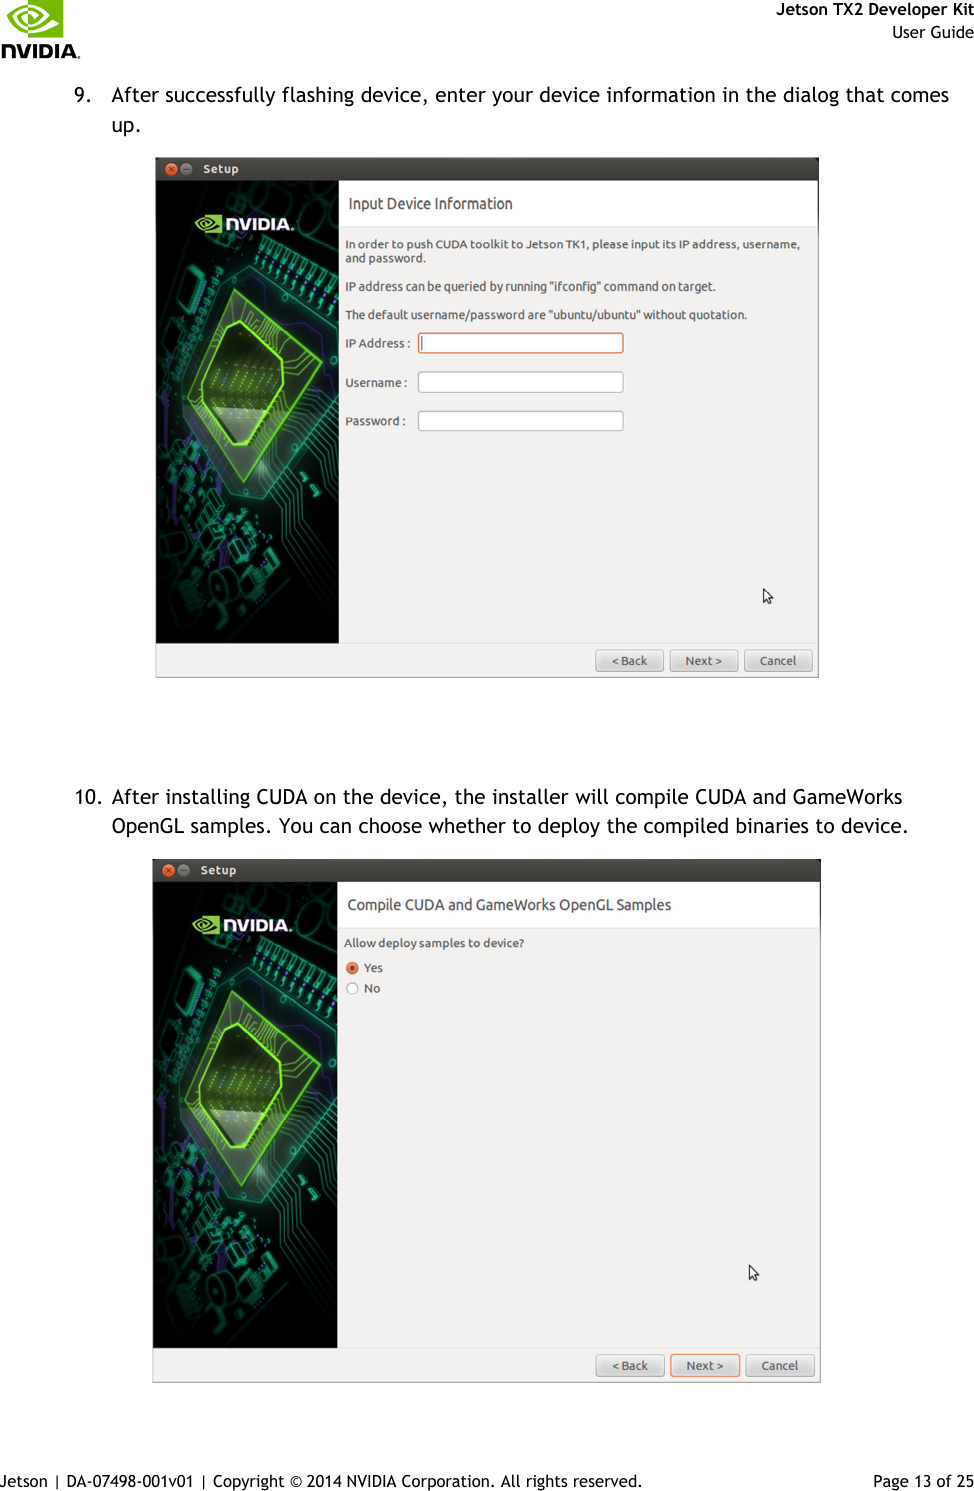
![Jetson TX2 Developer Kit User Guide Jetson | DA-07498-001v01 | Copyright © 2014 NVIDIA Corporation. All rights reserved. Page 8 of 25 JetPack This section is intended to help you get familiar with installing Jetson TX2 Developer Pack (JetPack TX1), using the tools and running sample code. Before you Begin > You have a Jetson TX2 Tegra Developer Kit equipped with the NVIDIA Tegra TX1 processor. > You have a host machine that is running Linux. > Your developer system is cabled as follows: Serial cable plugged into the serial port J1A2 UART4 on the target connected to your Linux host directly or through a serial-to-USB converter. (To setup serial console on the Linux host.) USB Micro-B cable connecting Jetson TX2 (J1E1 USB0) to your Linux host for flashing. (Not included in the developer kit) To connect USB peripherals such as keyboard, mouse, and [optional] USB/Ethernet adapter (for network connection), a USB hub should be connected to the working USB port (J1C2 USB2) on the Jetson TX2 system. An HDMI cable plugged into "J1C1 HDMI1" on the target which is connected to an external HDMI display. An Ethernet cable plugged into the J1D1 on board Ethernet port. > Download latest JetPack TX1 The latest version of Jetson TX2 Development Pack (JetPack TX1) is available at NVIDIA Developer. All available JetPack TX1 downloads here. Installing JetPack TX1 Assumes you downloaded the latest JetPack TX1 version, jetpack-${VERSION}.run. ${VERSION} refers to the version string for the installer you got. 1. Add execute permissions for the jetpack-${VERSION}.run chmod +x jetpack-${VERSION}.run](https://usermanual.wiki/NVIDIA/P3310.User-Guide/User-Guide-3262290-Page-8.png)