Pantech Co P6010 GSM/WCDMA Phone with Bluetooth User Manual
Pantech Co Ltd GSM/WCDMA Phone with Bluetooth Users Manual
UserManual.wiki
>
Pantech Co
>
P6010 User Manual
Users Manual
Navigation menu
Upload a User Manual
Namespaces
Wiki Guide
HTML
PDF
Info
Views
User Manual
Discussion / Help
Navigation


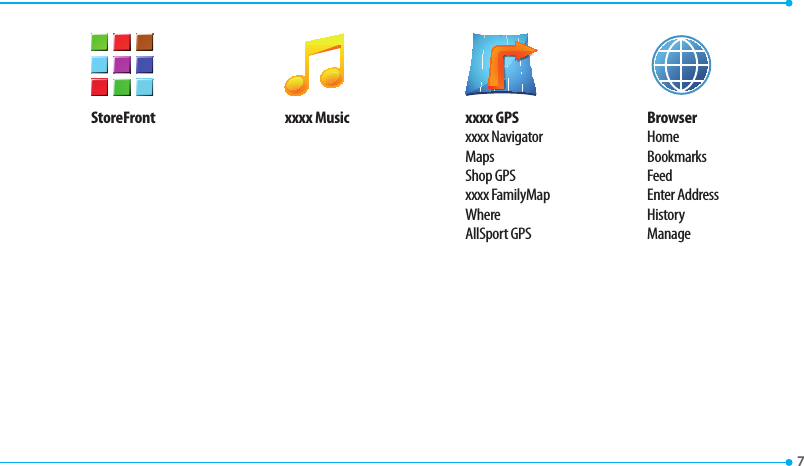


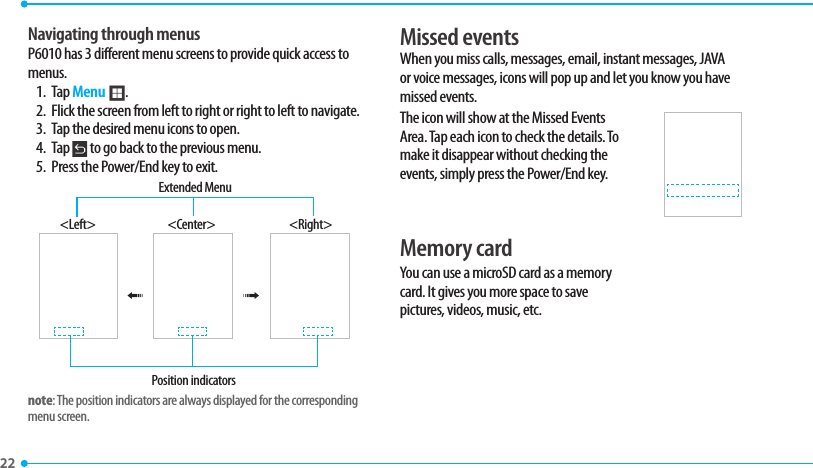


![38 Entering textEnter text by using the virtual keypad on your touch screen and using the QWERTY keypad. This chapter explains how to enter text in case you send a new text message, to see detailed information on “Sending a new text message,” see page 40.Using the virtual keypad on your touch screen1432Number Function1 Switch between upper and lower case.2Changes the text input mode.3 Inserts a space4 Deletes a letterPredictive mode Predictive mode automatically compares your keystrokes with an internal linguistic dictionary to determine the correct word. It will display the most commonly used word first. To save a word not listed in phone’s dictionary, 1. Tap abc > to change the mode to T9.2. [ ] Tap 4 to 5 to input text. To enter ‘Hello’ in the touch keypad, tap 6 7 8 8 [.Alphabet input modeTap the key labeled with the target letter once for the first letter tap it twice for the second letter, and so on.1. Tap abc > to change the mode to abc.2. [ ] Tap 4 to 5 to input text. To enter the letter “c”, tap 4 3 times. To enter number 2, tap 4 4 times.note: Tap to input the capital letter. For example, if you want to input A, tap > 4.Numeric modeYou can input numbers in this mode.1. Tap abc > to change the mode to 123.2. [ ] Tap 1 to 9 and 0 to input numbers.](https://usermanual.wiki/Pantech-Co/P6010/User-Guide-1428503-Page-38.png)