Samsung Electronics Co 62230ANH Intel Centrino Advanced-N 623 User Manual Amor2 eng indb
Samsung Electronics Co Ltd Intel Centrino Advanced-N 623 Amor2 eng indb
UserManual.wiki
>
Samsung Electronics Co
>
62230ANH User Manual
>
User manaul
Contents
1.
User Manual
2.
User manaul
3.
User manual
4.
user manual
User manaul
Navigation menu
Upload a User Manual
Namespaces
Wiki Guide
HTML
PDF
Info
Views
User Manual
Discussion / Help
Navigation

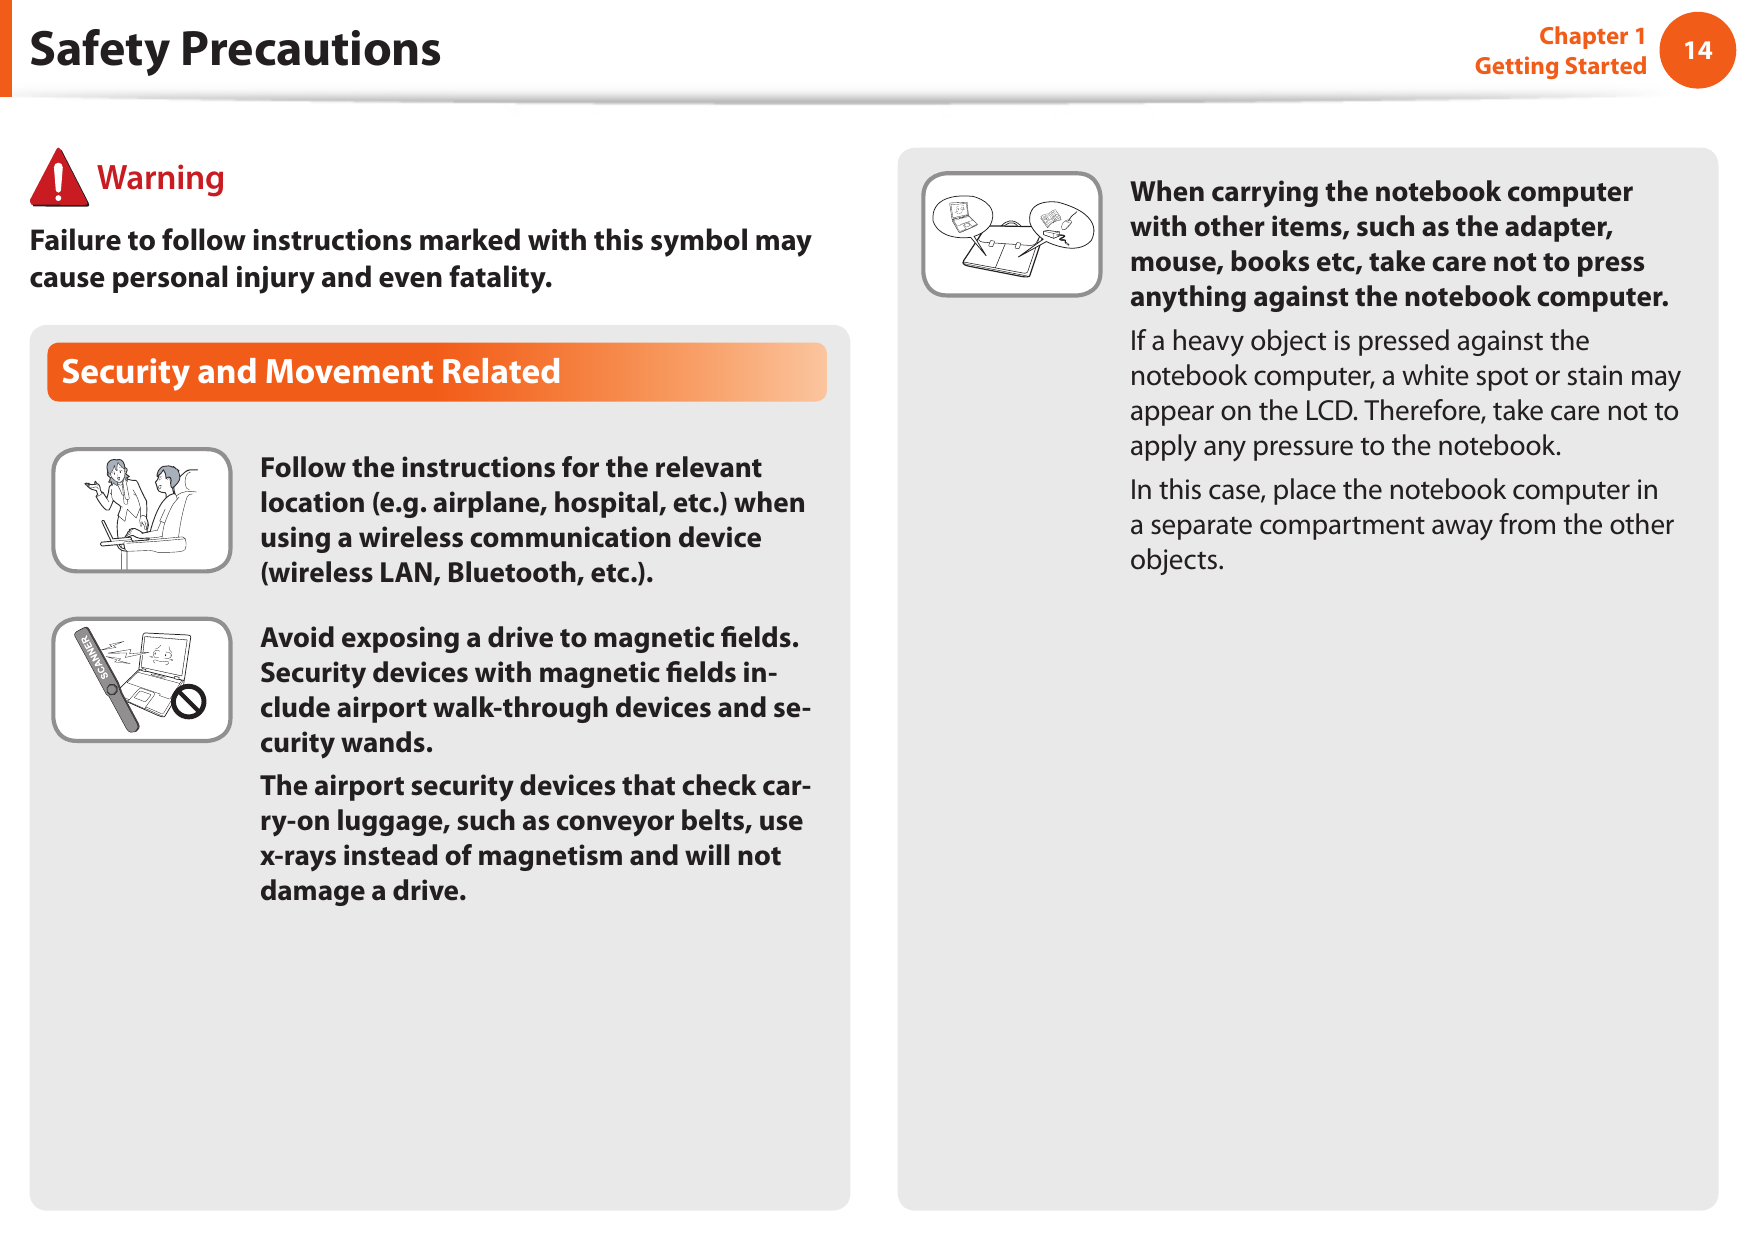
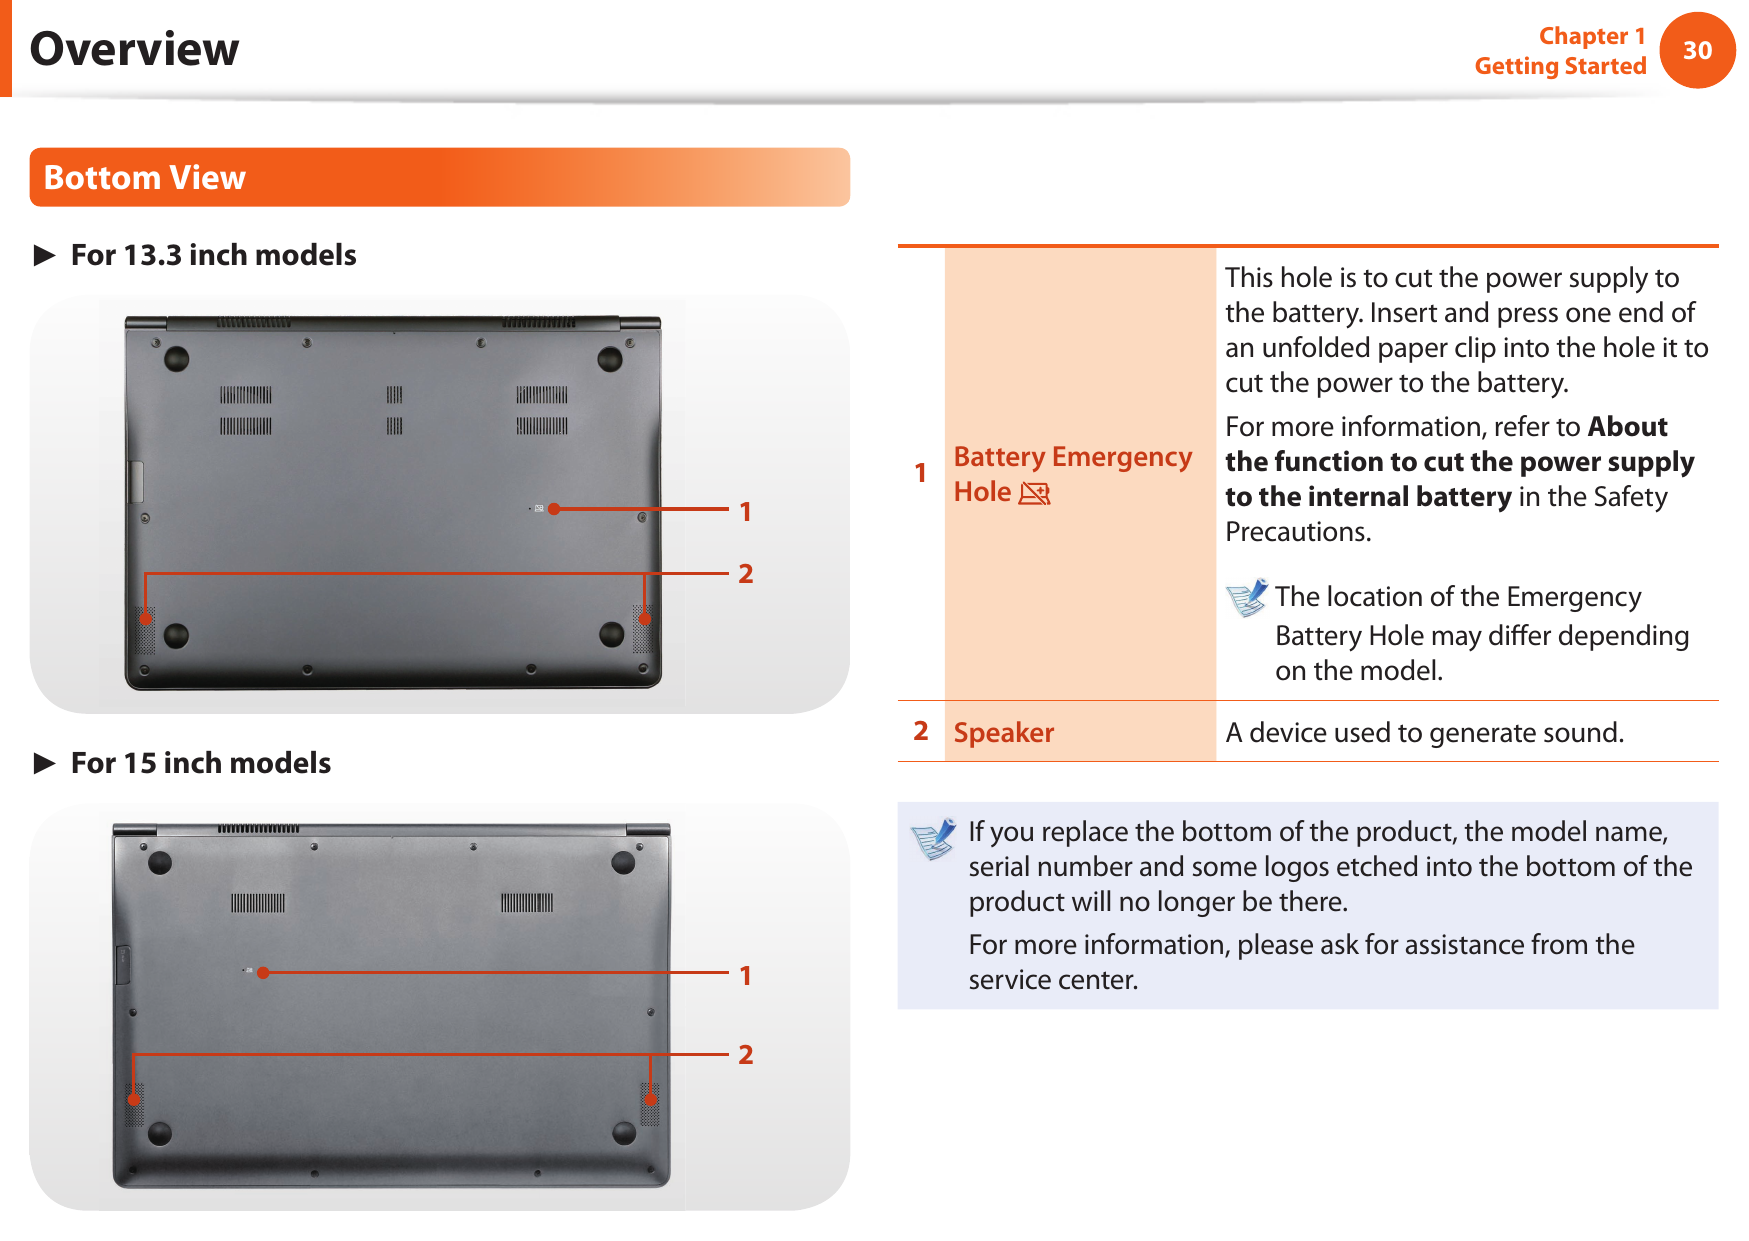
![1011Chapter 1 Getting StartedCutting the power to the internal battery (for corresponding models only.)For products with built-in batteries, customers cannot remove • the battery. In the case of ooding, lightning or explosions, you can cut • the battery power by inserting an object such as a paper clip into the [Emergency Hole] at the bottom of the computer. Disconnect the AC adapter and insert an object such as a • paper clip into the hole at the bottom of the computer to cut the battery power. In the case of ooding, lightning or explosions, cut the battery power, do not reconnect the AC adapter, and immediately contact Samsung Electronics so that the appropriate countermeasures can be taken.Never heat the product(or battery) or put the product(or battery) into a re. Do not put or use the product(or battery) in a hot location such as a sauna, inside a vehicle exposed to the heat, and so on.There is a danger of an explosion or re.Take care not to allow metal objects such as a key or clip to touch the battery terminal (metal parts).If a metal object touches the battery terminals, it may cause excessive current ow and it may damage the battery, or result in a re.If liquid leaks out of the product(or battery) or there is a funny smell coming from the product(or battery), remove the the product(or battery) the computer and contact a service center.There is a danger of an explosion or re.To use the computer safely, replace a dead battery with a new, authorized battery.Safety Precautions WarningFailure to follow instructions marked with this symbol may cause personal injury and even fatality.](https://usermanual.wiki/Samsung-Electronics-Co/62230ANH.User-manaul/User-Guide-1632510-Page-12.png)