Samsung Electronics Co S900 Notebook PC User Manual English
Samsung Electronics Co Ltd Notebook PC English
UserManual.wiki
>
Samsung Electronics Co
>
S900 User Manual
>
Users Manual3
Contents
1.
Users Manual 1
2.
Users Manual1
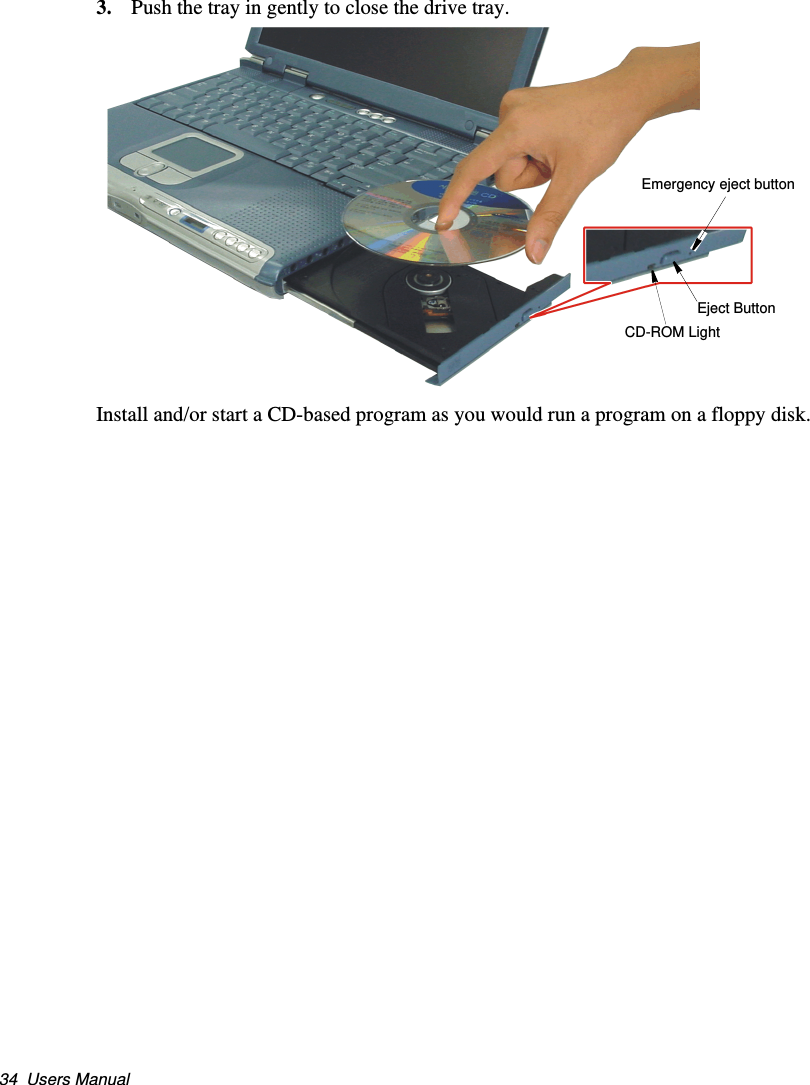
3.
Users Manual2
4.
Users Manual3
Users Manual3
Navigation menu
Upload a User Manual
Namespaces
Wiki Guide
HTML
PDF
Info
Views
User Manual
Discussion / Help
Navigation

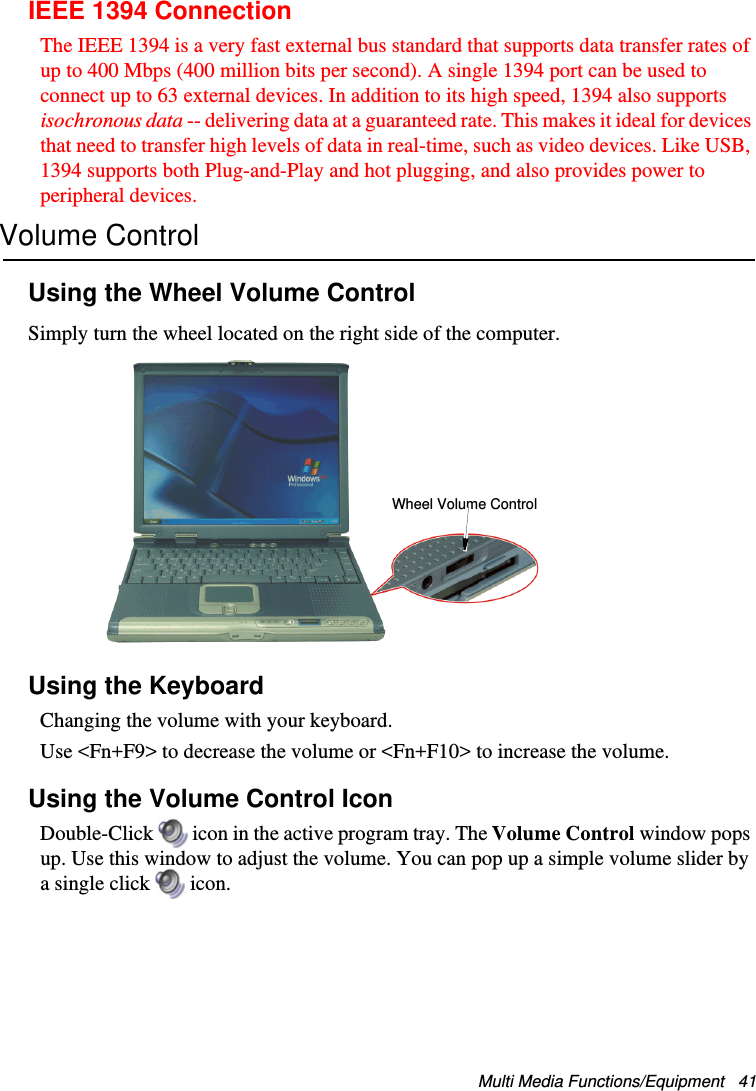
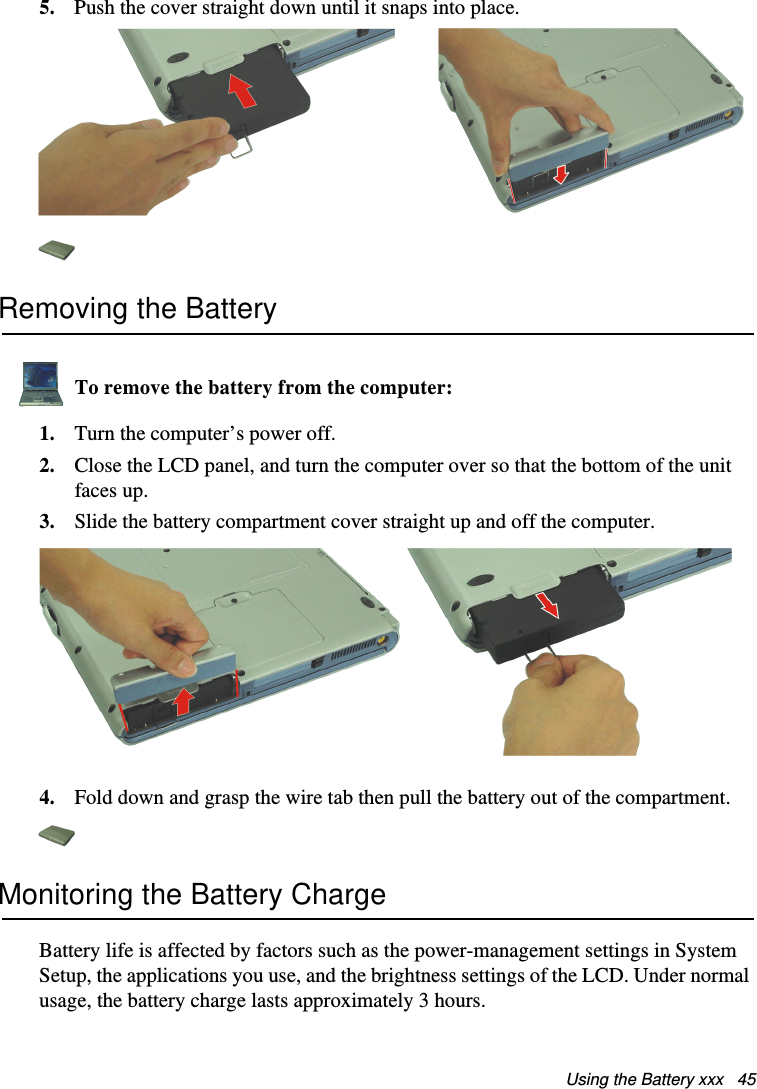
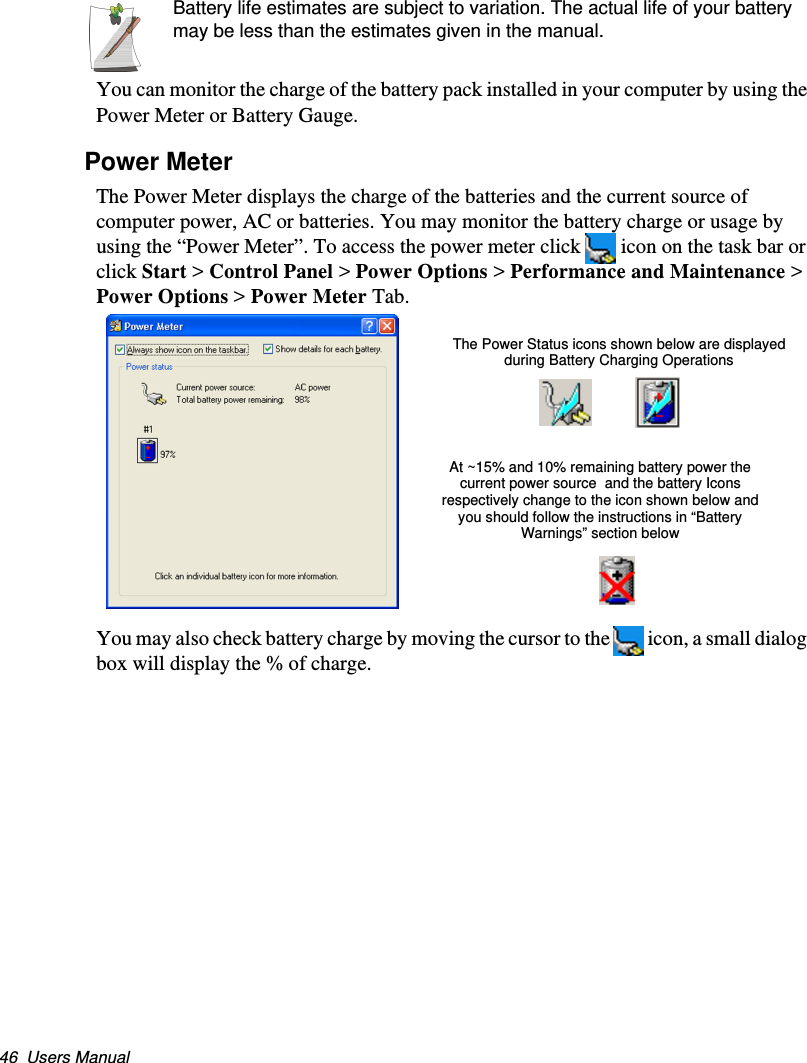
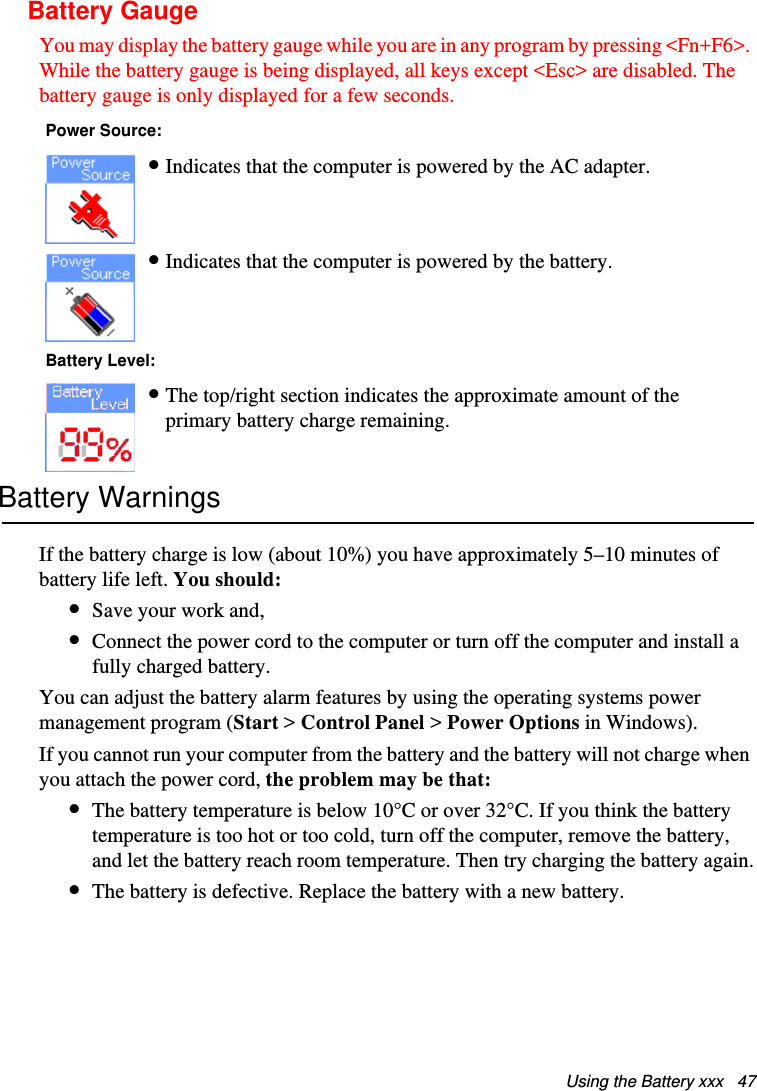
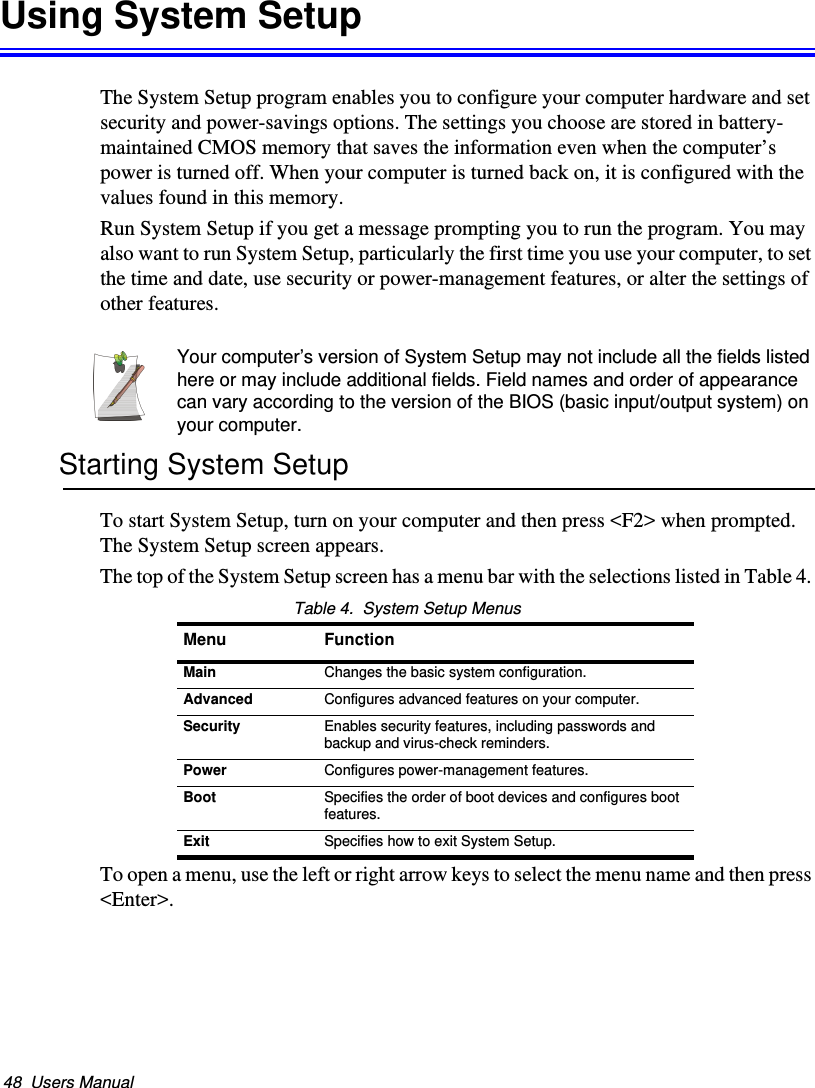
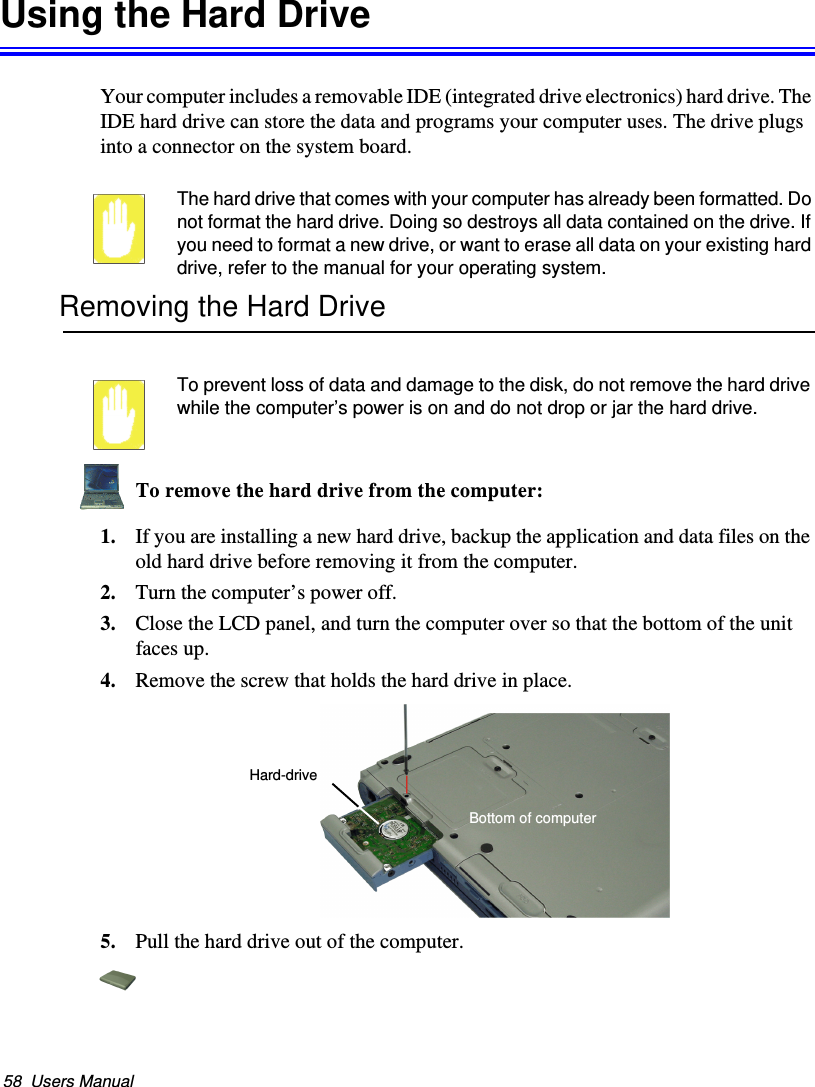
![40 Users ManualTo Play/Pause Resume an Audio CD follow the instructions below:1. Verify the computer is off and that a CD-ROM device is in the flex-bay.Audio DJ Power Buttons:If a CD-ROM device is not in the flex-bay, the Audio DJ power button will not energize the Audio DJ.Computer Button Operation:All of the buttons are non functional while Audio DJ os operating except the Power Button. Pressing the Power Button will stop Audio DJ and start Windows.2. Press the Audio DJ power button until the icon is displayed in the track display window [Labeled: DIGITAL SOUND].3. Press the button on the CD-ROM drive or the button on the Audio DJ button bar.4. Insert a Audio CD into your CD-ROM drive label side up.5. Press the button on the Audio DJ.To Pause/Resume playing an Audio CD proceed as follows:1. Press the CD button to pause the CD.2. Press the button to restart the CD.To Stop an Audio CD follow the instructions below:1. Press the button to stop the CD.2. Press the button again or press the button on the CD-ROM device to open the CD drive tray.3. Remove the Audio CD, then close the tray.4. Press the power button on the Audio DJ to toun off the Audio DJ power.Dolby Digital & Dolby Theater SystemYour computer supports Dolby Digital & Dolby Theater System through a SPDIF connector, located next to the volume control wheel on the left side of the computer. You must have a 3.5 mm (mono)- to RCA cable to use this port.Matrix II (Windows XP) - English.fm Page 40 Thursday, September 13, 2001 11:42 AM](https://usermanual.wiki/Samsung-Electronics-Co/S900.Users-Manual3/User-Guide-173200-Page-10.png)