Samsung Electronics Co SGHT999L Portable Handset with Multi-band WCDMA/GSM/EDGE/LTE, WLAN, RFID and Bluetooth User Manual T Mobile SGH T999L
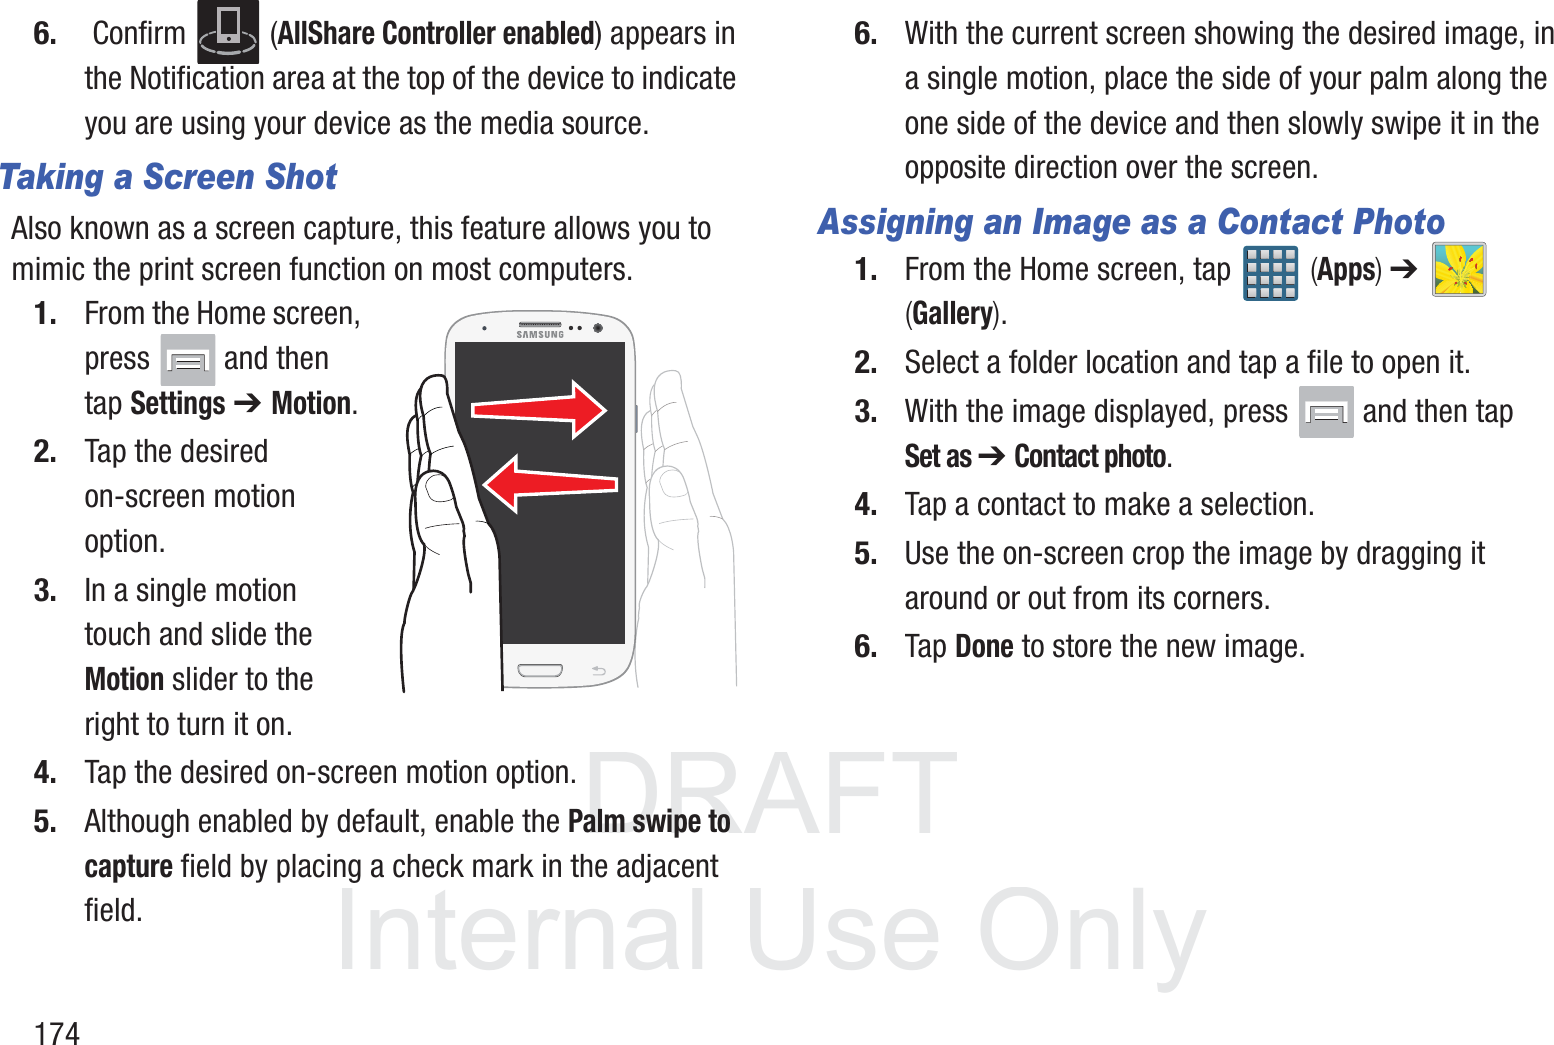
Samsung Electronics Co Ltd Portable Handset with Multi-band WCDMA/GSM/EDGE/LTE, WLAN, RFID and Bluetooth T Mobile SGH T999L
Contents
- 1. Users Manual 1
- 2. Users Manual 2
- 3. Users Manual 3
- 4. Health/Safety/Warranty Guide
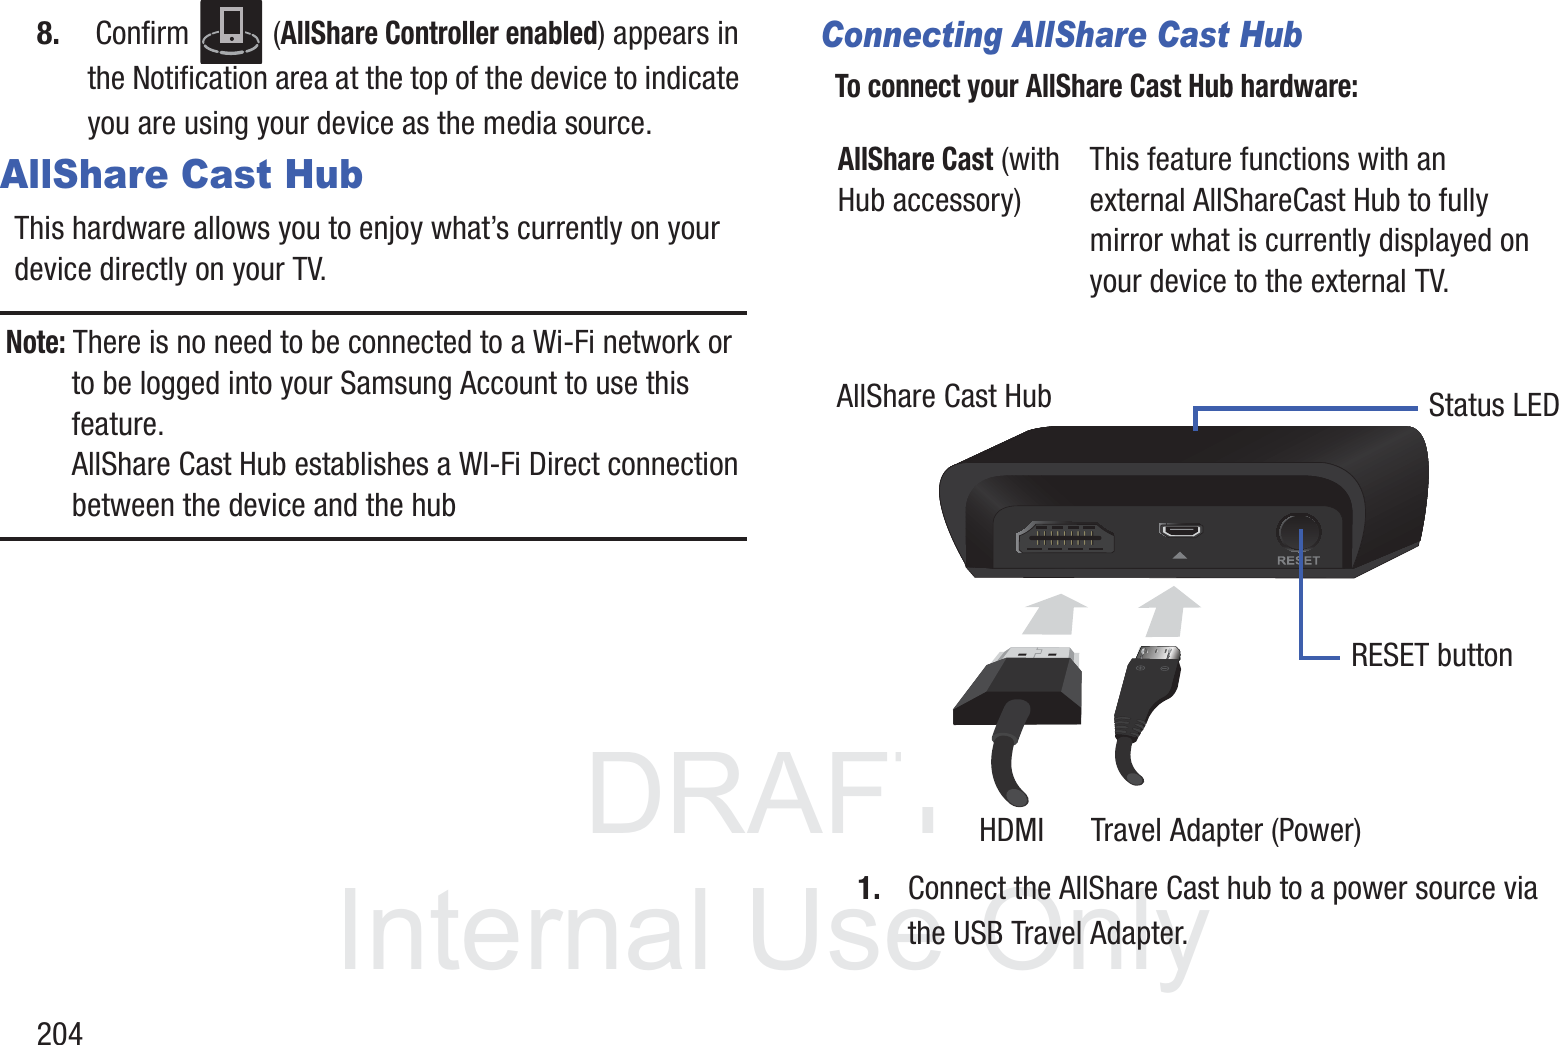
Users Manual 2


![DRAFT InternalUse OnlyApplications and Development 211Section 9: Applications and DevelopmentThis section contains a description of each application that is available in the Applications Menu, its function, and how to navigate through that particular application. If the application is already described in another section of this user manual, then a cross reference to that particular section is provided.Note: This manual only addresses applications that have been loaded on your [device/computer/tablet] as of the date of purchase. Information concerning third party applications that you may choose to download from the Google Play Store or otherwise should be obtained from the application provider directly.Tip: To open applications quickly, add the icons of frequently-used applications to one of the Home screens. For more information, refer to “Customizing the Screens” on page 59.You can also add an application icon as a Primary Shortcut that will display on all Home screens. If you add an application as a primary shortcut, the application icon will not be displayed in the Applications menu. ApplicationsThe Applications list provides quick access to all the available applications on the phone. AllShare PlayThis application wirelessly synchronizes your Samsung mobile phone with your TV, streams content and even keeps tabs on who calls or sends text messages with real-time, on-screen monitoring. Samsung’s AllShare makes staying connected easy.Allows users to share their in-device media content with other external devices using DLNA certified™ (Digital Living Network Alliance) Devices. These external devices must also be DLNA-compliant. Wi-Fi capability can be provided to TVs via a digital multimedia streamer.AllShare Definitions: AllShareThis uses the traditional DLNA technology for sharing multimedia (photos, videos, or music) to your Samsung Smart TV and other DLNA devices.](https://usermanual.wiki/Samsung-Electronics-Co/SGHT999L.Users-Manual-2/User-Guide-1910675-Page-62.png)