Samsung Electronics Co SLC480FW Printer User Manual 4
Samsung Electronics Co Ltd Printer 4
UserManual.wiki
>
Samsung Electronics Co
>
SLC480FW User Manual
>
User Manual 4
Contents
1.
User Manual 1
2.
User Manual 2
3.
User Manual 3
4.
User Manual 4
User Manual 4
Navigation menu
Upload a User Manual
Namespaces
Wiki Guide
HTML
PDF
Info
Views
User Manual
Discussion / Help
Navigation
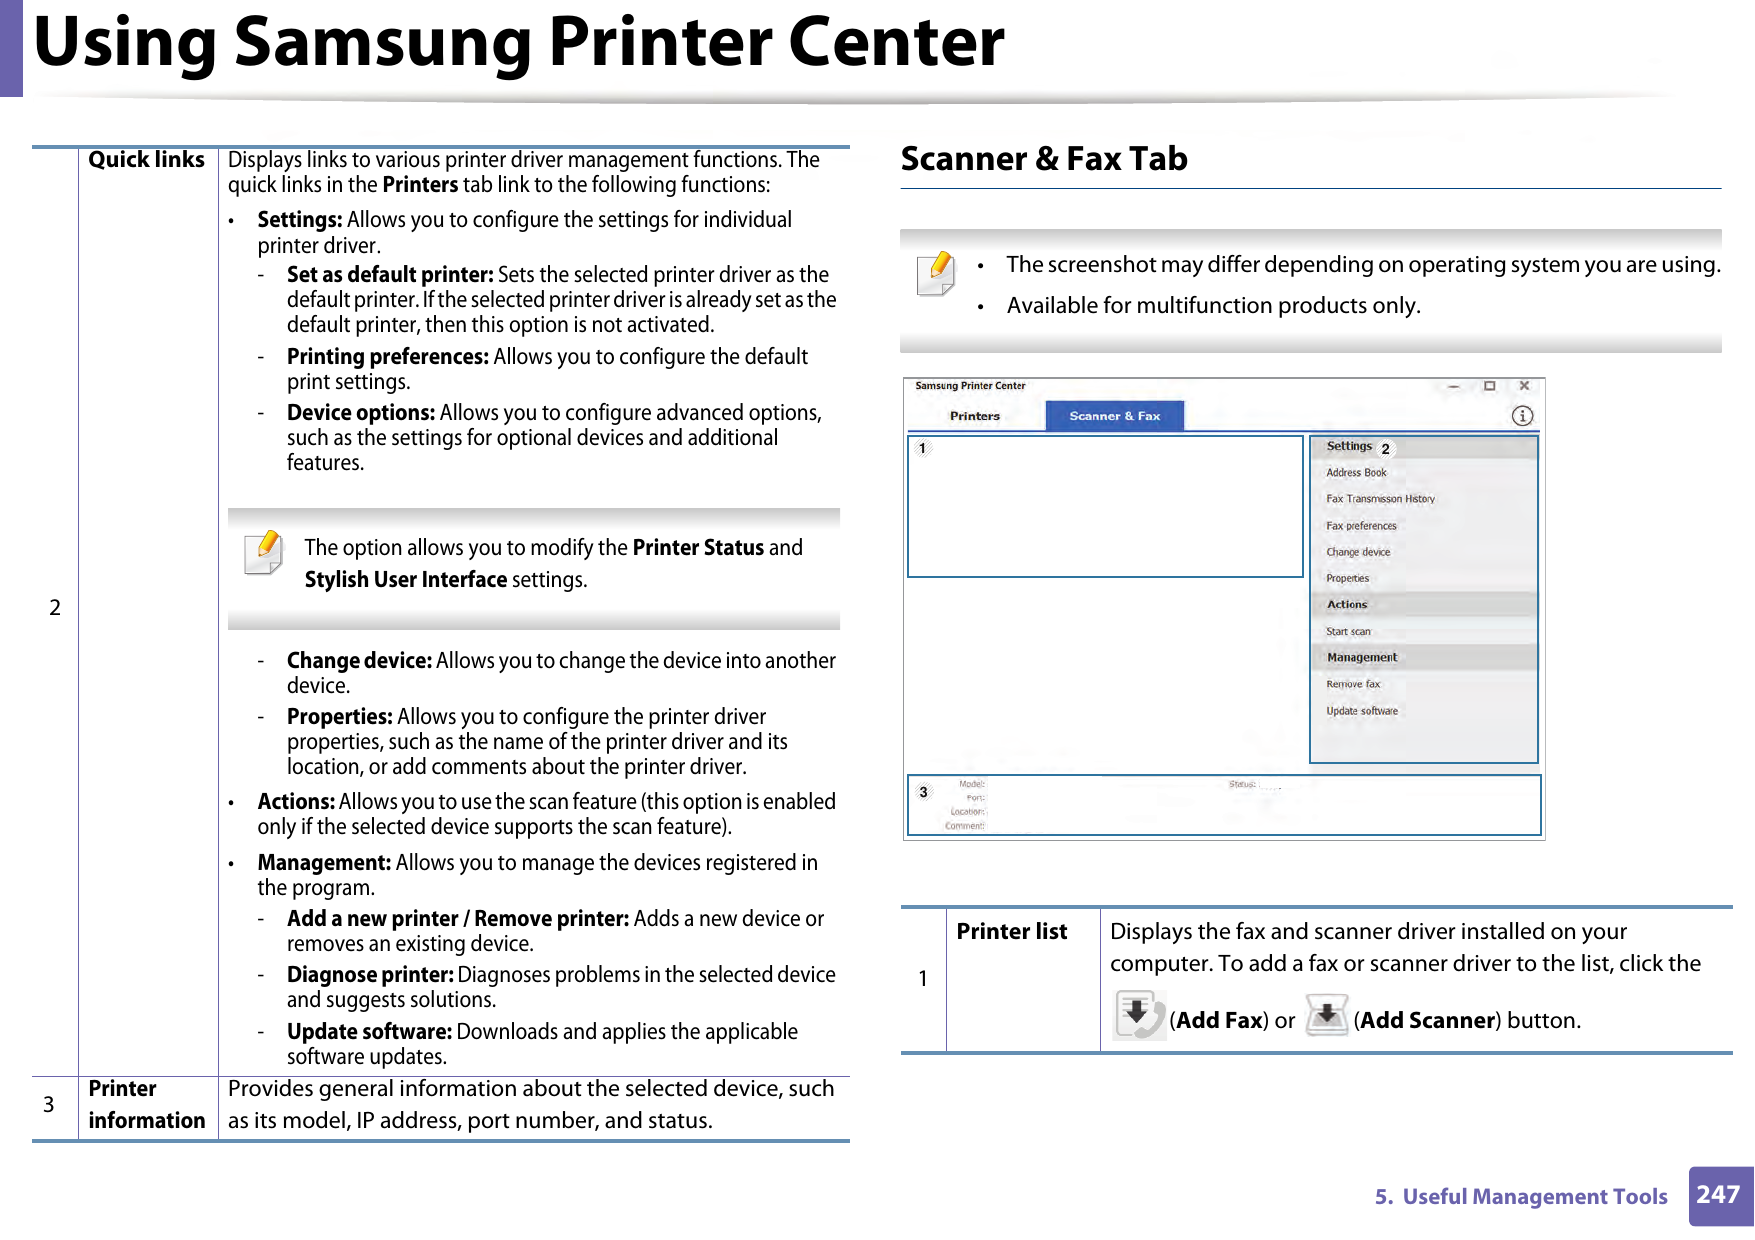
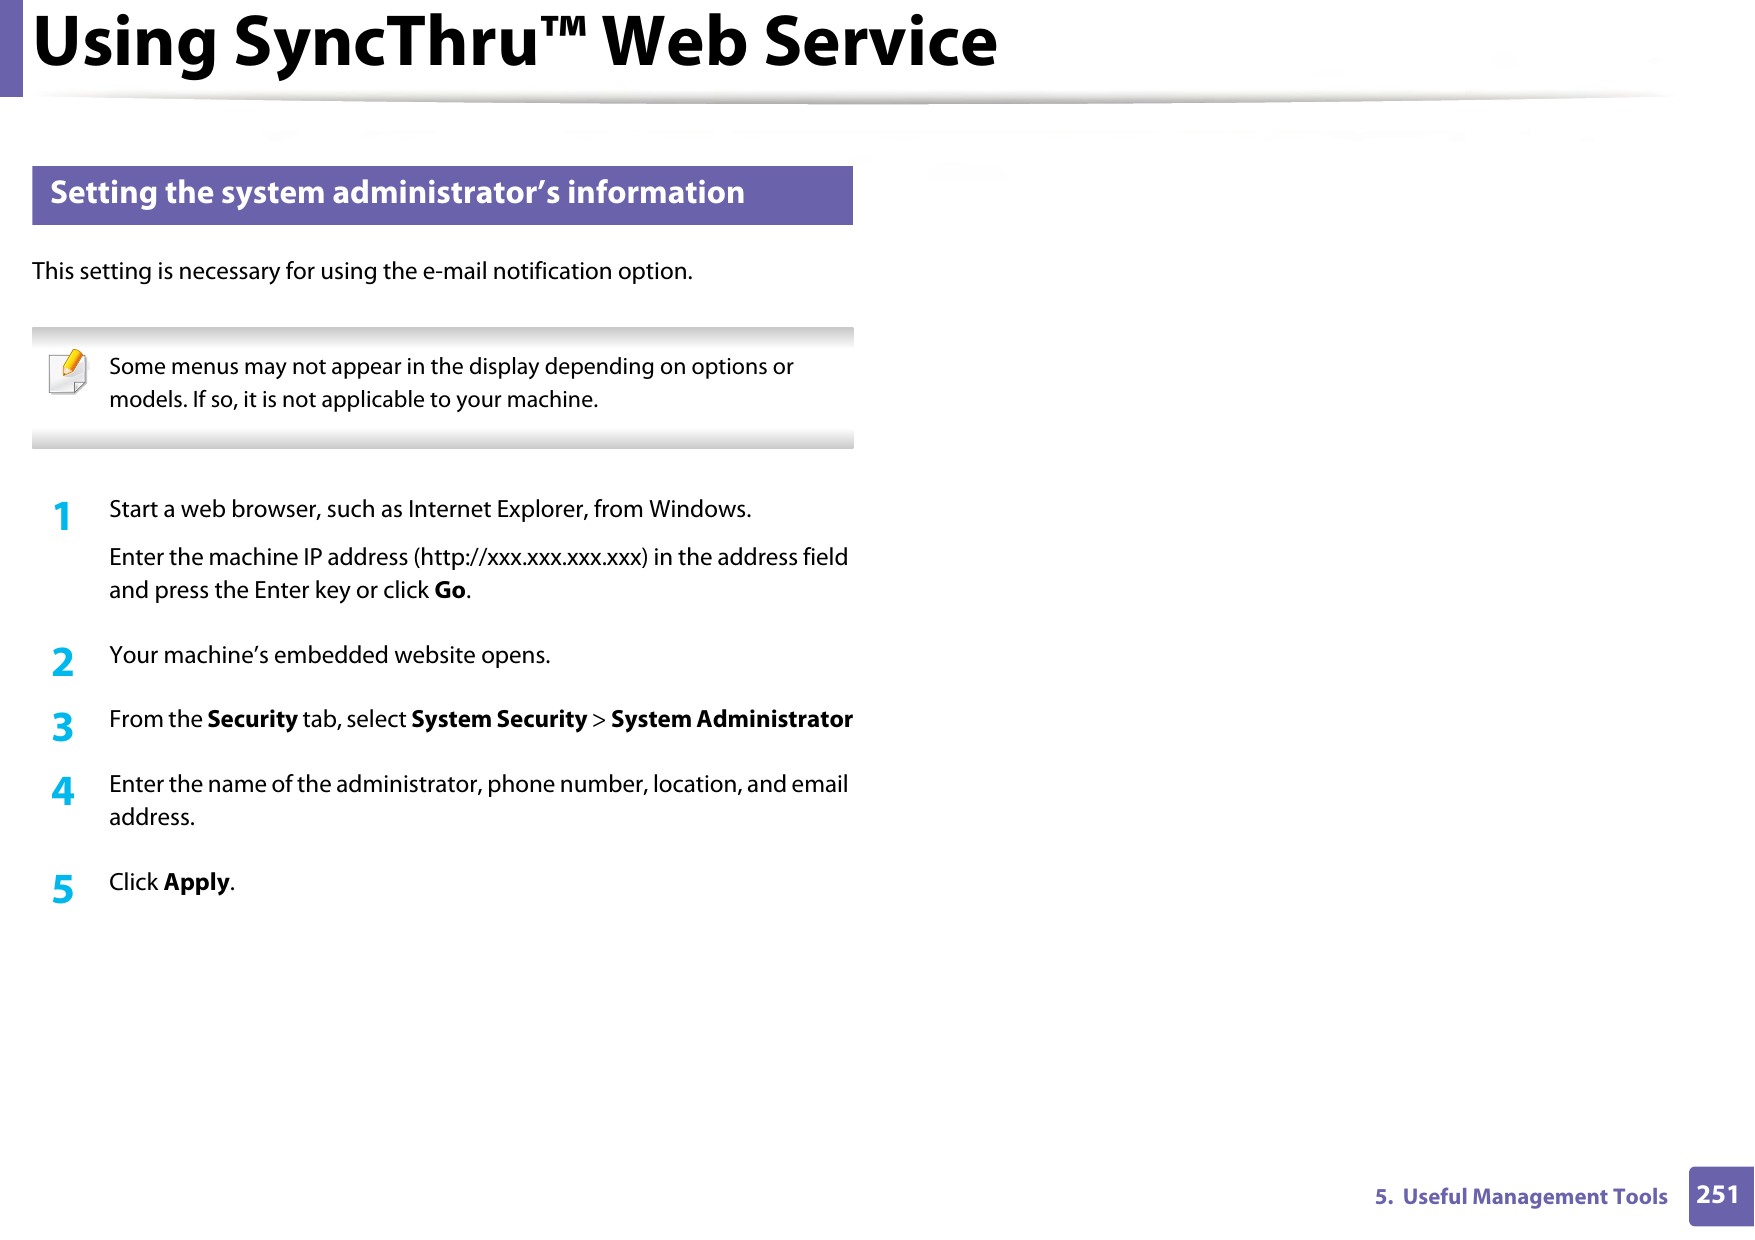
# # = | ? " : { } < > ;(These symbols are available when you type for network authentication.)](https://usermanual.wiki/Samsung-Electronics-Co/SLC480FW.User-Manual-4/User-Guide-2579316-Page-9.png)


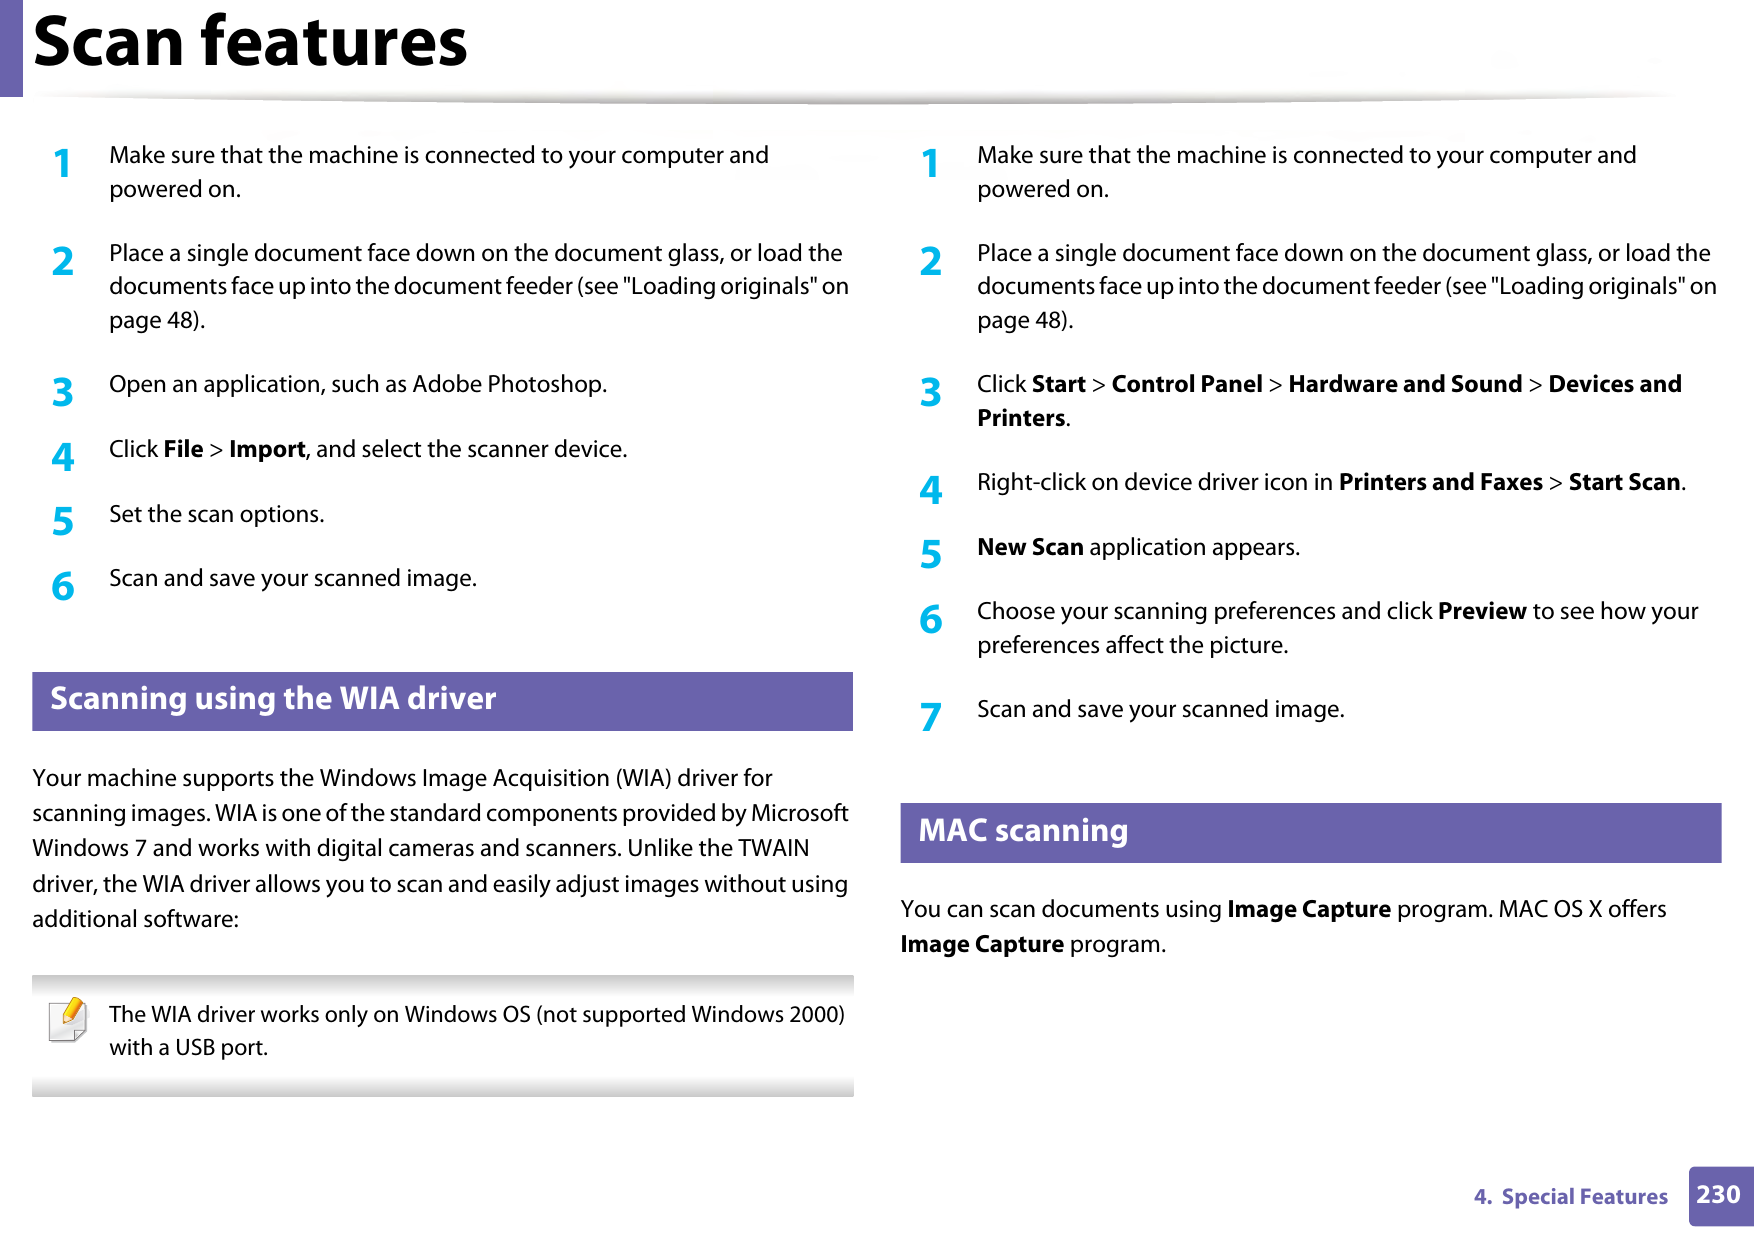


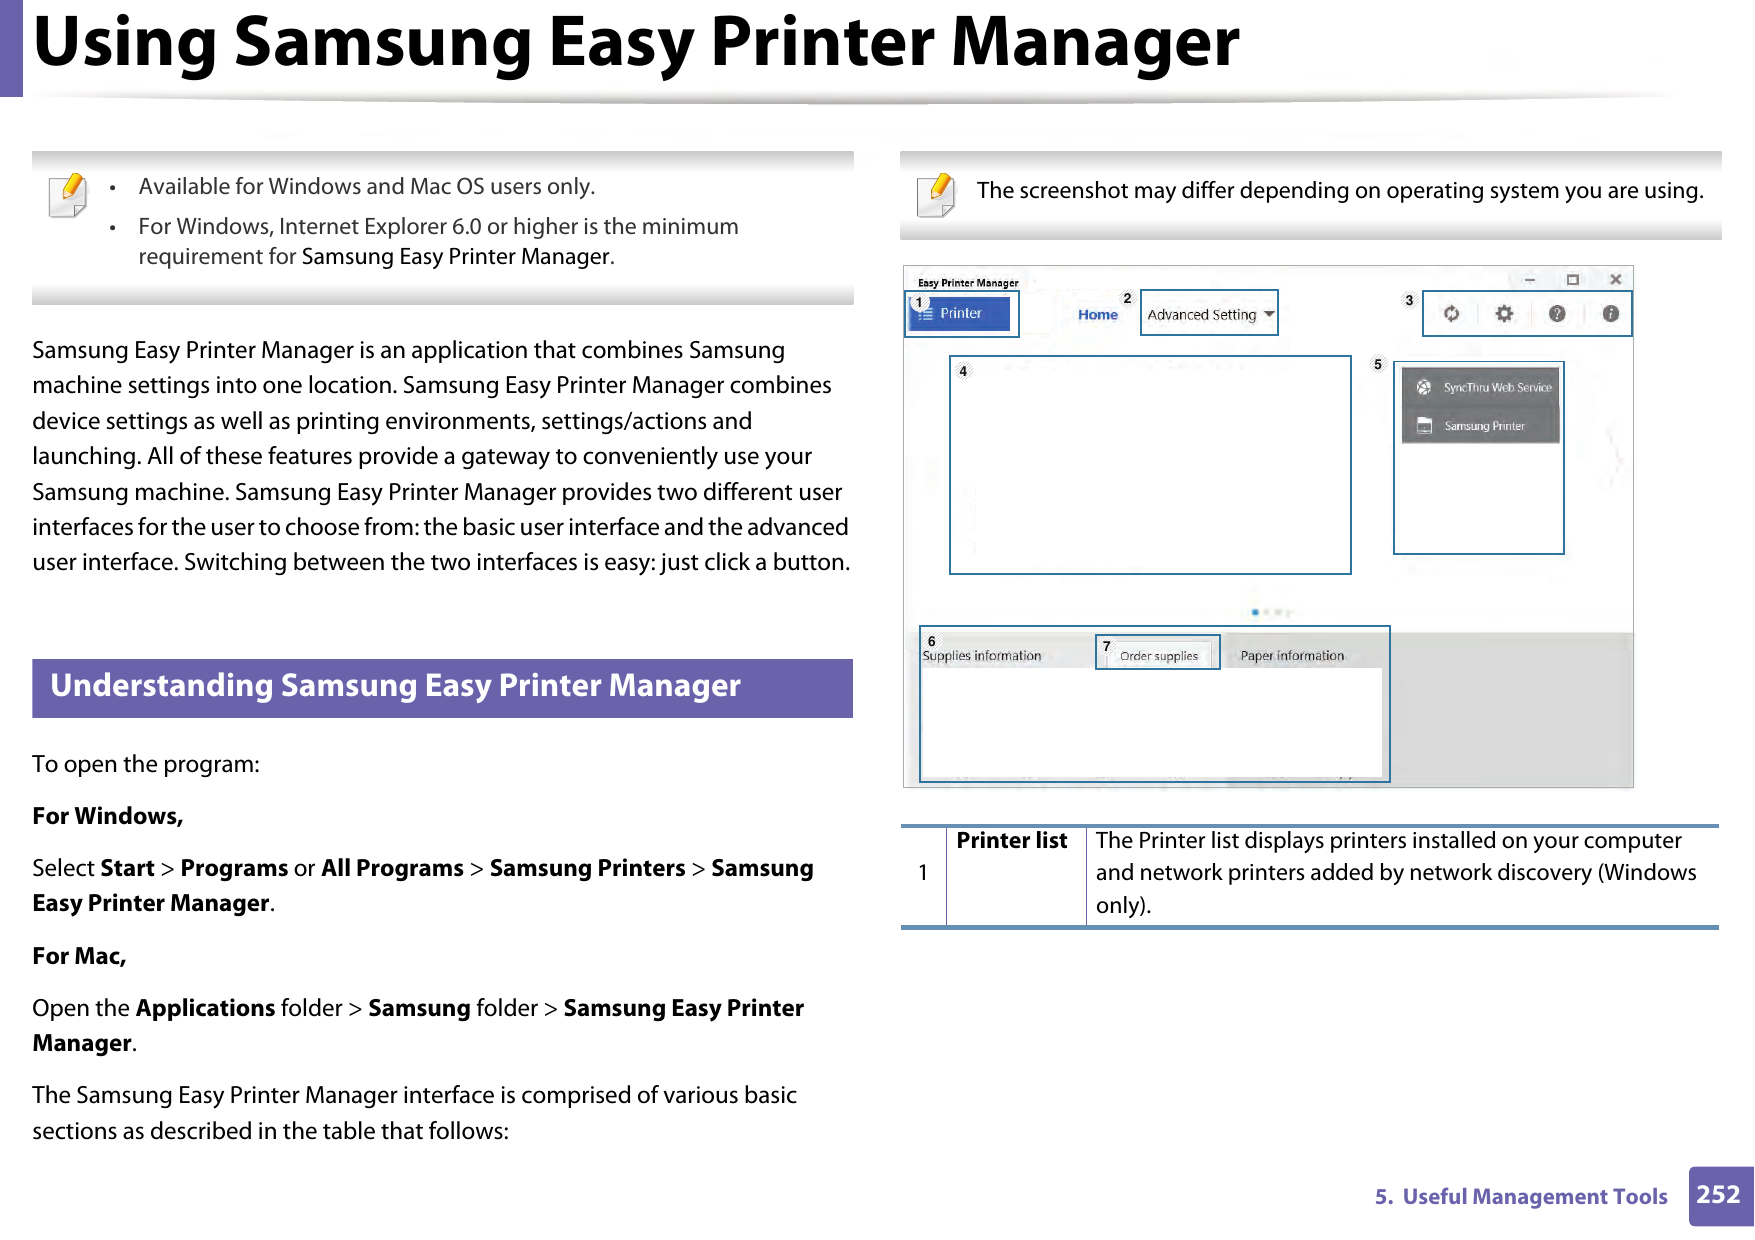


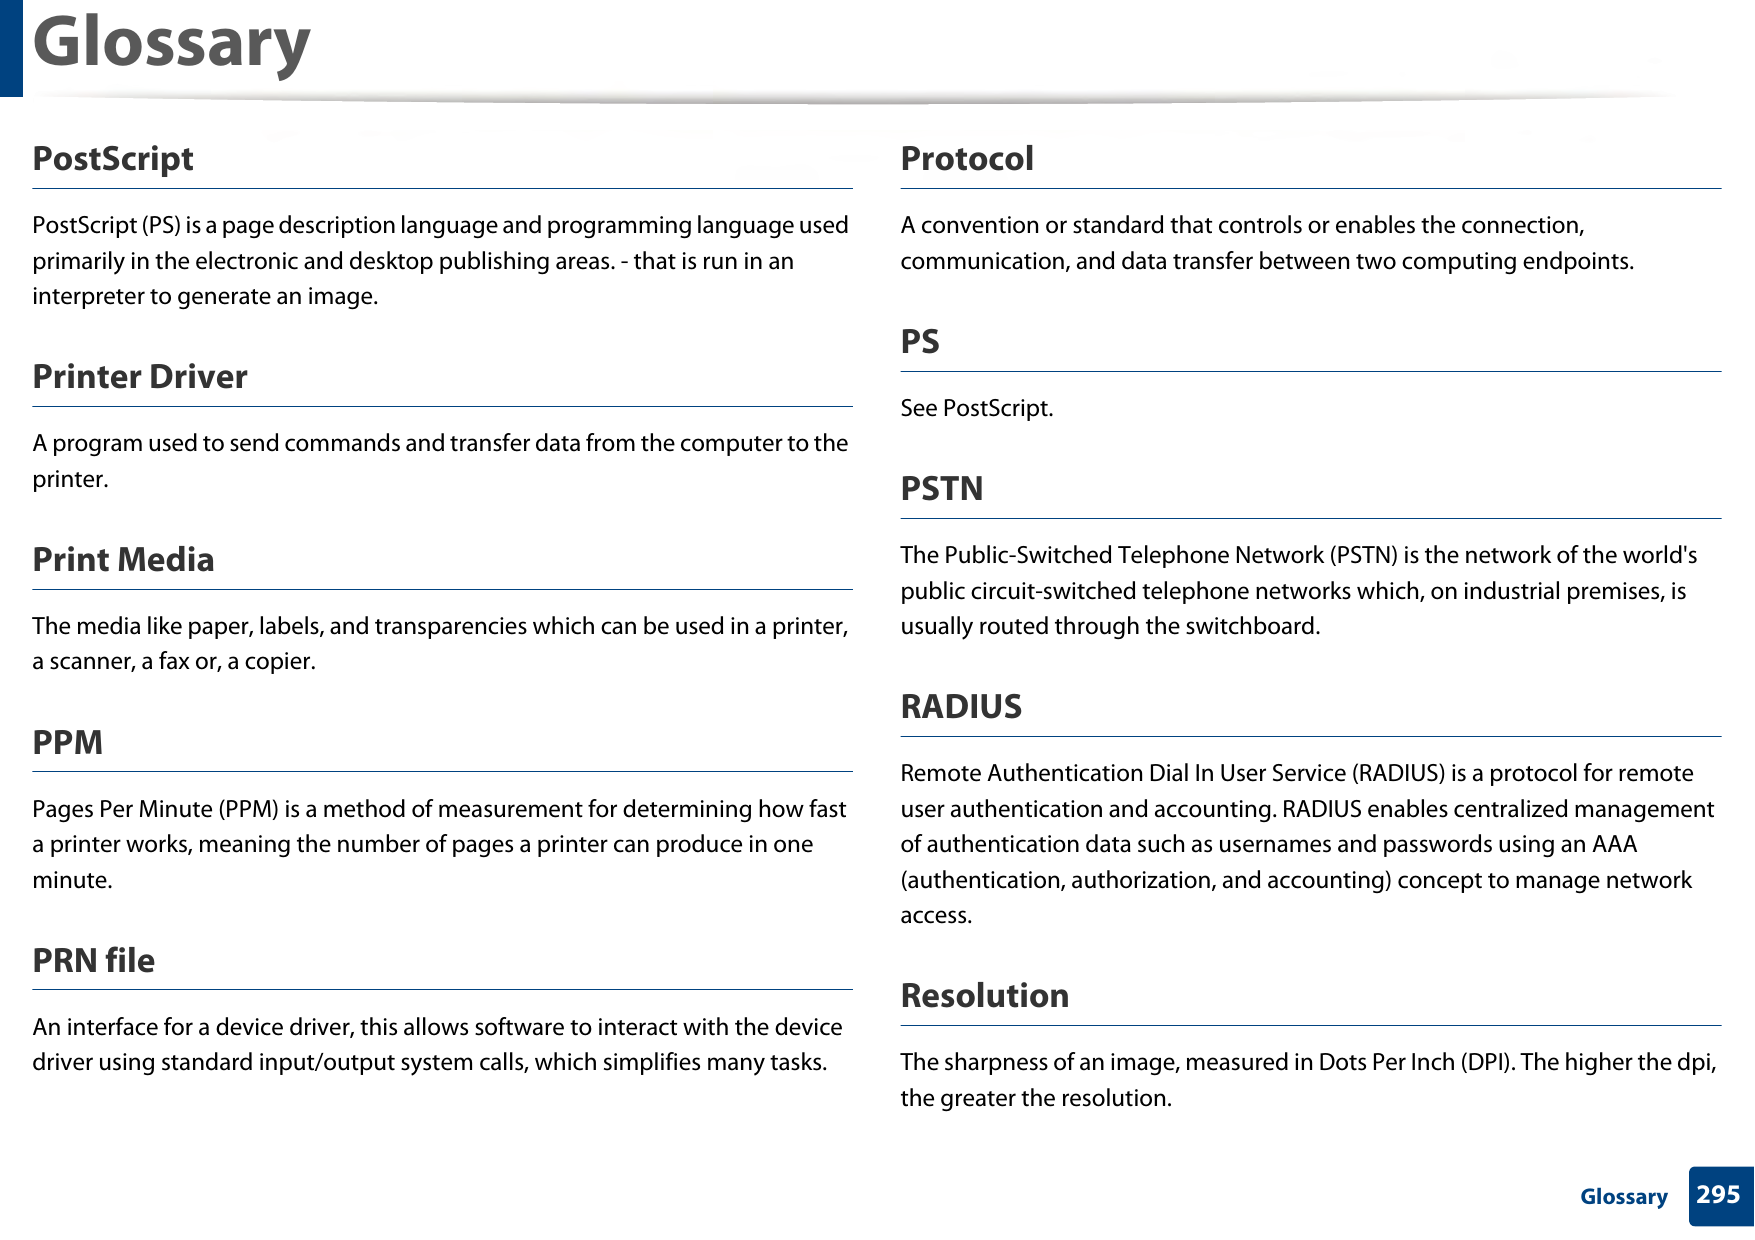
![299 Contact SAMSUNG worldwideContact SAMSUNG worldwideIf you have any comments or questions regarding Samsung products, contact the Samsung customer care center.Country/Region Customer Care Center WebSiteALGERIA 021 36 11 00 www.samsung.com/n_africa/supportARGENTINE 0800-555-SAMSUNG (0800-555-7267) www.samsung.com/ar/supportARMENIA 0-800-05-555 www.samsung.com/supportAUSTRALIA 1300 362 603 www.samsung.com/au/supportAUSTRIA0800-SAMSUNG (0800-7267864)[Only for Premium HA] 0800-366661[Only for Dealers] 0810-112233www.samsung.com/at/supportAZERBAIJAN 0-88-555-55-55 www.samsung.com/supportBAHRAIN8000-GSAM (8000-4726) www.samsung.com/ae/support (English)www.samsung.com/ae_ar/support (Arabic)BELARUS 810-800-500-55-500 www.samsung.com/supportBANGLADESH 09612300300 www.samsung.com/in/supportBELGIUM02-201-24-18 www.samsung.com/be/support (Dutch)www.samsung.com/be_fr/support (French)BOLIVIA 800-10-7260[HHP] 4828210www.samsung.com/cl/supportBOSNIA 055 233 999 www.samsung.com/supportBOTSWANA 8007260000 www.samsung.com/supportBRAZIL0800-124-421 (Demais cidades e regiões)4004-0000 (Capitais e grandes centros)www.samsung.com/br/supportBULGARIA 800 111 31 , Безплатна телефонна линияwww.samsung.com/bg/supportBURUNDI 200 www.samsung.com/supportCAMEROON 7095- 0077 www.samsung.com/africa_fr/supportCountry/Region Customer Care Center WebSite](https://usermanual.wiki/Samsung-Electronics-Co/SLC480FW.User-Manual-4/User-Guide-2579316-Page-99.png)
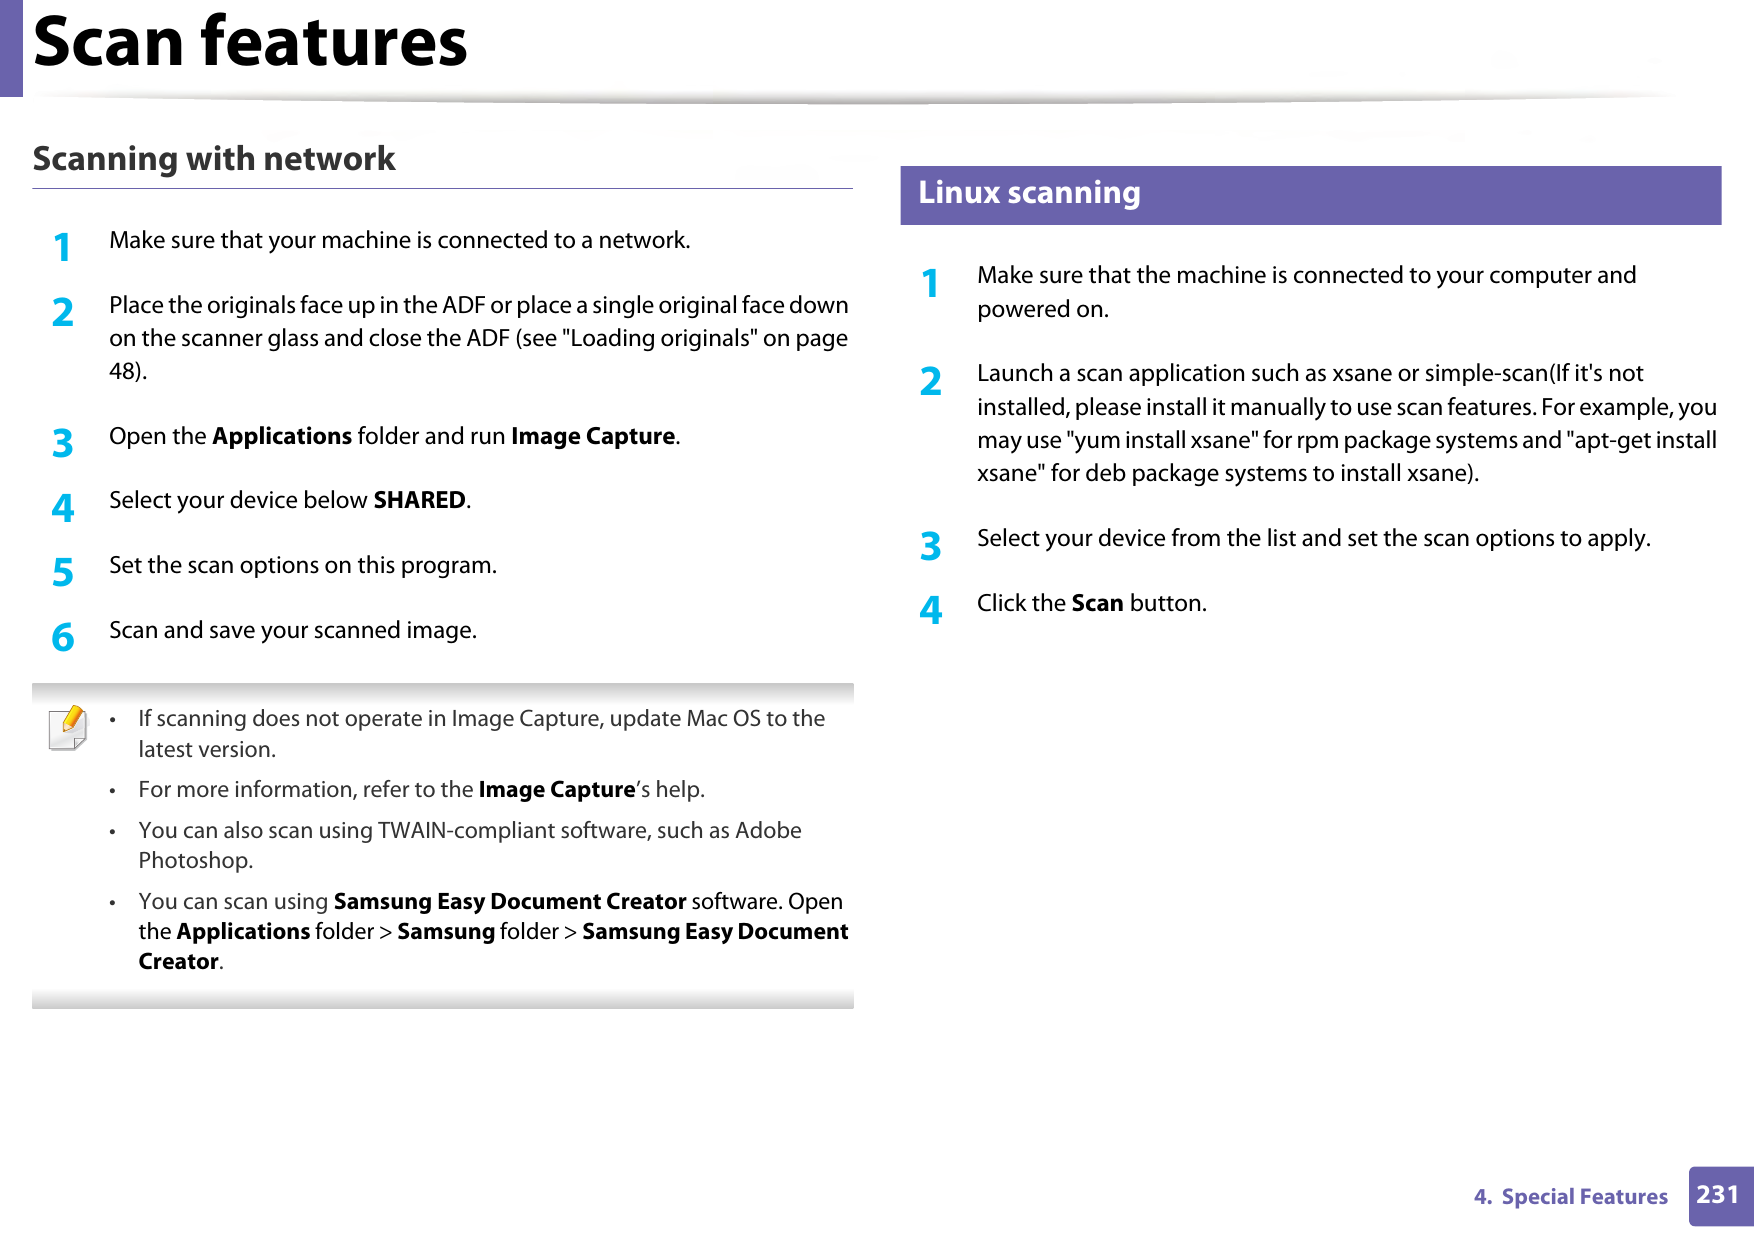
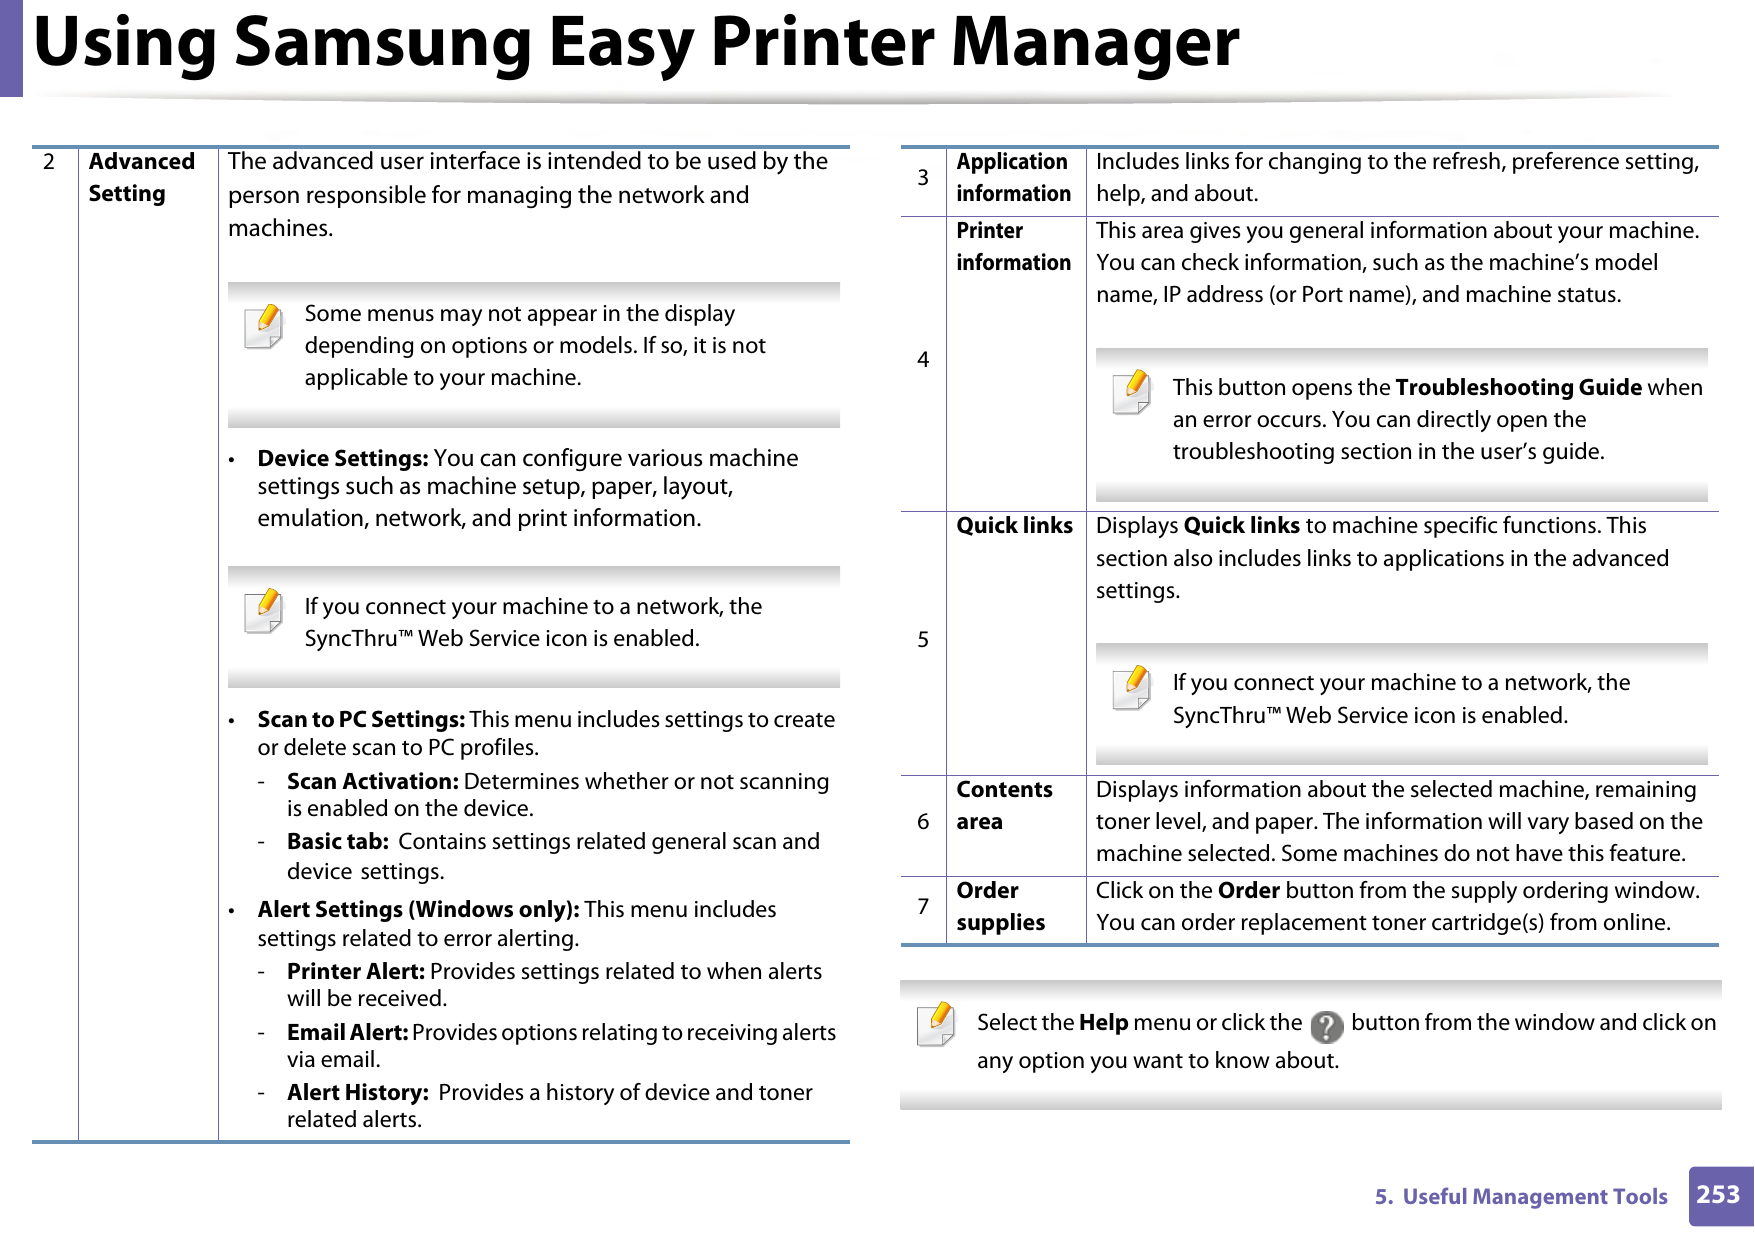
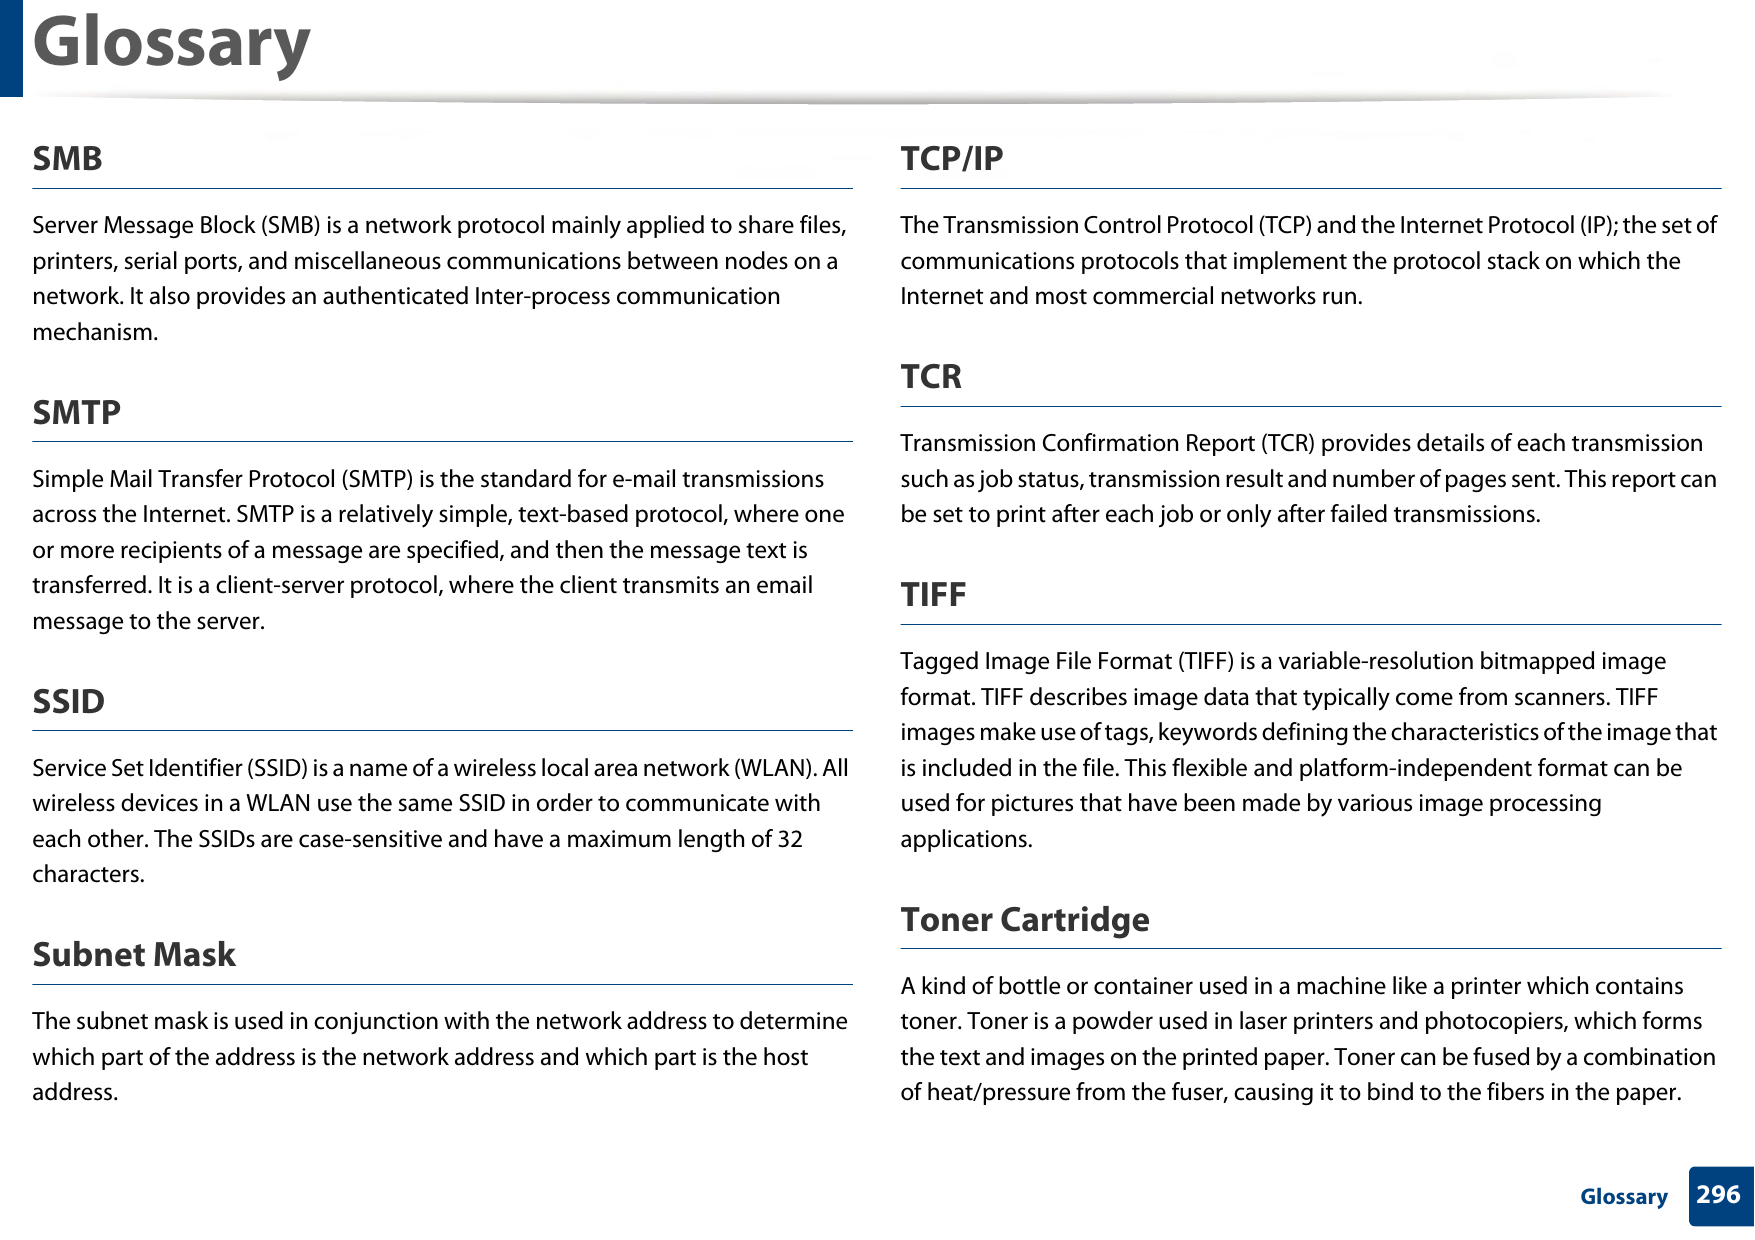
![Contact SAMSUNG worldwide300 Contact SAMSUNG worldwideCANADA1-800-SAMSUNG (726-7864) www.samsung.com/ca/support(English)www.samsung.com/ca_fr/support (French)CHILE 800-SAMSUNG (726-7864)[HHP] 02-24828200www.samsung.com/cl/supportCHINA 400-810-5858 www.samsung.com/cn/supportCOLOMBIABogotá 600 12 72Gratis desde cualquier parte del país 01 8000 112 112 ó desde su celular #SAM(726)www.samsung.com/co/supportCOSTA RICA0-800-507-7267 00-800-1-SAMSUNG (726-7864)www.samsung.com/latin/support (Spanish)www.samsung.com/latin_en/support (English)CROATIA 072 726 786 www.samsung.com/hr/supportCote D’ Ivoire 8000 0077 www.samsung.com/africa_fr/supportCountry/Region Customer Care Center WebSiteCYPRUS 8009 4000 only from landline, toll freewww.samsung.com/gr/supportCZECH 800-SAMSUNG (800-726786) www.samsung.com/cz/supportDENMARK 70 70 19 70 www.samsung.com/dk/supportDOMINICAN REPUBLIC1-800-751-2676 www.samsung.com/latin/support (Spanish)www.samsung.com/latin_en/support (English)DRC 499999 www.samsung.com/supportECUADOR1-800-10-72671-800-SAMSUNG (72-6786)www.samsung.com/latin/support (Spanish)www.samsung.com/latin_en/support(English)EGYPT 08000-726786416580www.samsung.com/eg/supportCountry/Region Customer Care Center WebSite](https://usermanual.wiki/Samsung-Electronics-Co/SLC480FW.User-Manual-4/User-Guide-2579316-Page-100.png)
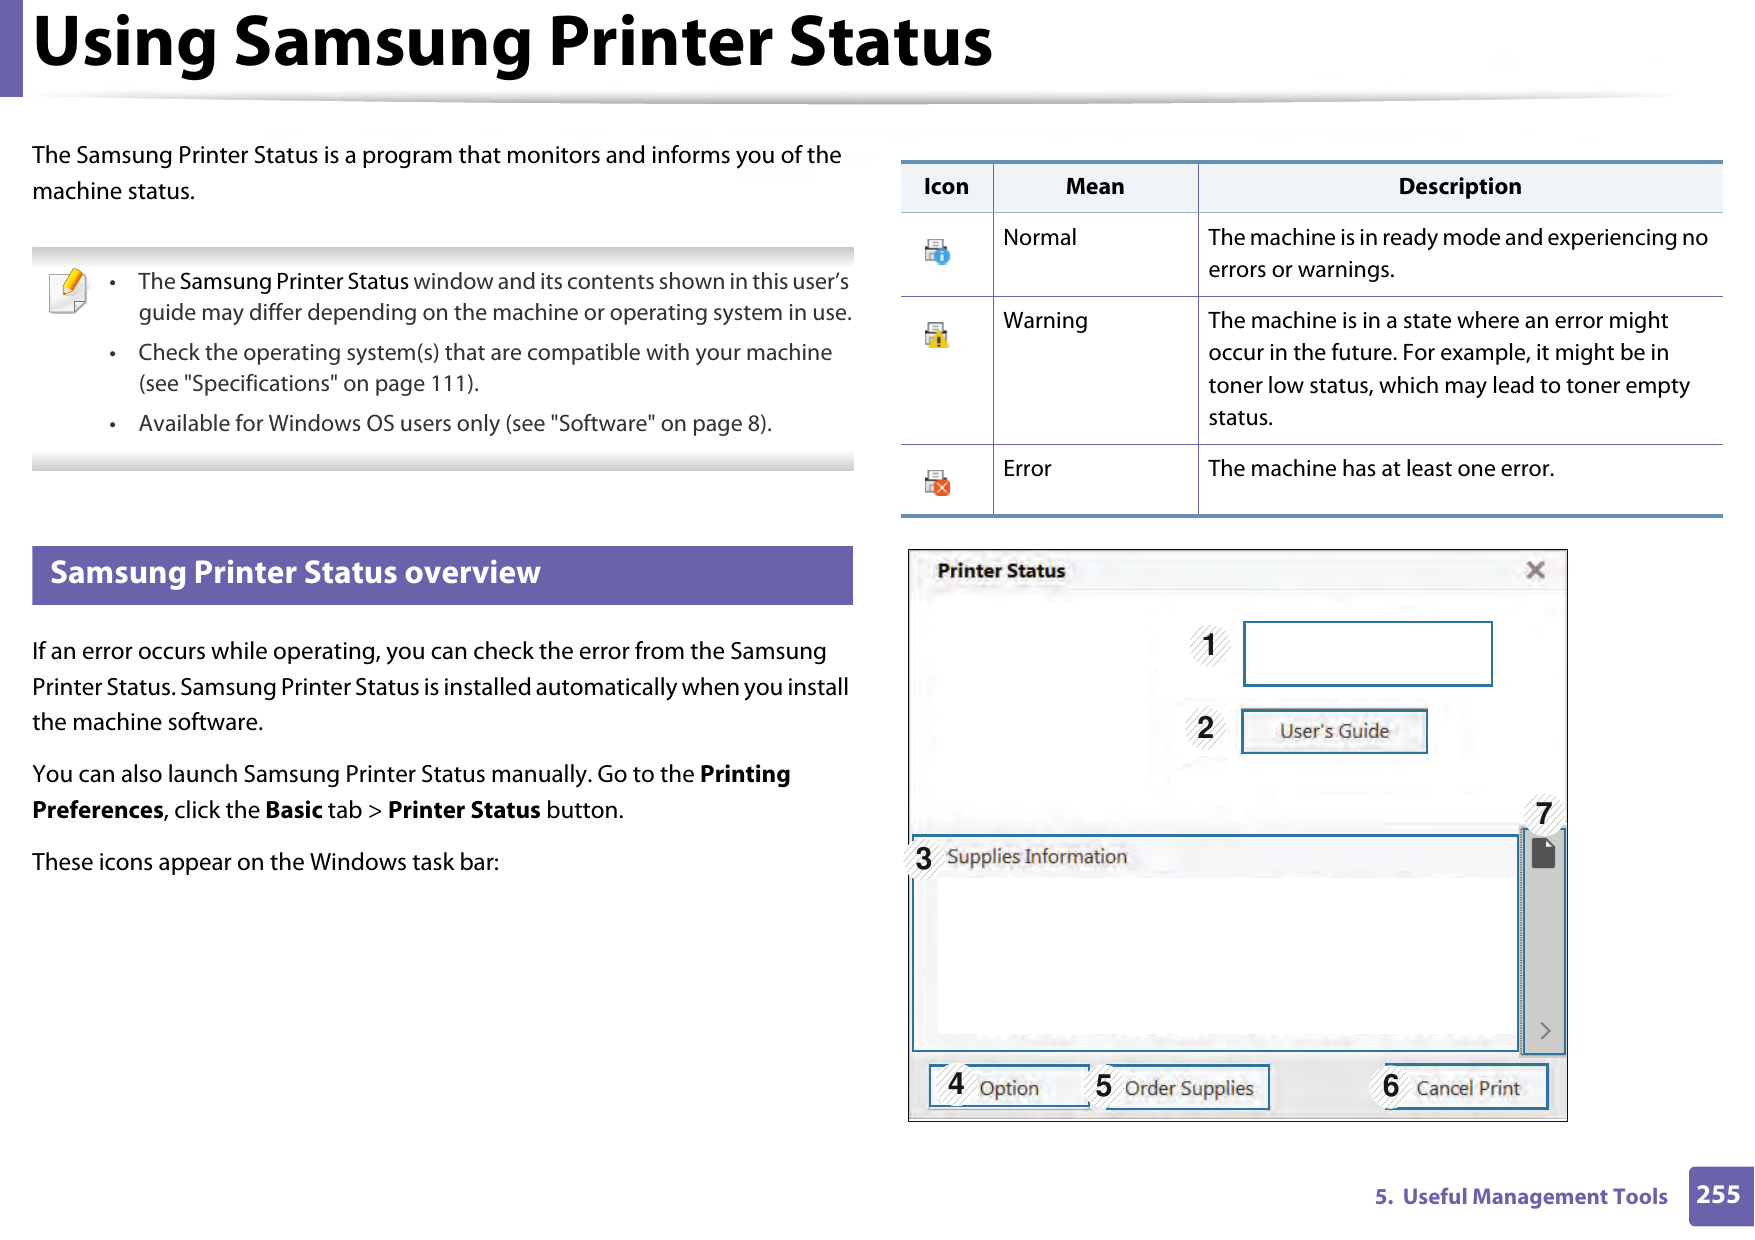
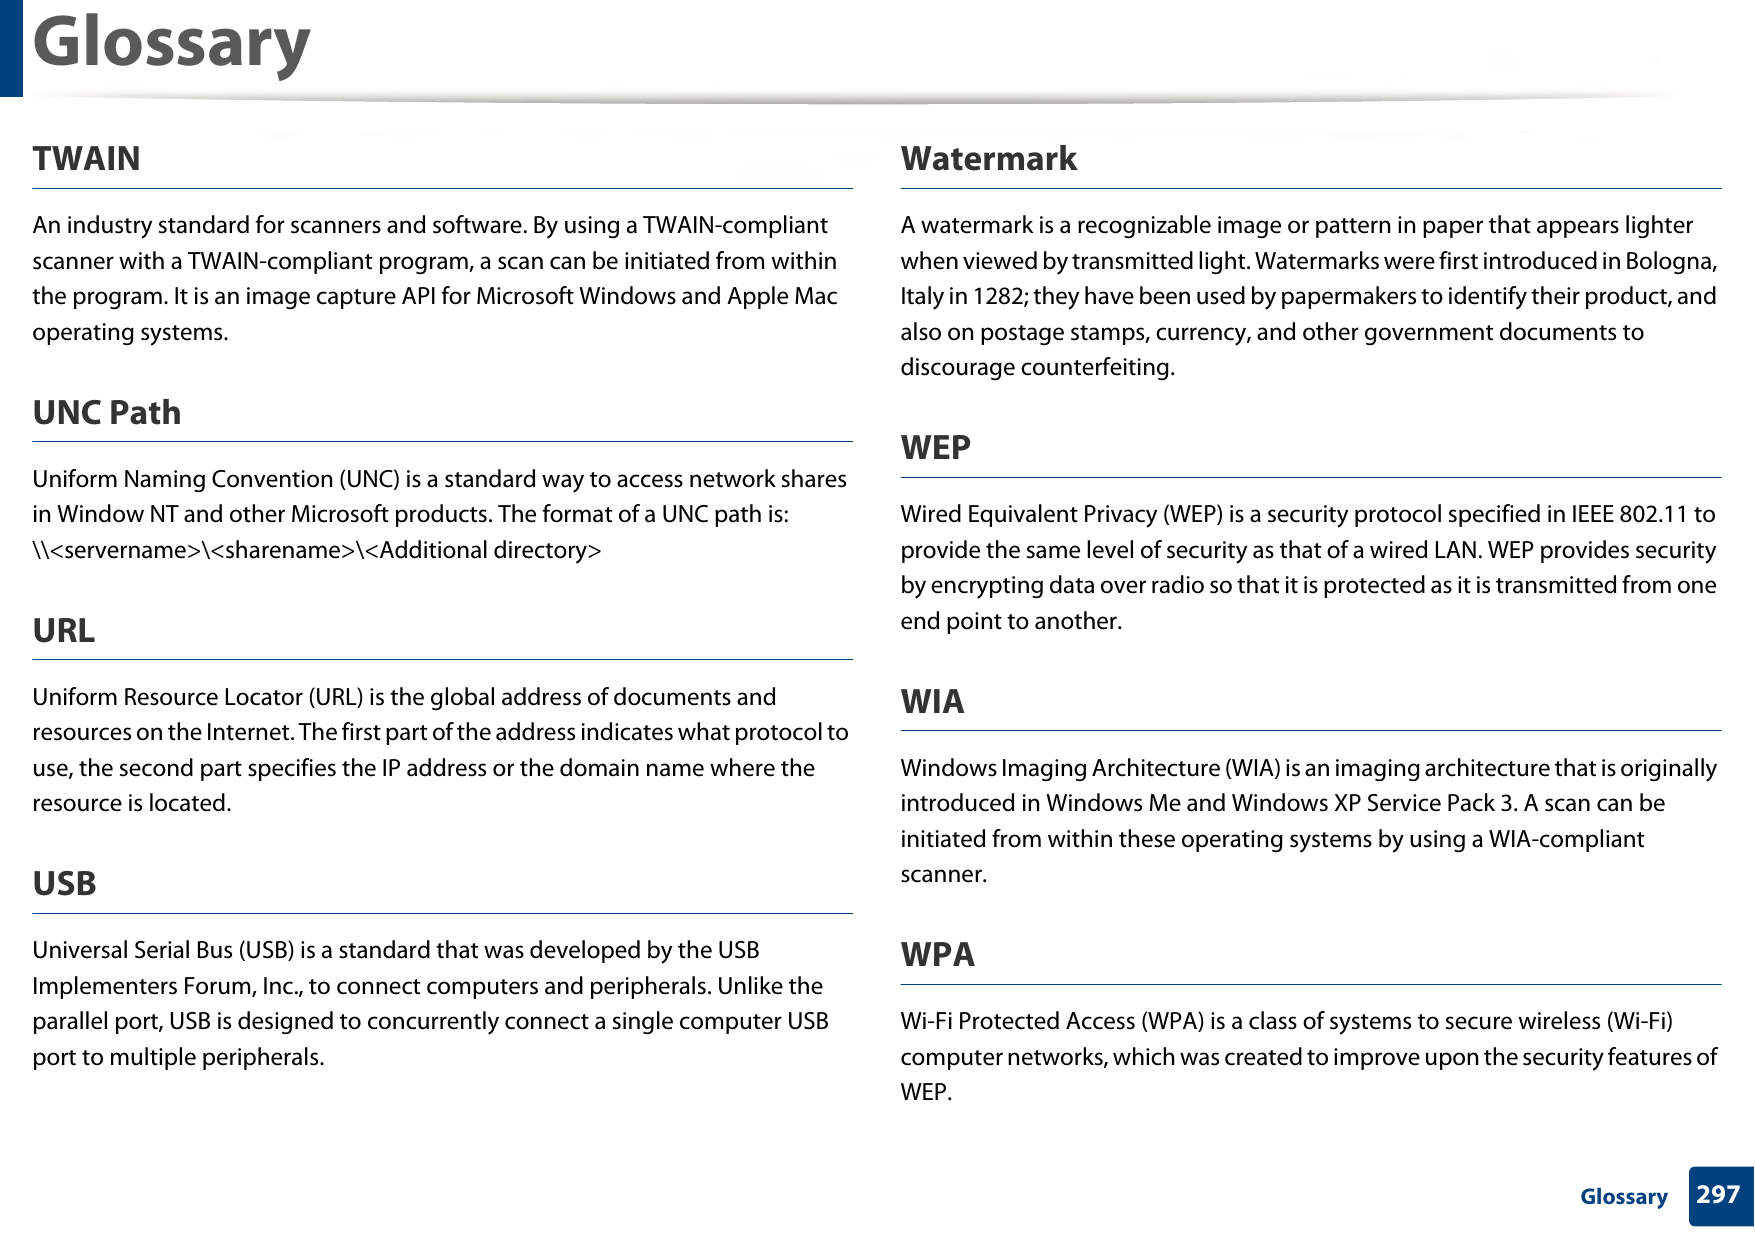
![Contact SAMSUNG worldwide301 Contact SAMSUNG worldwideEIRE 0818 717100 www.samsung.com/ie/supportEL SALVADOR800-6225800-0726-7864www.samsung.com/latin/support (Spanish)www.samsung.com/latin_en/support (English)ESTONIA 800-7267 www.samsung.com/ee/supportFINLAND 030-6227 515 www.samsung.com/fi/supportFRANCE 01 48 63 00 00 www.samsung.com/fr/supportGERMANY0180 6 SAMSUNG bzw. 0180 6 7267864* [HHP] 0180 6 M SAMSUNG bzw.0180 6 67267864* (*0,20 €/Anruf aus dem dt. Festnetz, aus dem Mobilfunk max. 0,60 €/Anruf)www.samsung.com/de/supportGEORGIA 0-800-555-555 www.samsung.com/supportCountry/Region Customer Care Center WebSiteGHANA 0800-100770302-200077www.samsung.com/africa_en/supportGREECE80111-SAMSUNG (80111 726 7864) only from land line(+30) 210 6897691 from mobile and land linewww.samsung.com/gr/supportGUATEMALA1-800-299-00131-800-299-0033www.samsung.com/latin/support (Spanish)www.samsung.com/latin_en/support (English)HONDURAS800-2791-9267 800-2791-9111www.samsung.com/latin/support (Spanish)www.samsung.com/latin_en/support (English)HONG KONG(852) 3698 4698 www.samsung.com/hk/support (Chinese)www.samsung.com/hk_en/support (English)Country/Region Customer Care Center WebSite](https://usermanual.wiki/Samsung-Electronics-Co/SLC480FW.User-Manual-4/User-Guide-2579316-Page-101.png)
![Contact SAMSUNG worldwide302 Contact SAMSUNG worldwideHUNGARY 0680SAMSUNG (0680-726-786)0680PREMIUM (0680-773-648)www.samsung.com/hu/supportINDIA 1800 3000 8282 - Toll Free1800 266 8282 - Toll Freewww.samsung.com/in/supportINDONESIA 021-5699777708001128888www.samsung.com/id/supportIRAN 021-8255 [CE]021-42132 [HHP]www.samsung.com/iran/supportITALIA800-SAMSUNG (800.7267864)[HHP] 800.Msamsung (800.67267864)www.samsung.com/it/supportJAMAICA1-800-234-72671-800-SAMSUNG (726-7864)www.samsung.com/latin_en/support (English)JAPAN 0120-363-905 www.samsung.com/jp/supportJORDAN0800-2227306 5777444www.samsung.com/levant/support (English)KAZAKHSTAN 8-10-800-500-55-500 (GSM:7799, VIP care 7700)www.samsung.com/supportCountry/Region Customer Care Center WebSiteKENYA 0800 545 545 www.samsung.com/supportKUWAIT183-CALL (183-2255) www.samsung.com/ae/support (English)www.samsung.com/ae_ar/support (Arabic)KYRGYZSTAN 00-800-500-55-500 www.samsung.com/kz_ru/supportLATVIA 8000-7267 www.samsung.com/lv/supportLITHUANIA 8-800-77777 www.samsung.com/lt/supportLUXEMBURG 261 03 710 www.samsung.com/supportMACAU 0800 333 www.samsung.com/supportMACEDONIA 023 207 777MALAYSIA1800-88-9999603-77137477 (Overseas contact)www.samsung.com/my/supportMAURITIUS 23052574020 www.samsung.com/supportCountry/Region Customer Care Center WebSite](https://usermanual.wiki/Samsung-Electronics-Co/SLC480FW.User-Manual-4/User-Guide-2579316-Page-102.png)
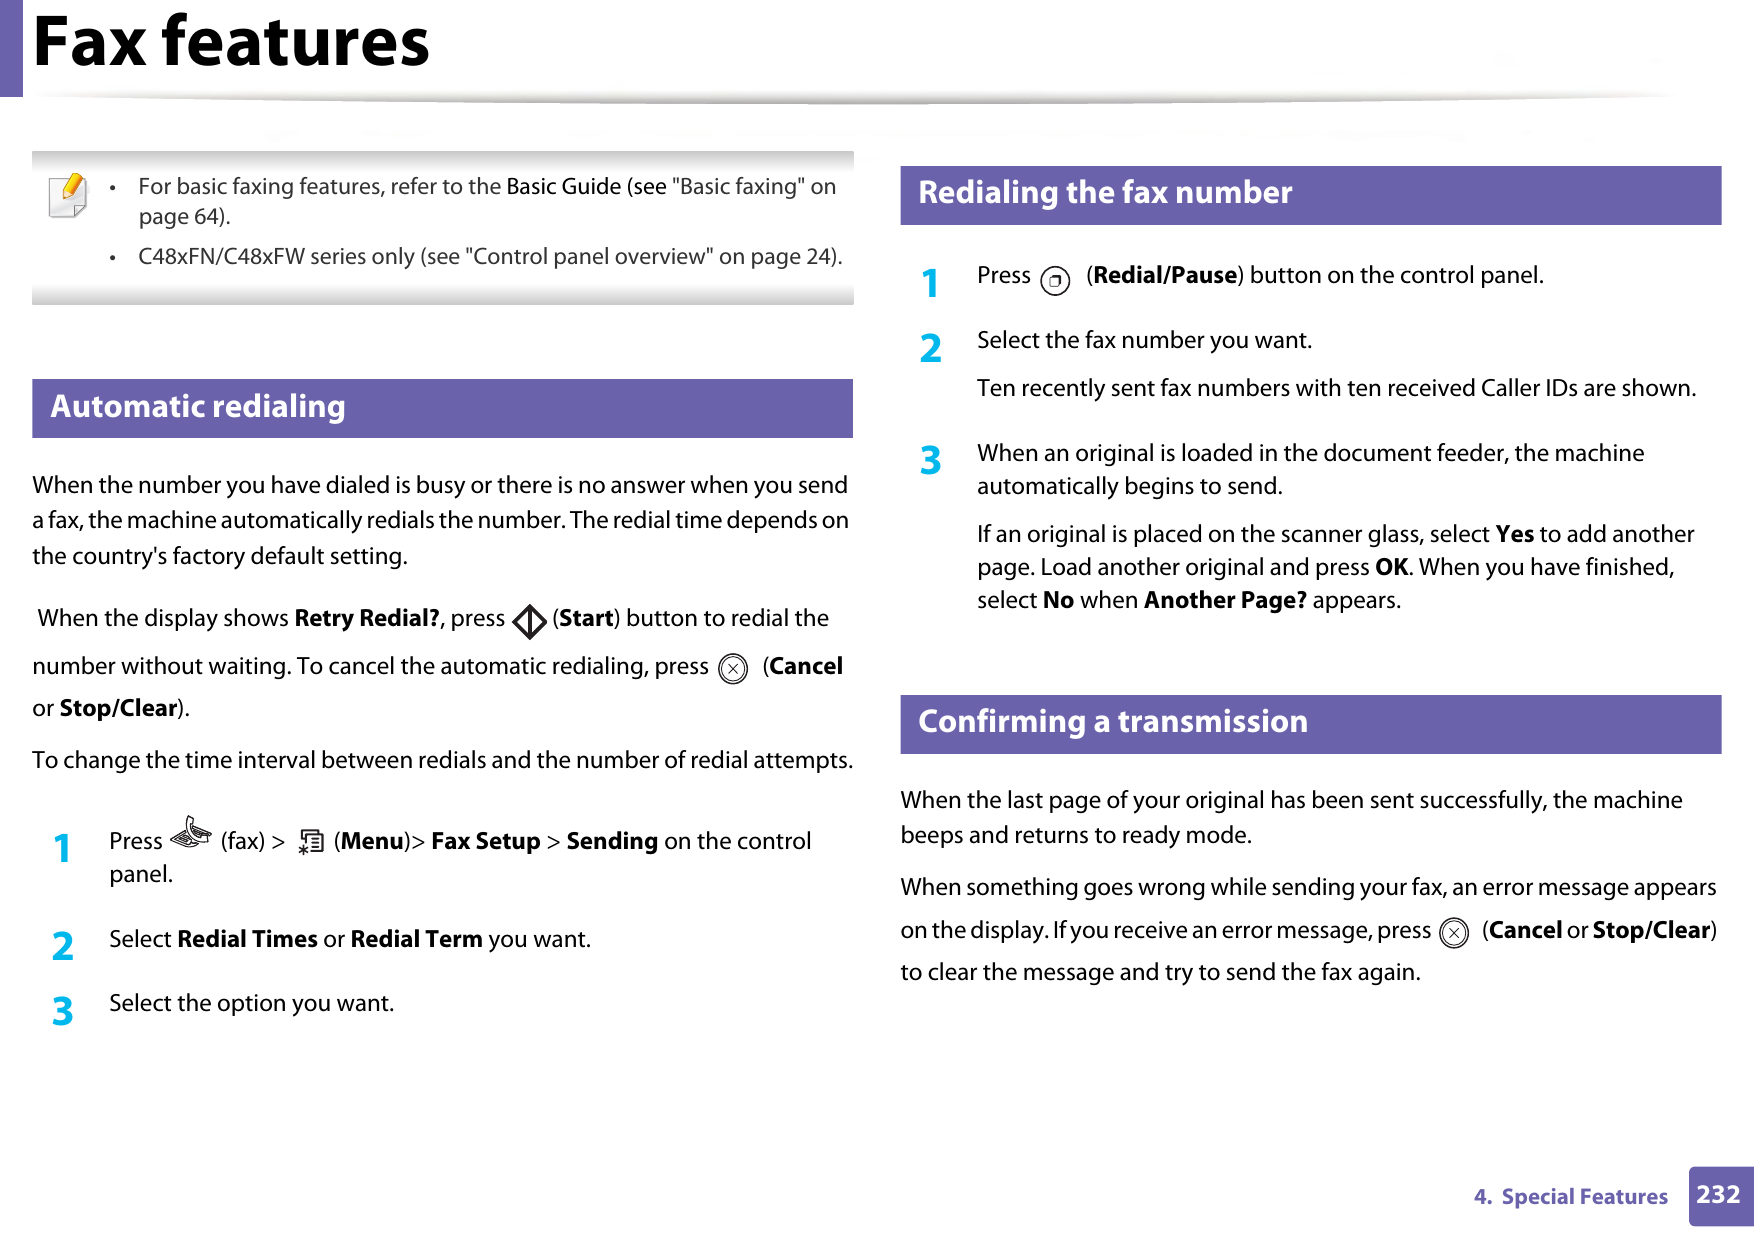
![Contact SAMSUNG worldwide304 Contact SAMSUNG worldwidePARAGUAY009-800-542-0001 www.samsung.com/latin/support (Spanish)www.samsung.com/latin_en/support (English)PERU 0800-777-08 www.samsung.com/pe/supportPHILIPPINES1-800-10-7267864 [PLDT]1-800-8-7267864 [Globe landline and Mobile]02-4222111 [Other landline]www.samsung.com/ph/supportPOLAND801-172-678* lub +48 22 607-93-33 *[HHP] 801-672-678* lub +48 22 607-93-33** (koszt połączenia według taryfy operatora)www.samsung.com/pl/supportPORTUGAL 808 20 7267 www.samsung.com/pt/supportCountry/Region Customer Care Center WebSitePUERTO RICO1-800-682-3180 www.samsung.com/latin/support (Spanish)www.samsung.com/latin_en/support (English)QATAR800-CALL (800-2255) www.samsung.com/ae/support (English)www.samsung.com/ae_ar/support (Arabic)REUNION 262508869 www.samsung.com/supportRWANDA 9999 www.samsung.com/supportROMANIA08008 726 78 64 (08008 SAMSUNG )Apel GRATUITwww.samsung.com/ro/supportRUSSIA 8-800-555-55-55 (VIP care 8-800-555-55-88)www.samsung.com/ru/supportSAUDI ARABIA8002474357 www.samsung.com/sa/supportwww.samsung.com/sa_en/support (English)/Country/Region Customer Care Center WebSite](https://usermanual.wiki/Samsung-Electronics-Co/SLC480FW.User-Manual-4/User-Guide-2579316-Page-104.png)
![Contact SAMSUNG worldwide305 Contact SAMSUNG worldwideSENEGAL 800-00-0077 www.samsung.com/africa_fr/supportSERBIA 011 321 6899 www.samsung.com/rs/supportSINGAPORE 1800-SAMSUNG (726-7864) www.samsung.com/sg/supportSLOVENIA 080 697 267 (brezplačna številka) 090 726 786 (0,39 EUR/min)www.samsung.com/rs/siSLOVAKIA 0800 - SAMSUNG(0800-726 786) www.samsung.com/sk/supportSOUTH AFRICA 0860 SAMSUNG (726 7864) www.samsung.com/supportSPAIN 0034902172678[HHP] 0034902167267www.samsung.com/es/supportSRI LANKA 94117540540 www.samsung.com/supportSUDAN 1969 www.samsung.com/supportSWEDEN 0771 726 7864 (0771-SAMSUNG) www.samsung.com/se/supportCountry/Region Customer Care Center WebSiteSWITZERLAND0800 726 78 64 (0800-SAMSUNG) www.samsung.com/ch/support (German)www.samsung.com/ch_fr/support (French)SYRIA18252273 www.samsung.com/levant/support (English)TADJIKISTAN 8-10-800-500-55-500 www.samsung.com/supportTAIWAN 0800-329999 www.samsung.com/tw/supportTANZANIA 0800 755 7550685 889 900www.samsung.com/supportTHAILAND 0-2689-3232,1800-29-3232www.samsung.com/th/supportTRINIDAD & TOBAGO1-800-SAMSUNG (726-7864) www.samsung.com/latin/support (Spanish)www.samsung.com/latin_en/support (English)TURKEY 444 77 11 www.samsung.com/tr/supportCountry/Region Customer Care Center WebSite](https://usermanual.wiki/Samsung-Electronics-Co/SLC480FW.User-Manual-4/User-Guide-2579316-Page-105.png)
![Contact SAMSUNG worldwide306 Contact SAMSUNG worldwideTUNISIA 80-1000-12 www.samsung.com/n_africa/supportU.A.E800-SAMSUNG (800 -726 7864) www.samsung.com/ae/support (English)www.samsung.com/ae_ar/support (Arabic)UK 0330 SAMSUNG (7267864) www.samsung.com/uk/supportU.S.A-Consummer Electonics1-800-SAMSUNG (726-7864) www.samsung.com/us/supportU.S.A(Mobile Phones)1-800-SAMSUNG (72-6786)[HHP] 1-888-987-HELP(4357)www.samsung.com/us/supportUGANDA 0800 300 300 www.samsung.com/supportUKRAINE0-800-502-000 www.samsung.com/ua/support (Ukrainian)www.samsung.com/ua_ru/support (Russian)Country/Region Customer Care Center WebSiteURUGUAY000- 405-437-33 www.samsung.com/latin/support(Spanish)www.samsung.com/latin_en/support(English)UZBEKISTAN 8-10-800-500-55-500 (GSM: 7799)www.samsung.com/supportVENEZUELA 0-800-SAMSUNG (726-7864) www.samsung.com/ve/supportVIETNAM 1800 588 889 www.samsung.com/vn/supportZAMBIA 0211 350370 www.samsung.com/supportCountry/Region Customer Care Center WebSite](https://usermanual.wiki/Samsung-Electronics-Co/SLC480FW.User-Manual-4/User-Guide-2579316-Page-106.png)