ShenZhen Foscam Intelligent Technology FI9851P HD Wireless IP Camera User Manual 1
ShenZhen Foscam Intelligent Technology Co., Ltd. HD Wireless IP Camera 1
UserManual.wiki
>
ShenZhen Foscam Intelligent Technology
>
FI9851P User Manual
Users Manual
Navigation menu
Upload a User Manual
Namespaces
Wiki Guide
HTML
PDF
Info
Views
User Manual
Discussion / Help
Navigation


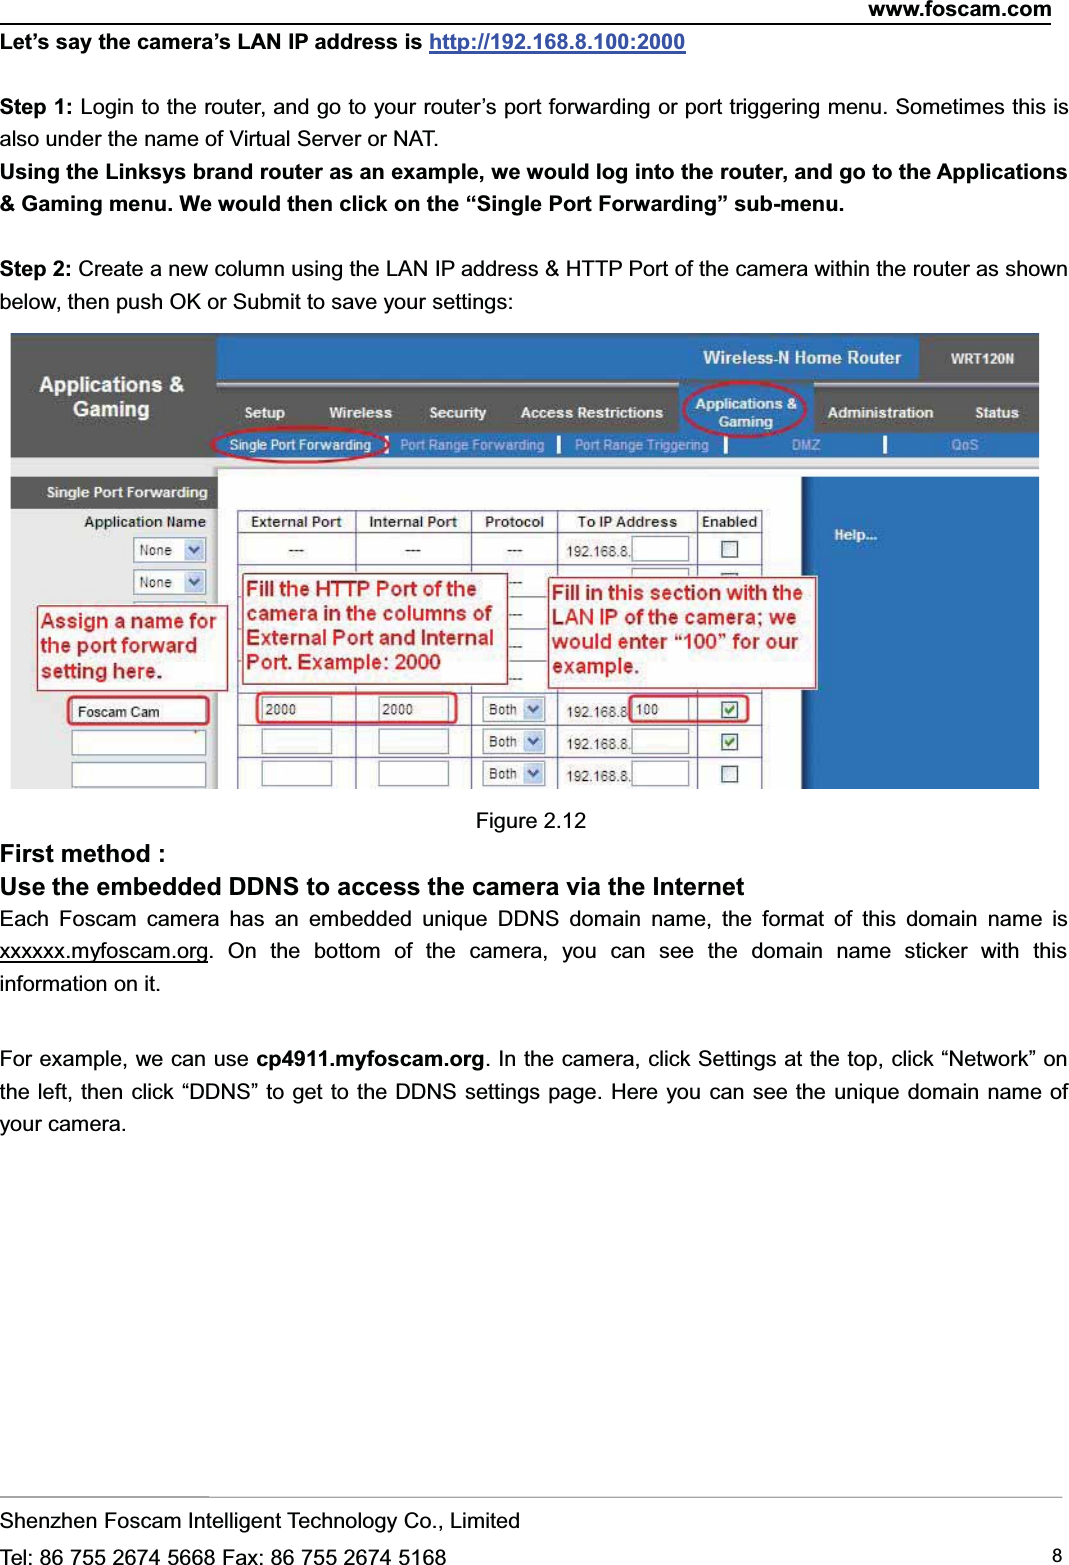
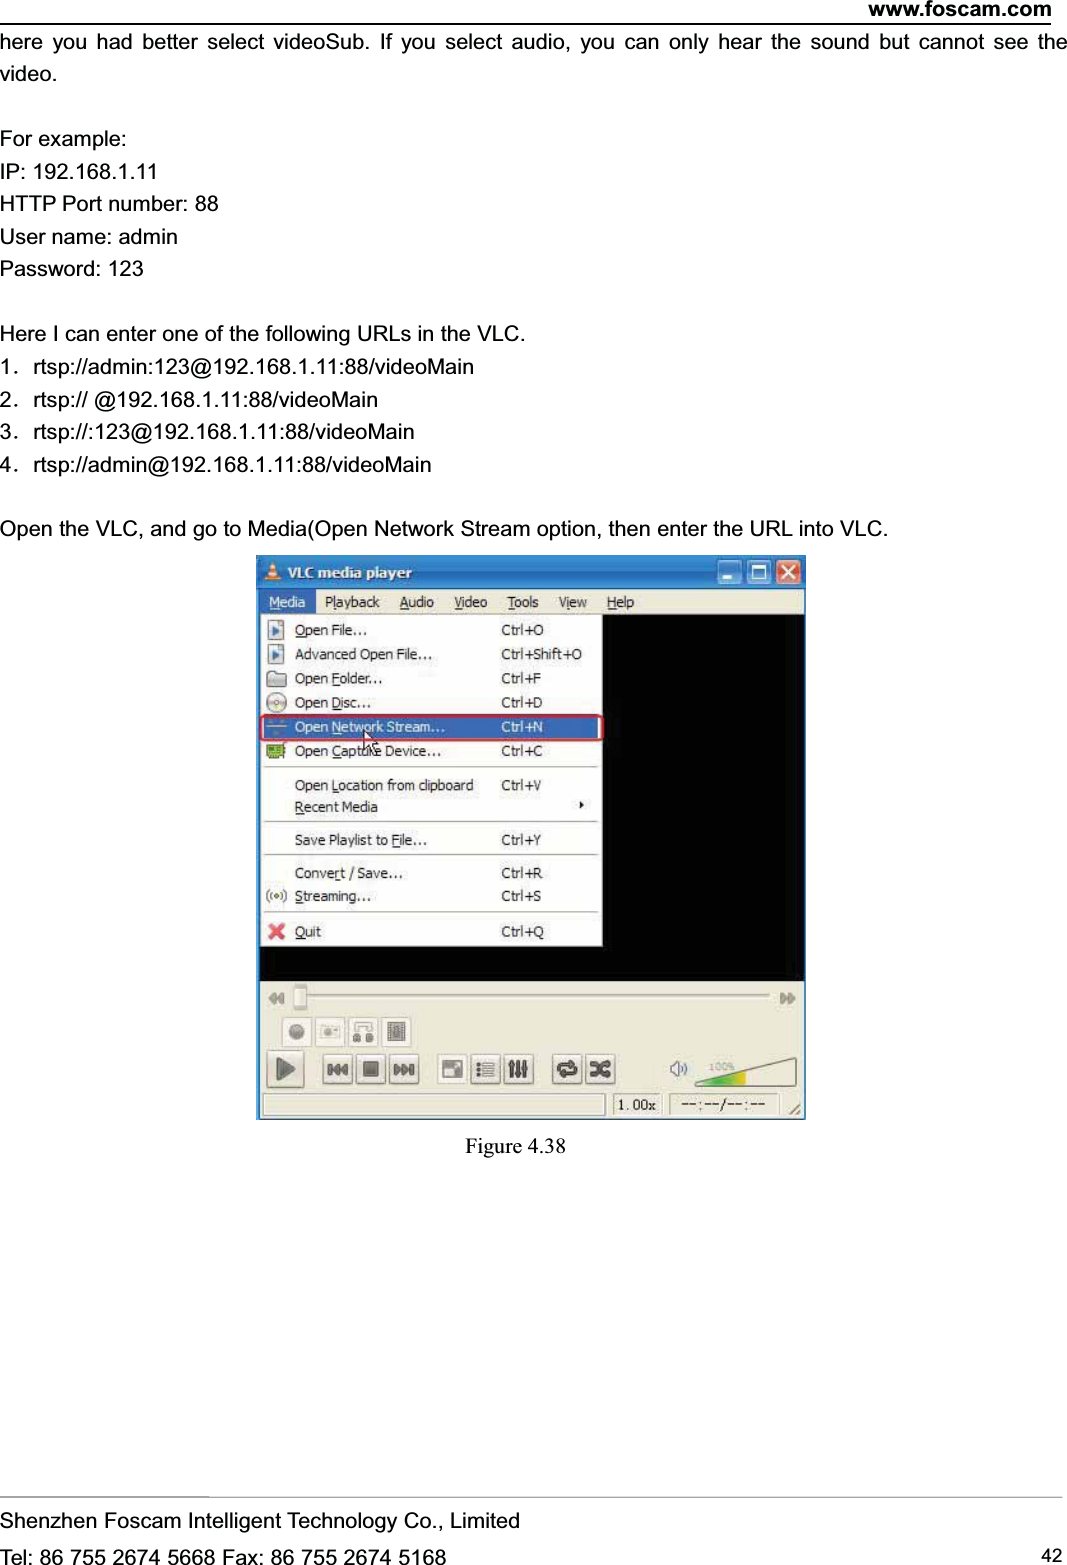
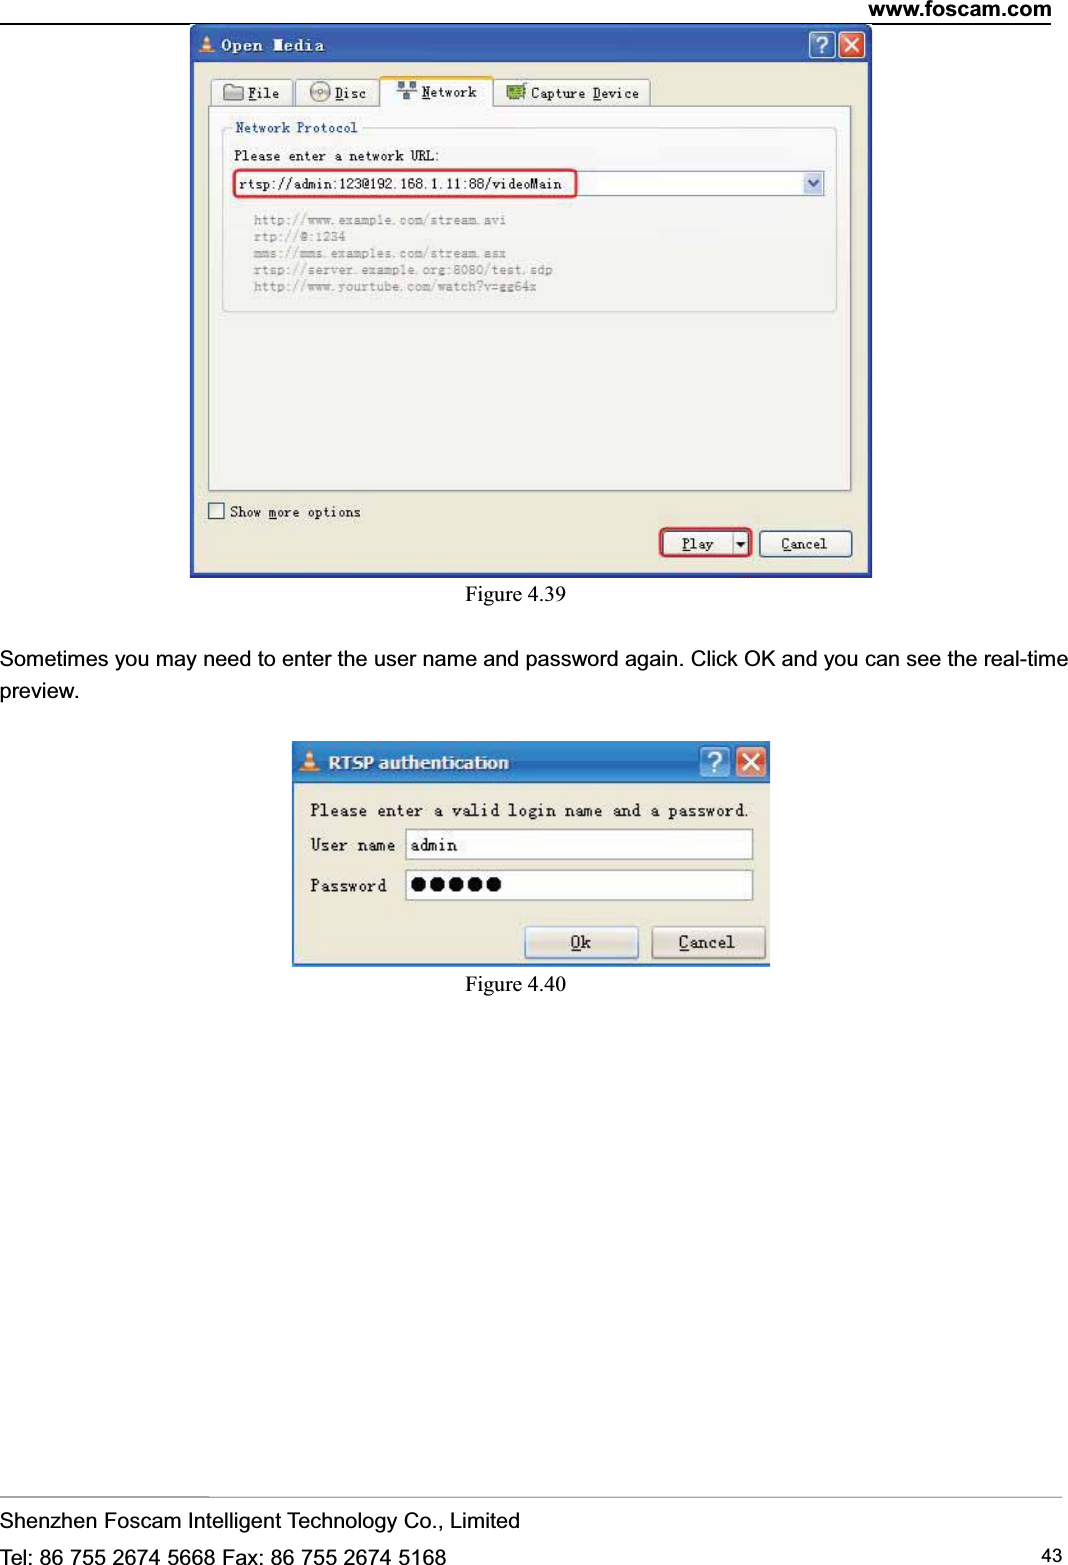
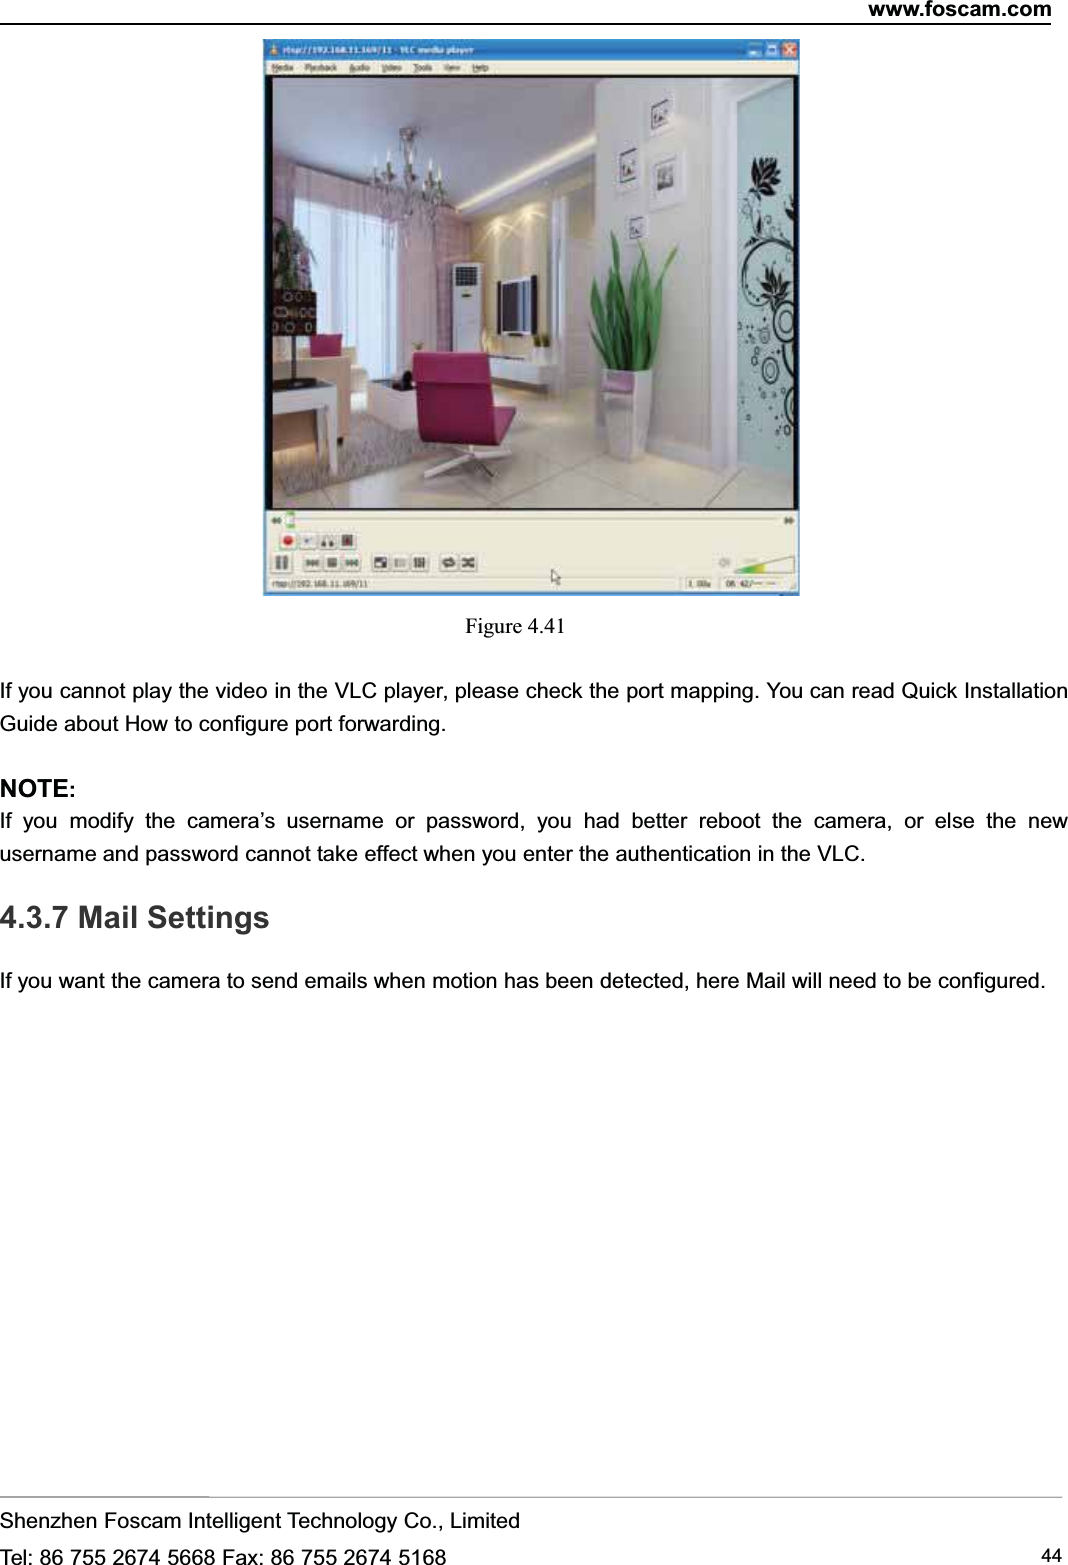
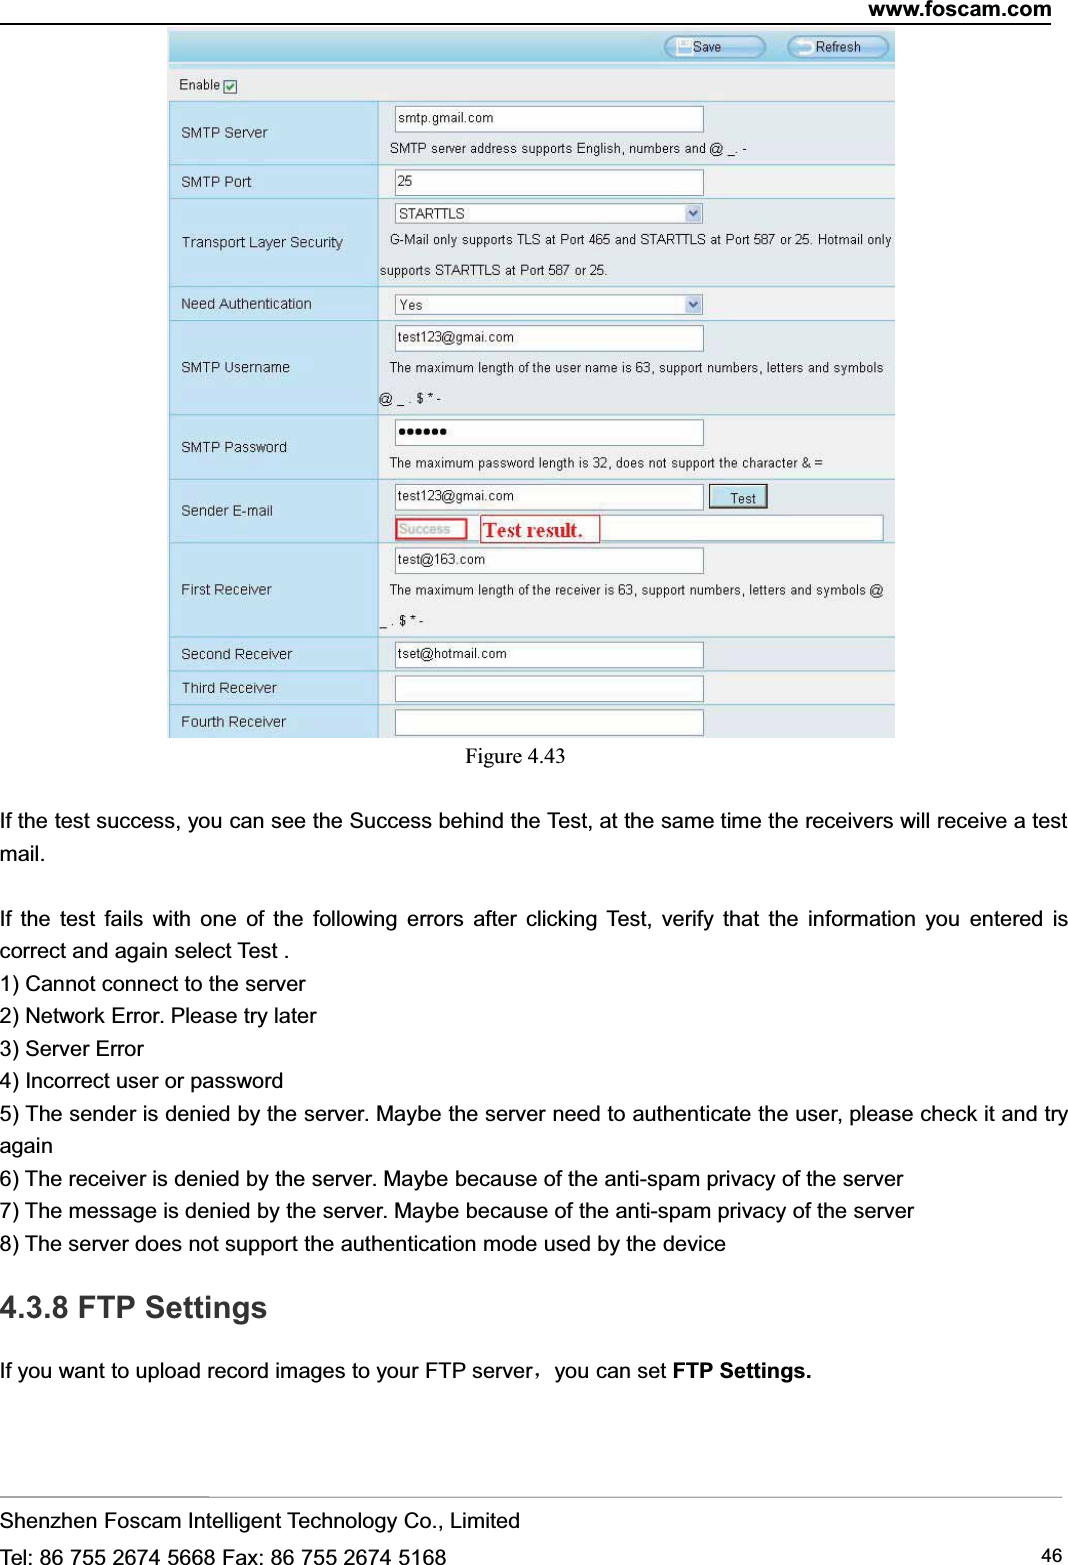
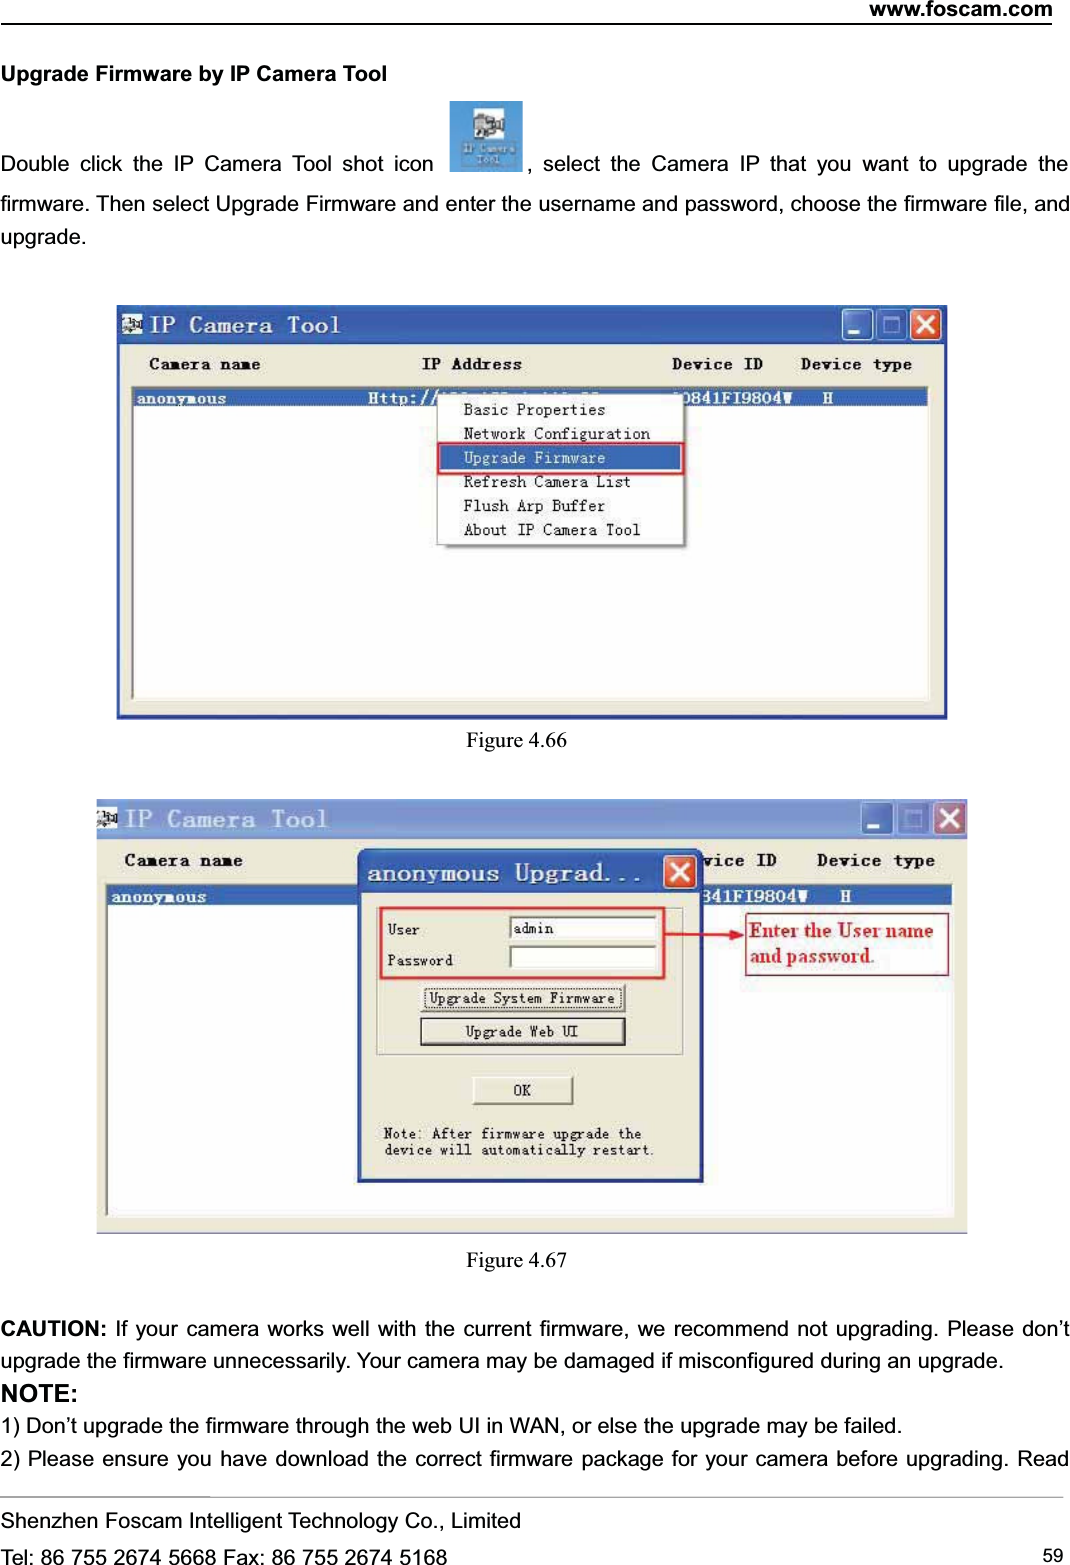
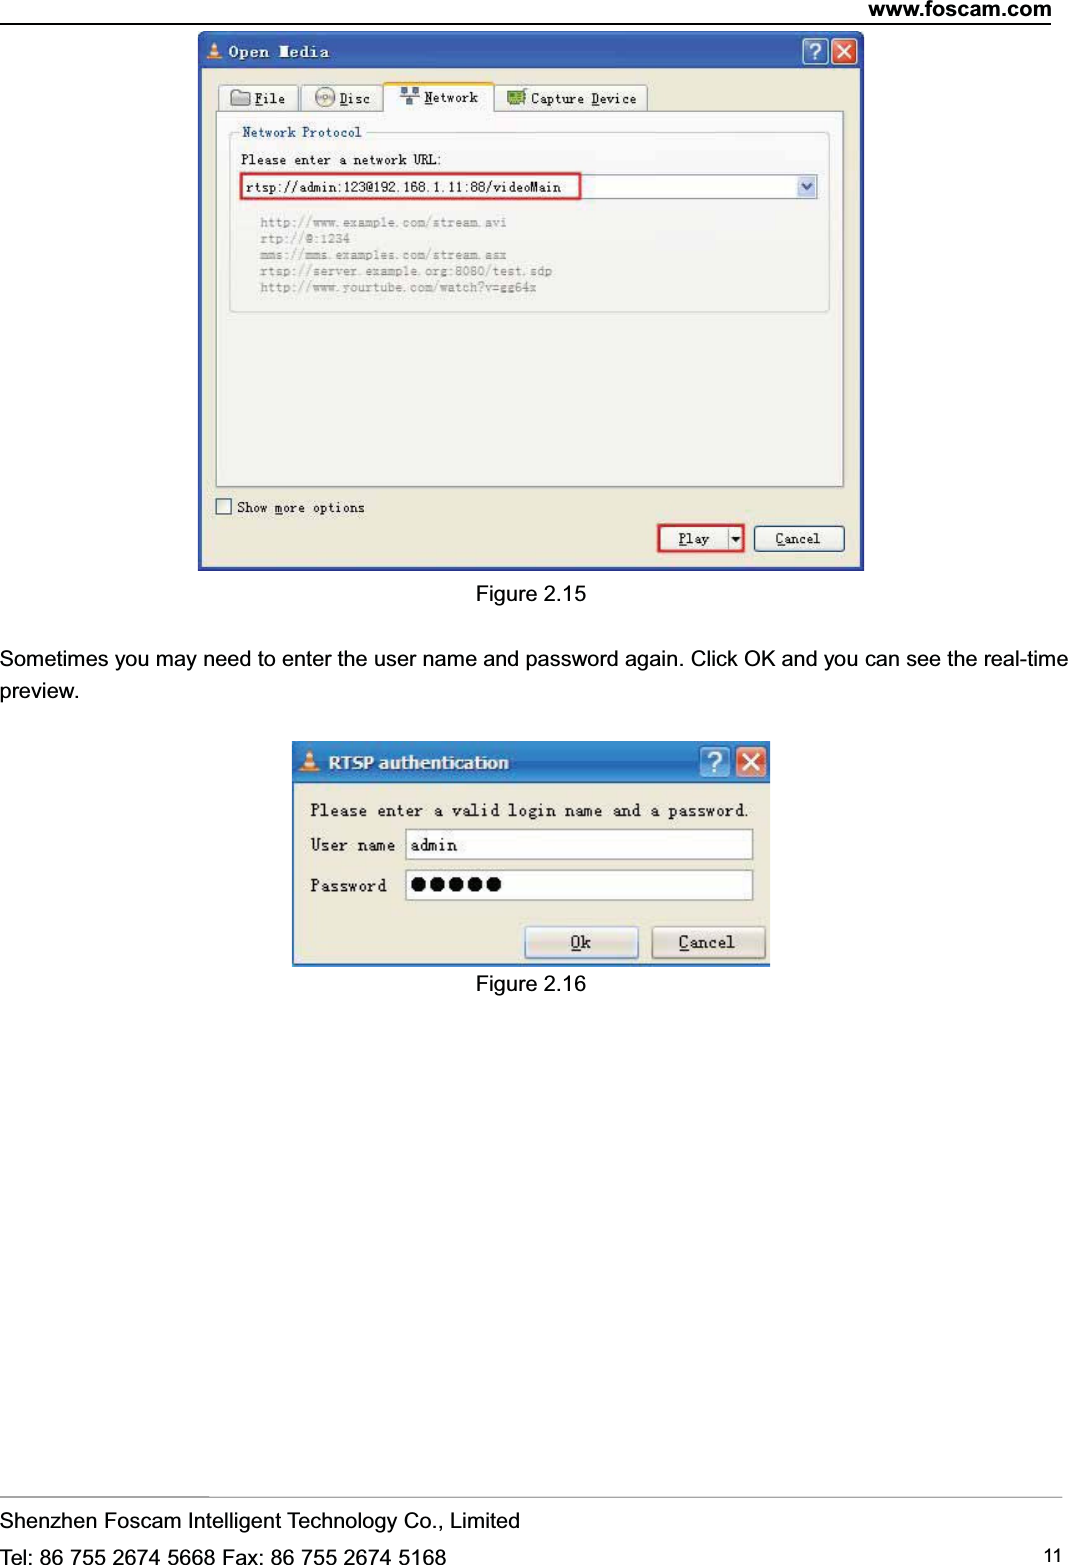
![www.foscam.comShenzhen Foscam Intelligent Technology Co., LimitedTel: 86 755 2674 5668 Fax: 86 755 2674 5168 10RTSP URL rtsp:// [user name][:password]@IP:HTTP port number/videosreamThe part in the square brackets may be omitted.user name & password:The user name and password to access the camera. This part can be omitted.IP: WAN or LAN IP address.Videostream:Here support three modes: videoMain, videoSub and audio. When the network speed is bad,here you had better select videoSub. If you select audio, you can only hear the sound but cannot see thevideo.For example:IP: 192.168.1.11HTTP Port number: 88User name: adminPassword: 123Here I can enter one of the following URLs in the VLC.1.rtsp://admin:123@192.168.1.11:88/videoMain2.rtsp:// @192.168.1.11:88/videoMain3.rtsp://:123@192.168.1.11:88/videoMain4.rtsp://admin@192.168.1.11:88/videoMainOpen the VLC, and go to Media(Open Network Stream option, then enter the URL into VLC.Figure 2.14](https://usermanual.wiki/ShenZhen-Foscam-Intelligent-Technology/FI9851P/User-Guide-2294808-Page-13.png)

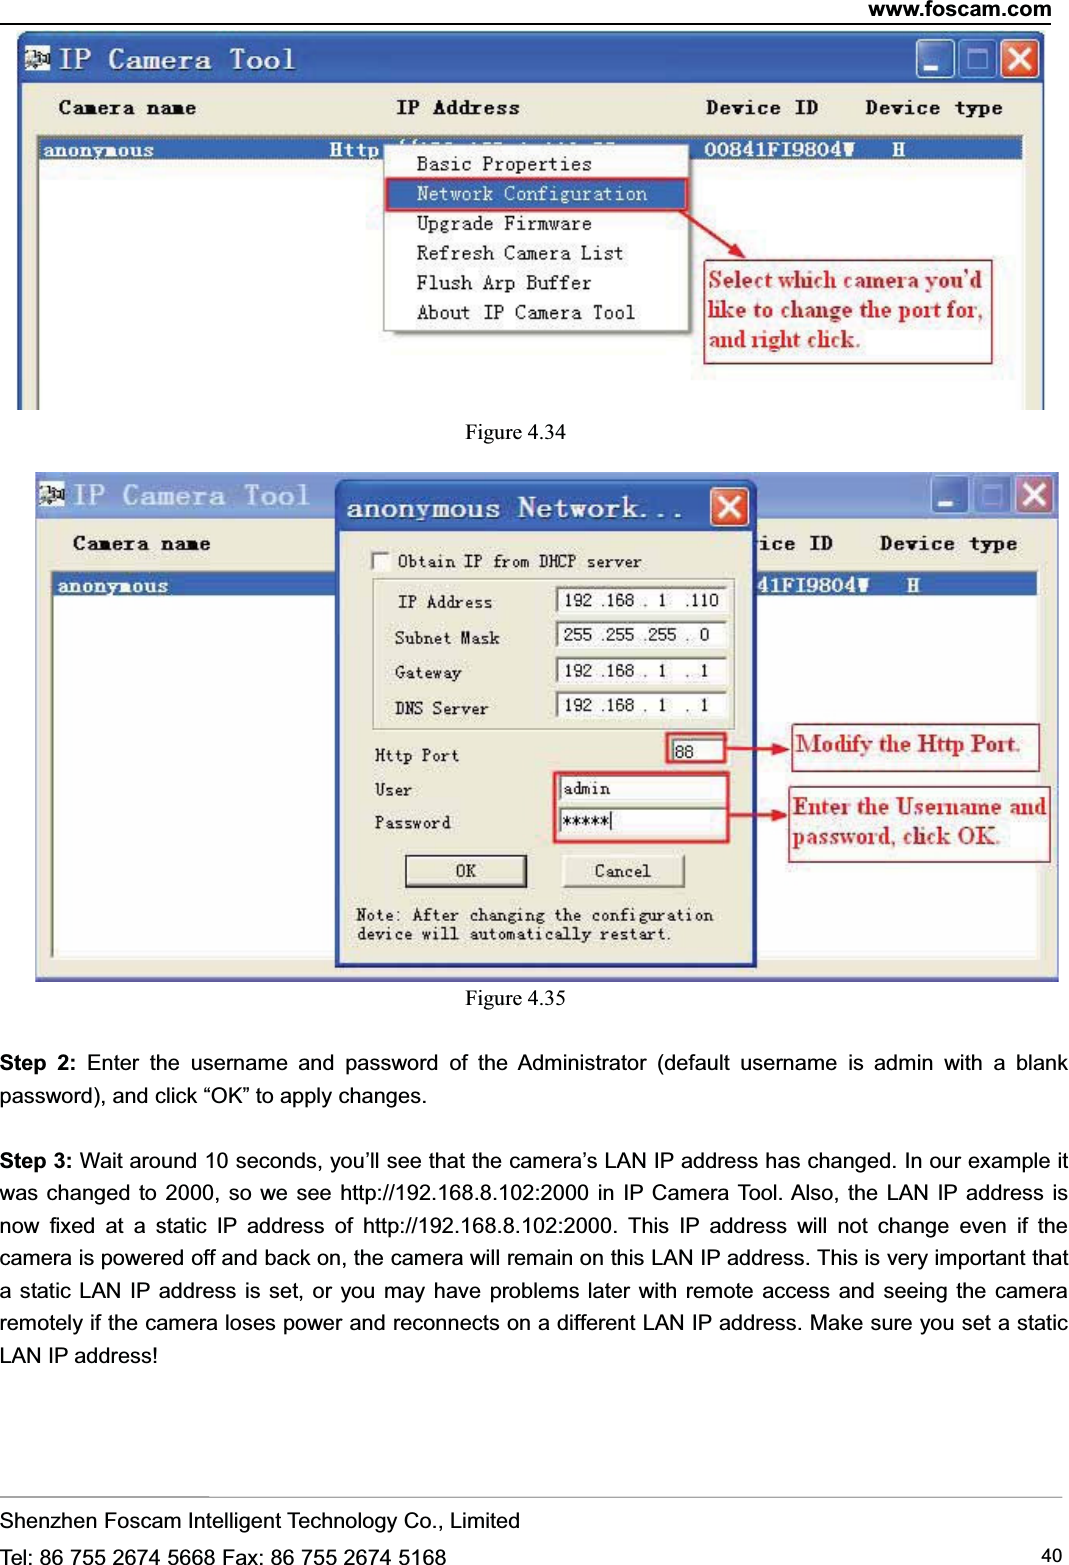
![www.foscam.comShenzhen Foscam Intelligent Technology Co., LimitedTel: 86 755 2674 5668 Fax: 86 755 2674 5168 41Figure 4.36NOTE: If the camera cannot be accessed, please make sure the port forwarding is succeed.HTTPS port: The default port is 443. You can use the url to access the camera: https:// IP + HTTPS port.Sometimes you need to add the url to the Trusted Sites,Open Internet Explorer if it is not already opened. Click on Tools, then click Internet Options.Next, click the Security tab, then click the Trusted sites button.Figure 4.37ONVIF port: By default, the ONVIF port is set to 888. Also, they can be assigned with another port numberbetween 1 and 65535(except 0 and 65534). But make sure they can not be conflict with other existing ports.RTSP functionRTSP URL rtsp:// [user name][:password]@IP:HTTP port number/videosreamThe part in the square brackets may be omitted.user name & password: The user name and password to access the camera. This part can be omitted.IP: WAN or LAN IP address.Videostream: Here support three mode: videoMain, videoSub and audio. When the network speed is bad,](https://usermanual.wiki/ShenZhen-Foscam-Intelligent-Technology/FI9851P/User-Guide-2294808-Page-44.png)