ShenZhen Foscam Intelligent Technology FI9900P Outdoor HD IP Camera User Manual Part One
ShenZhen Foscam Intelligent Technology Co., Ltd. Outdoor HD IP Camera Users Manual Part One
Contents
- 1. Users Manual Part One
- 2. Users Manual Part Two
- 3. Users Manual Part Three
- 4. User Manual Part Four
Users Manual Part One

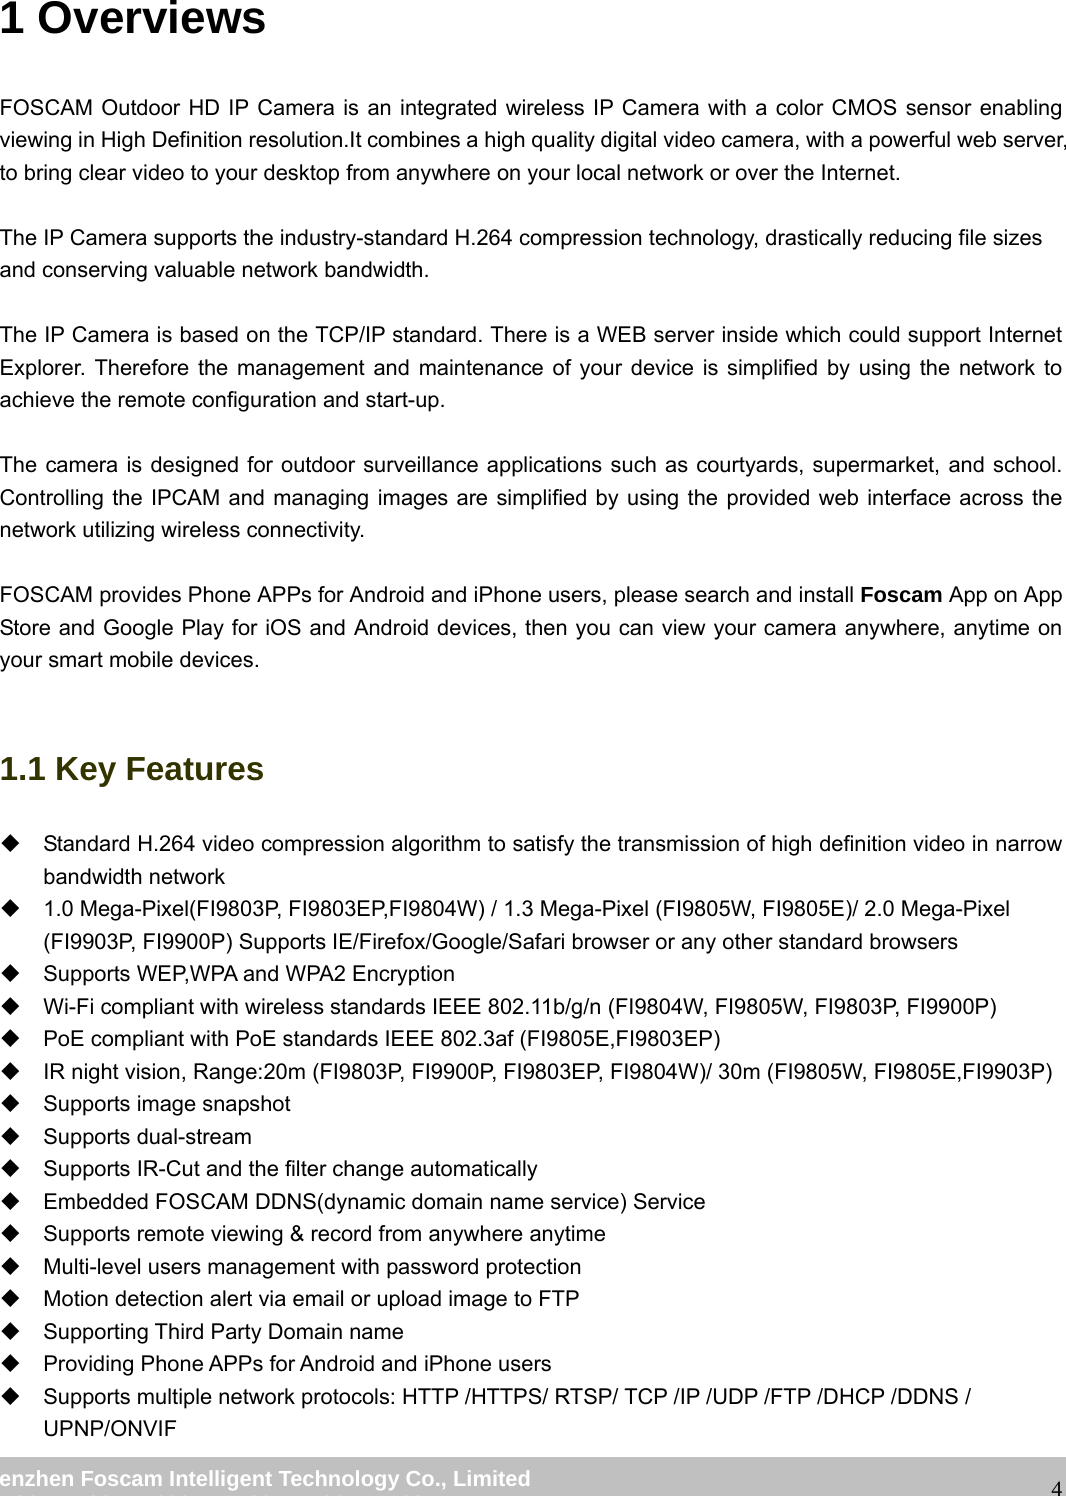
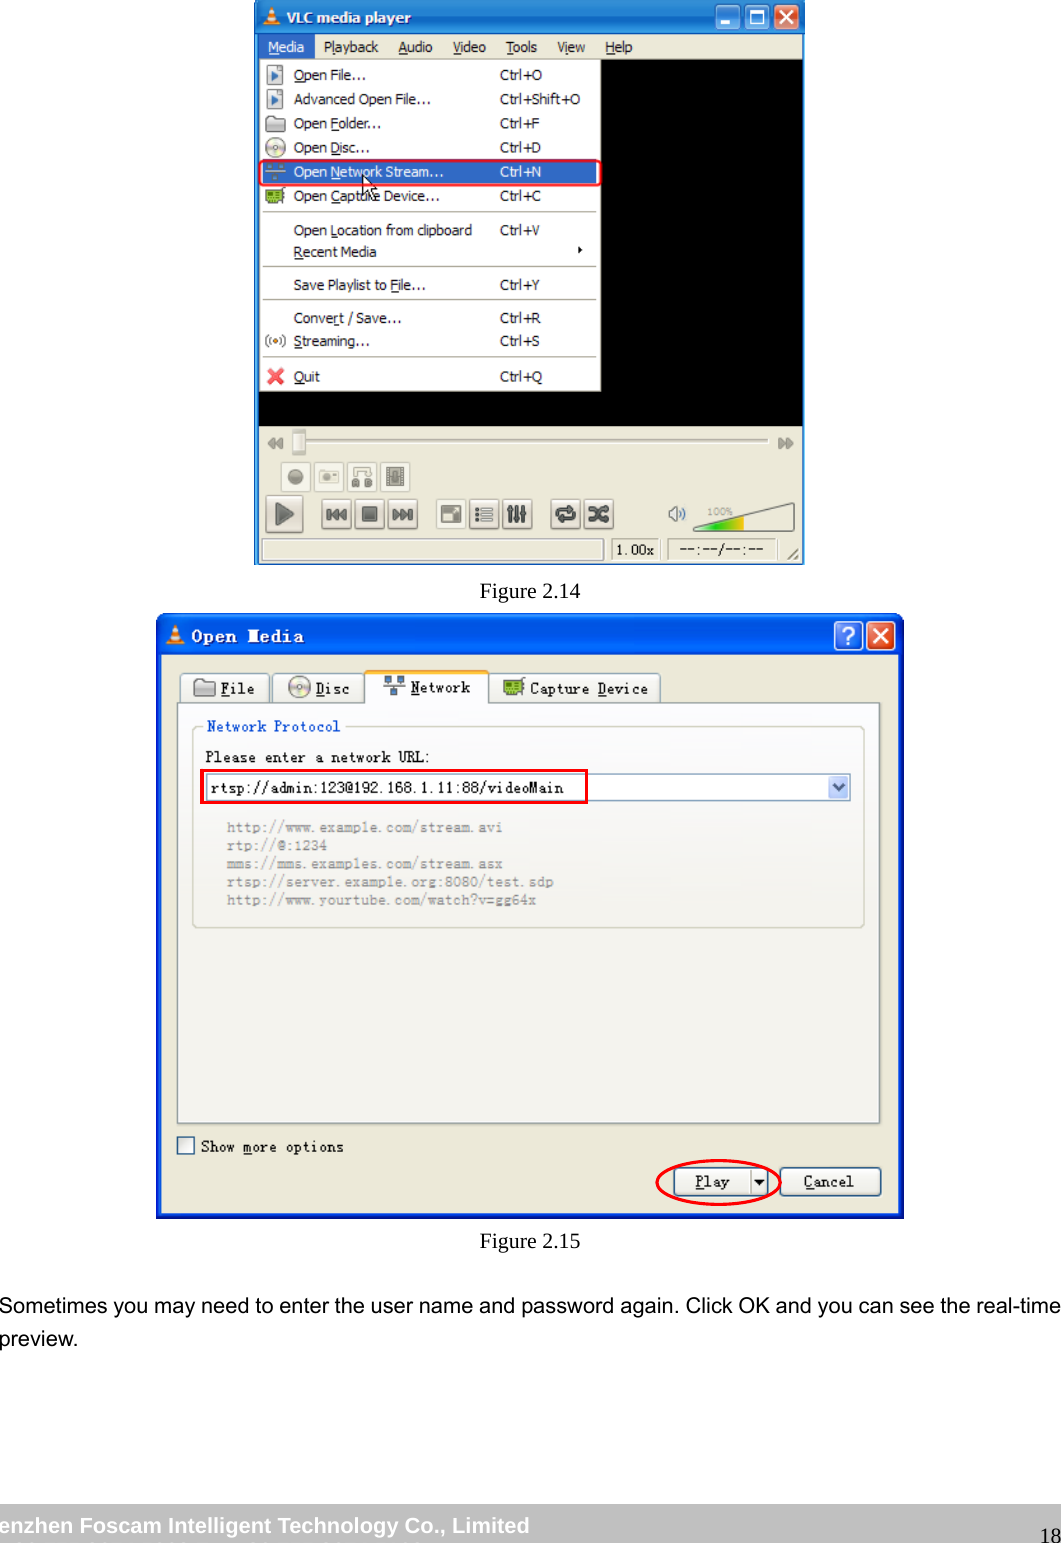
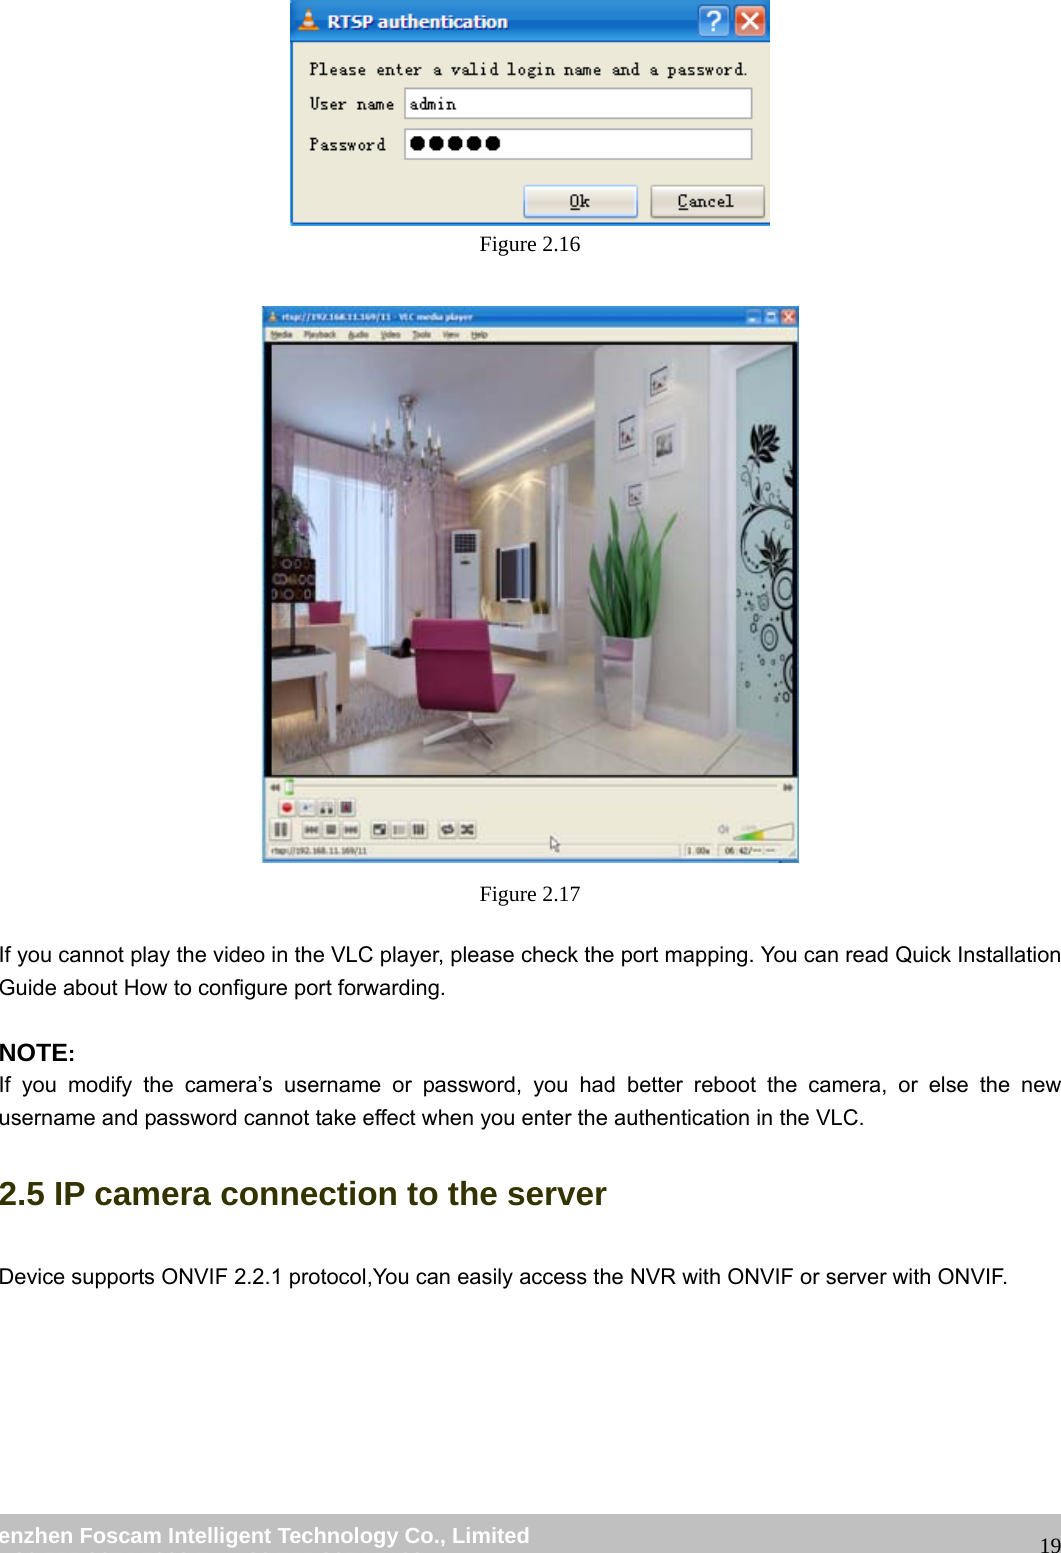
![wwwwww..ffoossccaamm..ccoomm SShheennzzhheenn FFoossccaamm IInntteelllliiggeenntt TTeecchhnnoollooggyy CCoo..,, LLiimmiitteedd TTeell:: 8866 775555 22667744 55666688 FFaaxx:: 8866 775555 22667744 55116688 17 Figure 2.13 5. Now you can access your IP camera by https://domain name: HTTPS port via the Internet. 2.4 Using the VLC player This camera supports RTSP streaming, here you can view the camera using VLC player. RTSP URL rtsp:// [user name][:password]@IP:port number/videosream The part in the square brackets may be omitted. user name & password: The user name and password to access the camera. This part can be omitted. IP: WAN or LAN IP address. port number:If there is the RSTP port number on the Port page, you must only use RTSP port number. otherwise, you must only use http port number. Videostream:Here support three modes: videoMain, videoSub and audio. When the network speed is bad, here you had better select videoSub. If you select audio, you can only hear the sound but cannot see the video. For example: IP: 192.168.1.11 Port number: 88 User name: admin Password: 123 Here I can enter one of the following URLs in the VLC. 1.rtsp://admin:123@192.168.1.11:88/videoMain 2.rtsp:// @192.168.1.11:88/videoMain 3.rtsp://:123@192.168.1.11:88/videoMain 4.rtsp://admin@192.168.1.11:88/videoMain Open the VLC, and go to MediaٛOpen Network Stream option, then enter the URL into VLC. Here you have finished the Port Forwarding setup.](https://usermanual.wiki/ShenZhen-Foscam-Intelligent-Technology/FI9900P.Users-Manual-Part-One/User-Guide-2620031-Page-19.png)