SmartBridges DOLPHIN Wireless airPoint & airBridge User Manual Air POINT
SmartBridges Pte Ltd Wireless airPoint & airBridge Air POINT
UserManual.wiki
>
SmartBridges
>
DOLPHIN User Manual
>
Users Manual
Contents
1.
Users Manual
2.
users manual
3.
Professional Installation Manual
4.
Professional Installation Manual for 24dBi antenna
Users Manual
Navigation menu
Upload a User Manual
Namespaces
Wiki Guide
HTML
PDF
Info
Views
User Manual
Discussion / Help
Navigation


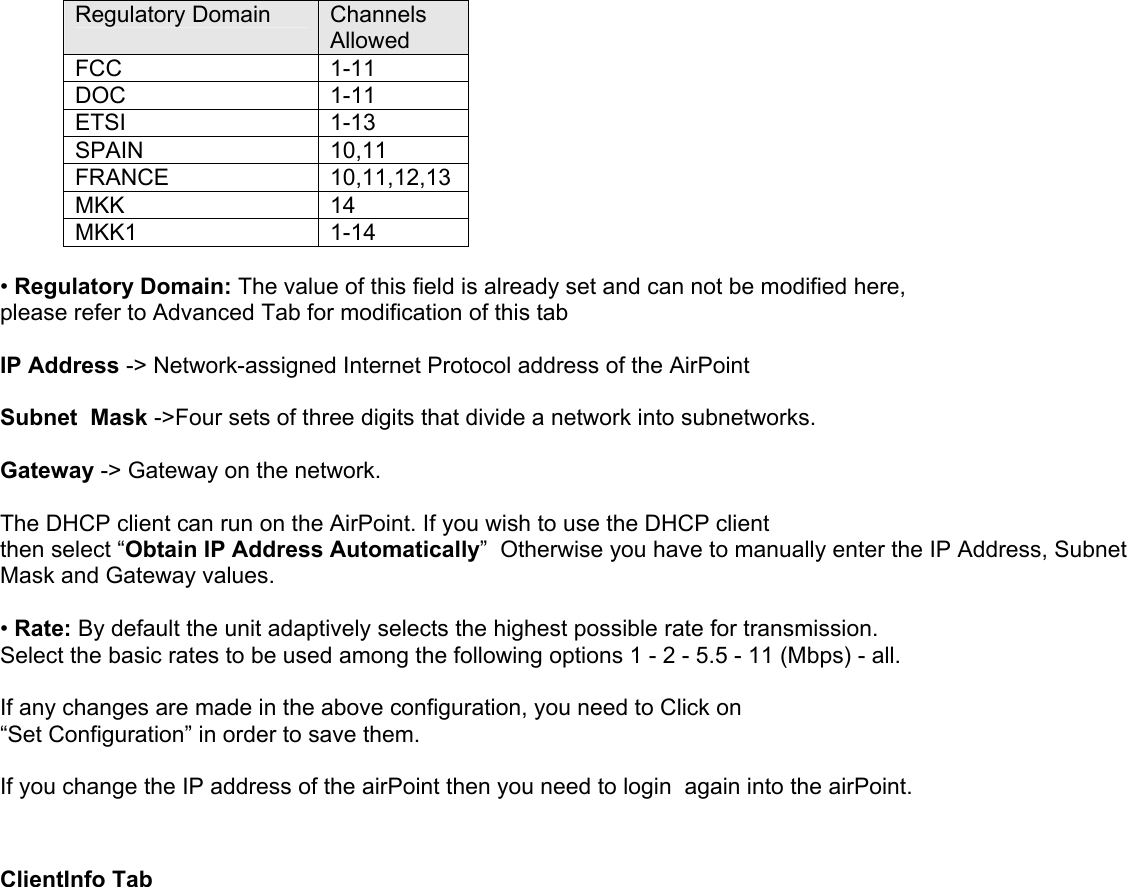
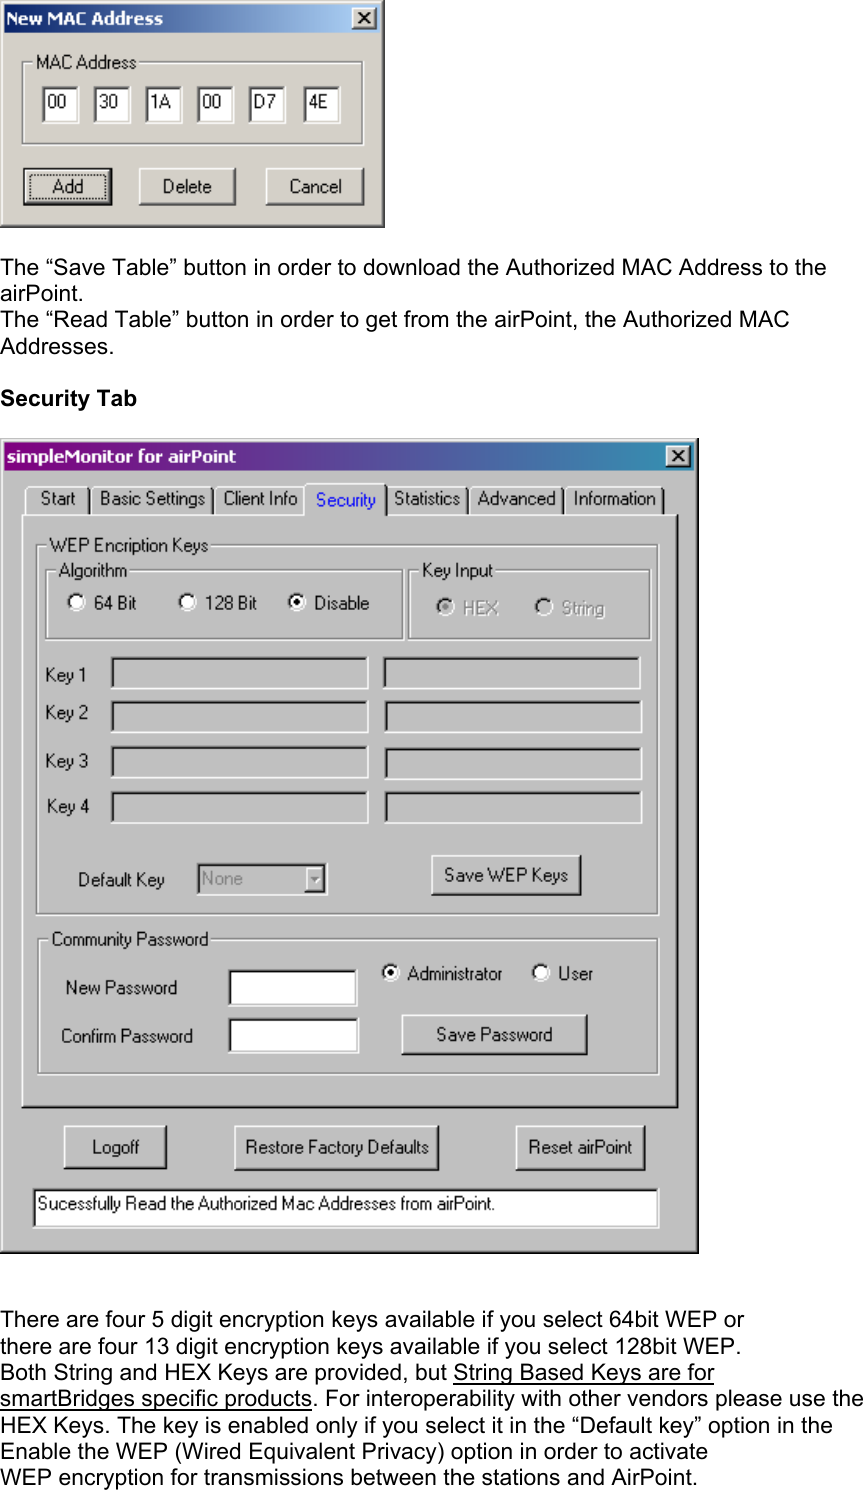
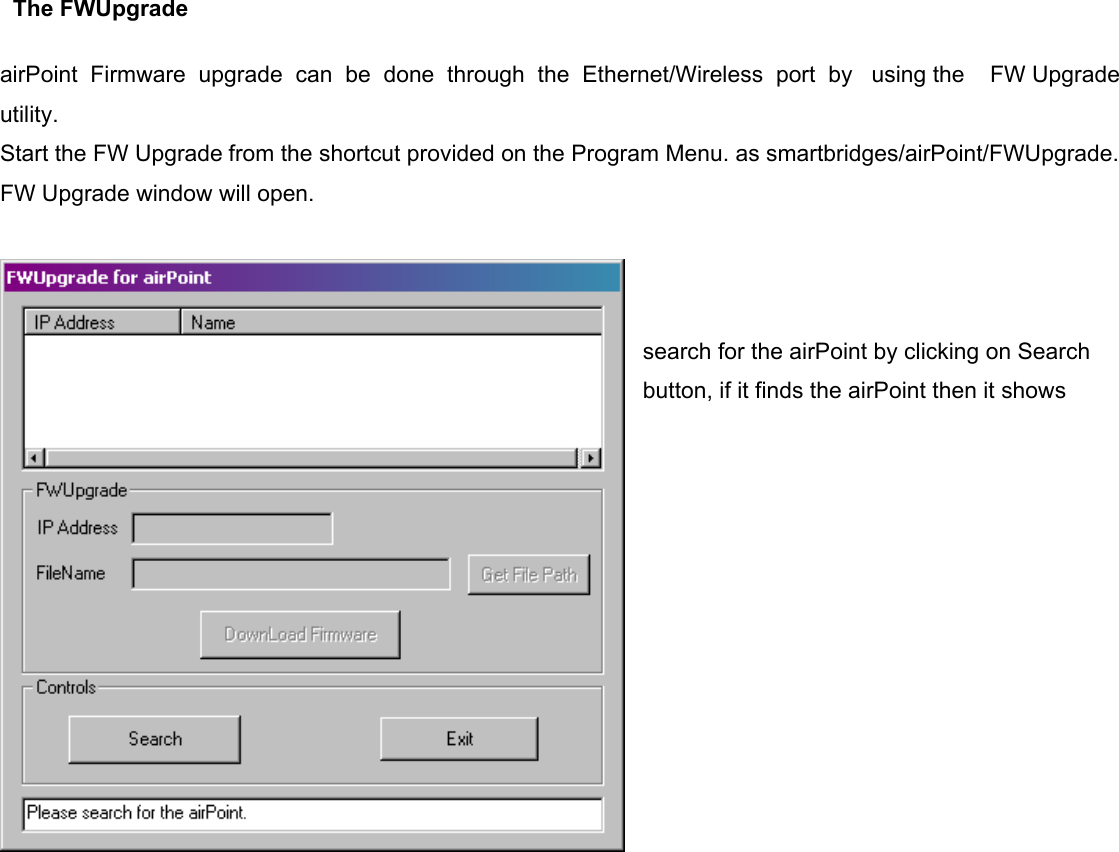
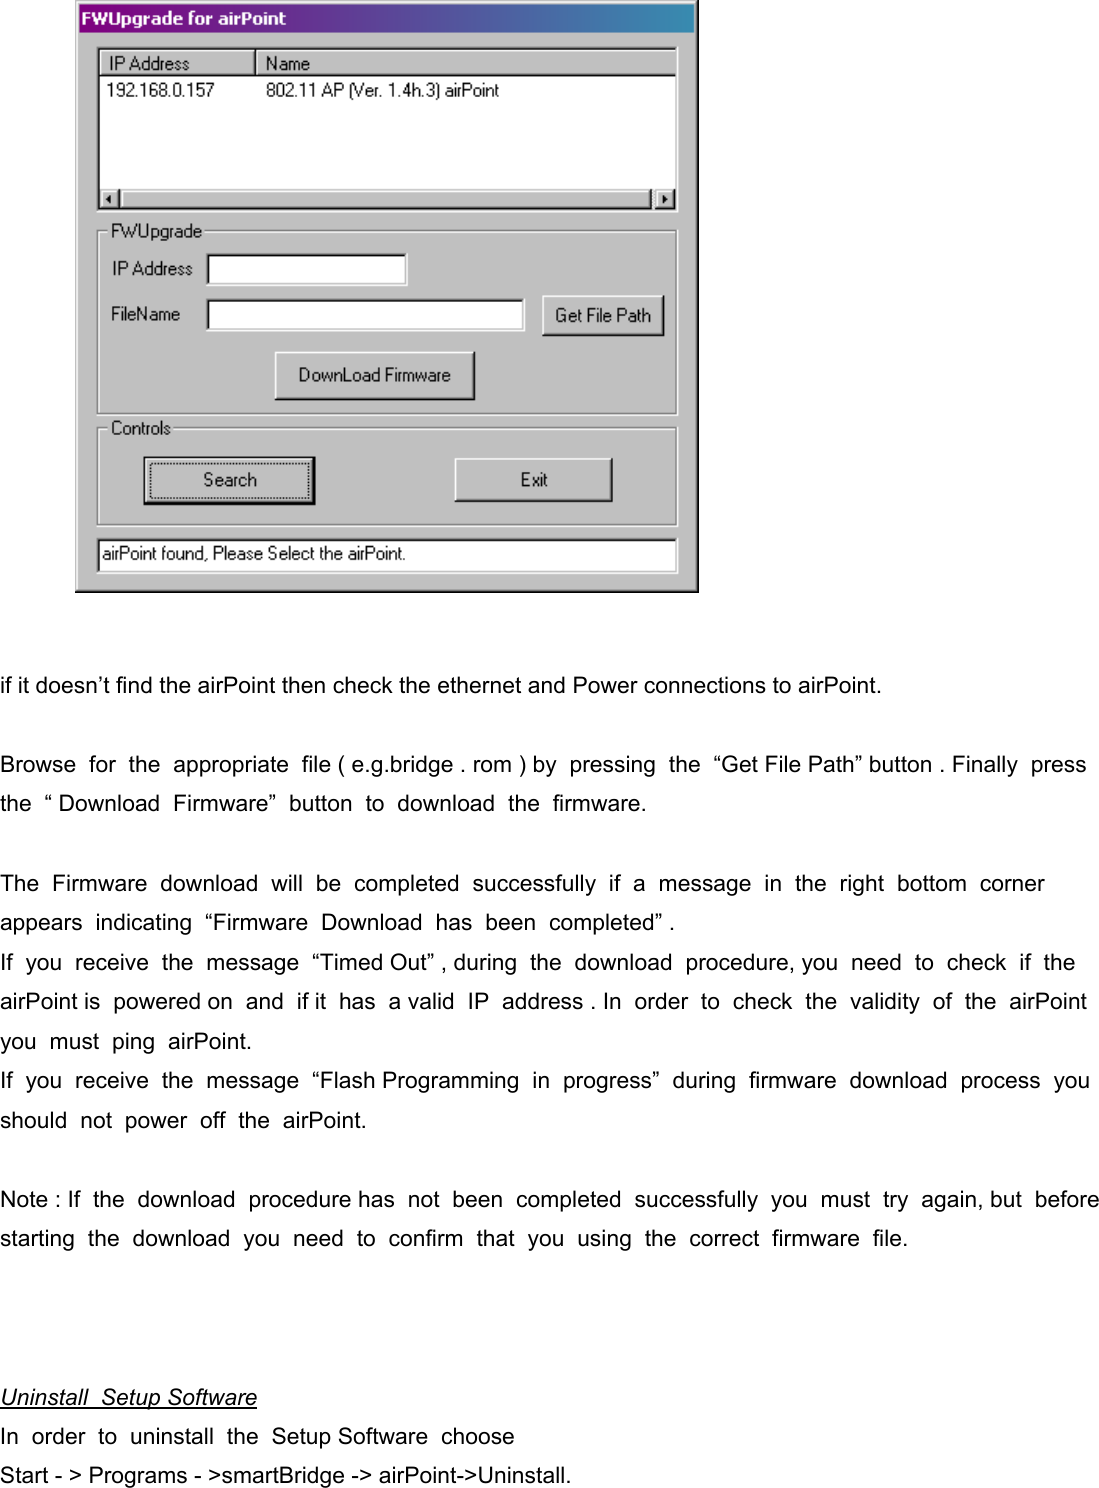
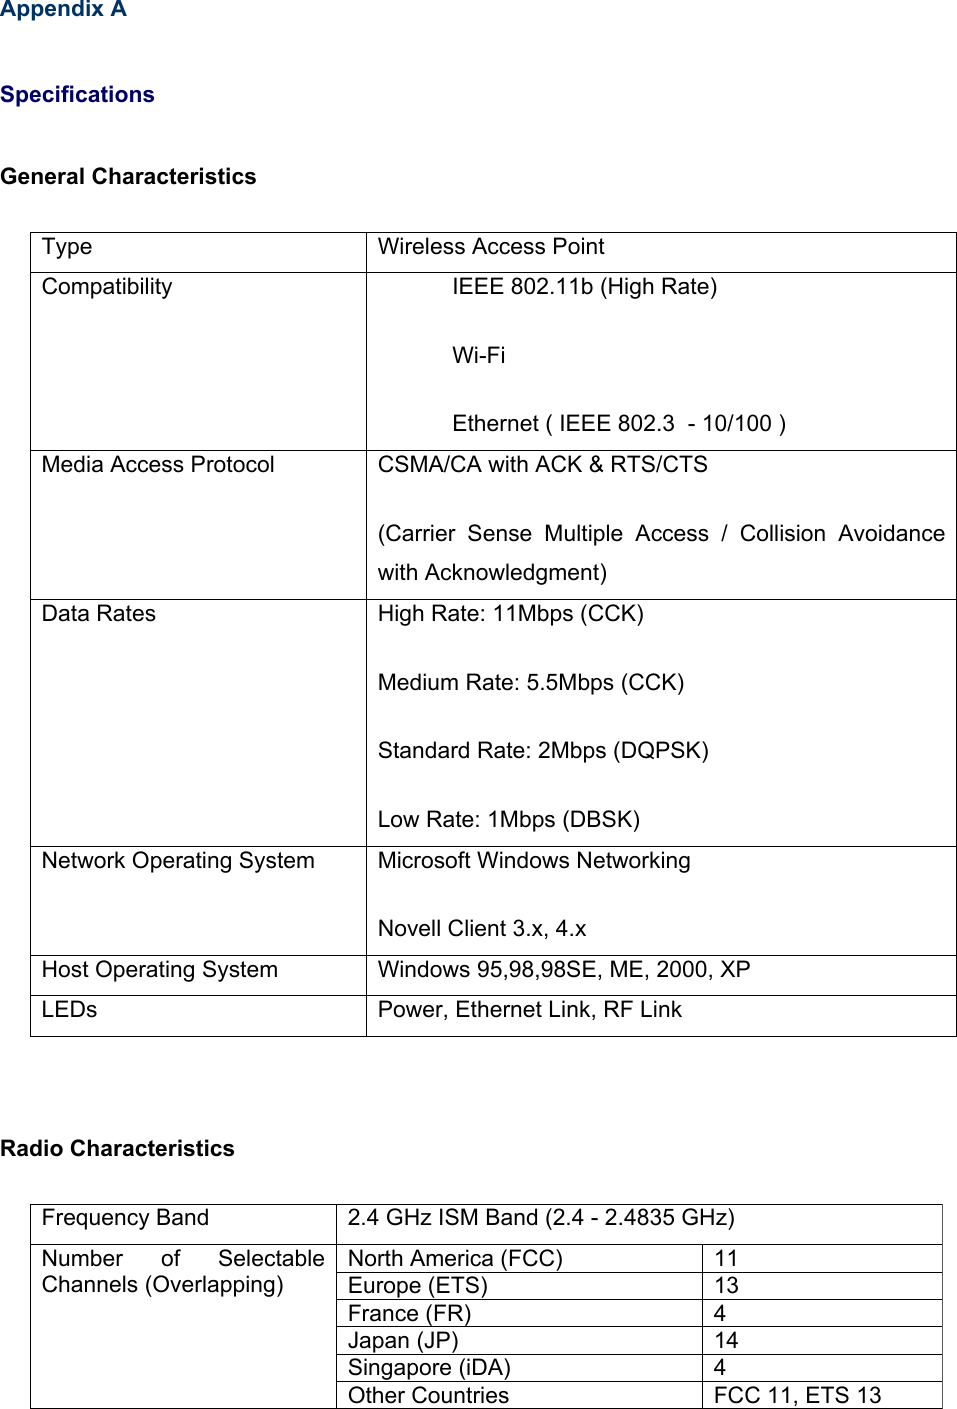
![This tab allows you to know the clients which are associated with the airPoint. The Autorized Clients option allows the airPoint to associate with the certain clients for which the MAC Addresses are known. The “Read file” button in used to load the MAC Addresses stored in a file ( say MAC.TXT). To create a text file (e.g. MAC.TXT) use Notepad or another text editor. Enter the 12 digit MAC address of each adapter that you wish to authorize communication with the airPoint. ONE PER LINE!!!!!!!! [ Note : You can have a look at the sample file by clicking “Sample File” button ] Save the file. Be sure to note the full path to the saved file. Click the Read File button. A screen will pop-up prompting you to browse for the file (e.g. MAC.TXT). Once you have located the file, highlight it and click Open. All the MAC addresses that you entered into the text file should now appear in the window. You can save the MAC Addresses on the screen into a file by clicking “Save File” option. You can change the MAC address or Add more MAC addresses by double clicking on the Individual entry. A popup screen will be displayed as below which will allow you to change the value.](https://usermanual.wiki/SmartBridges/DOLPHIN.Users-Manual/User-Guide-227320-Page-52.png)