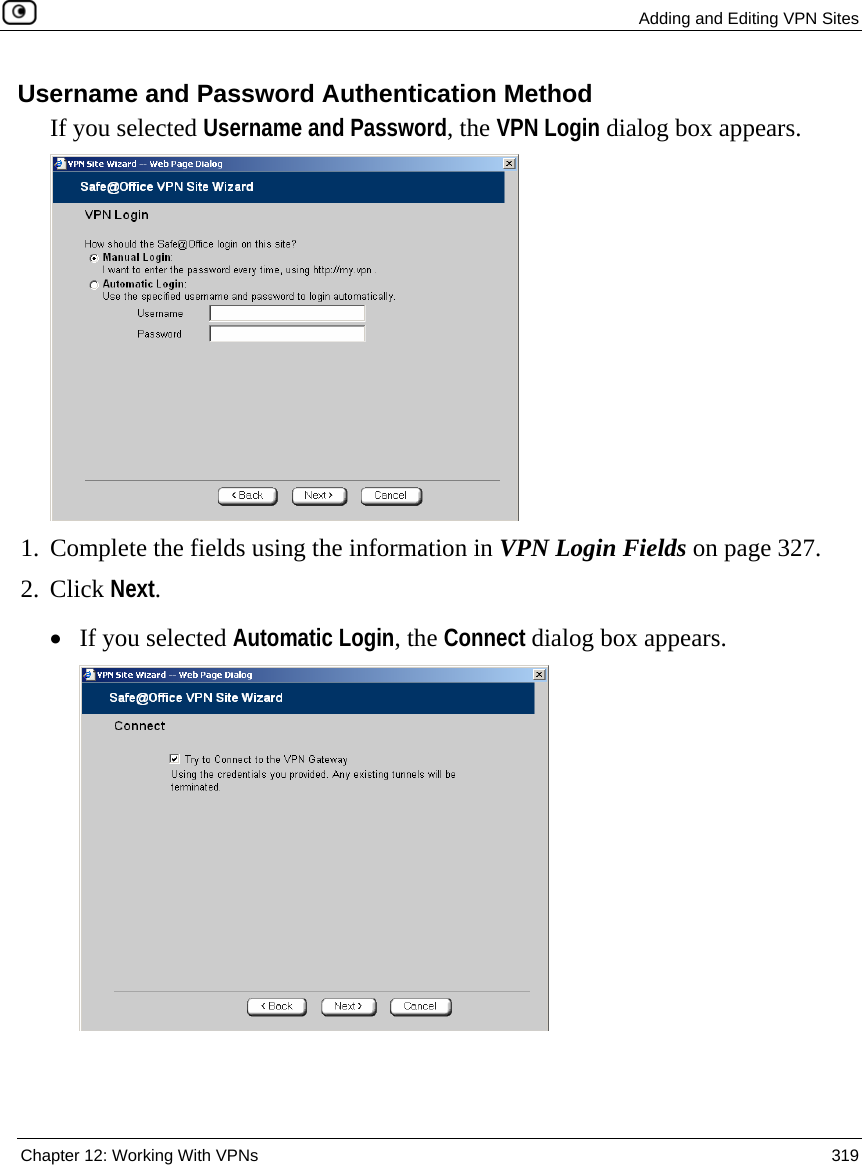
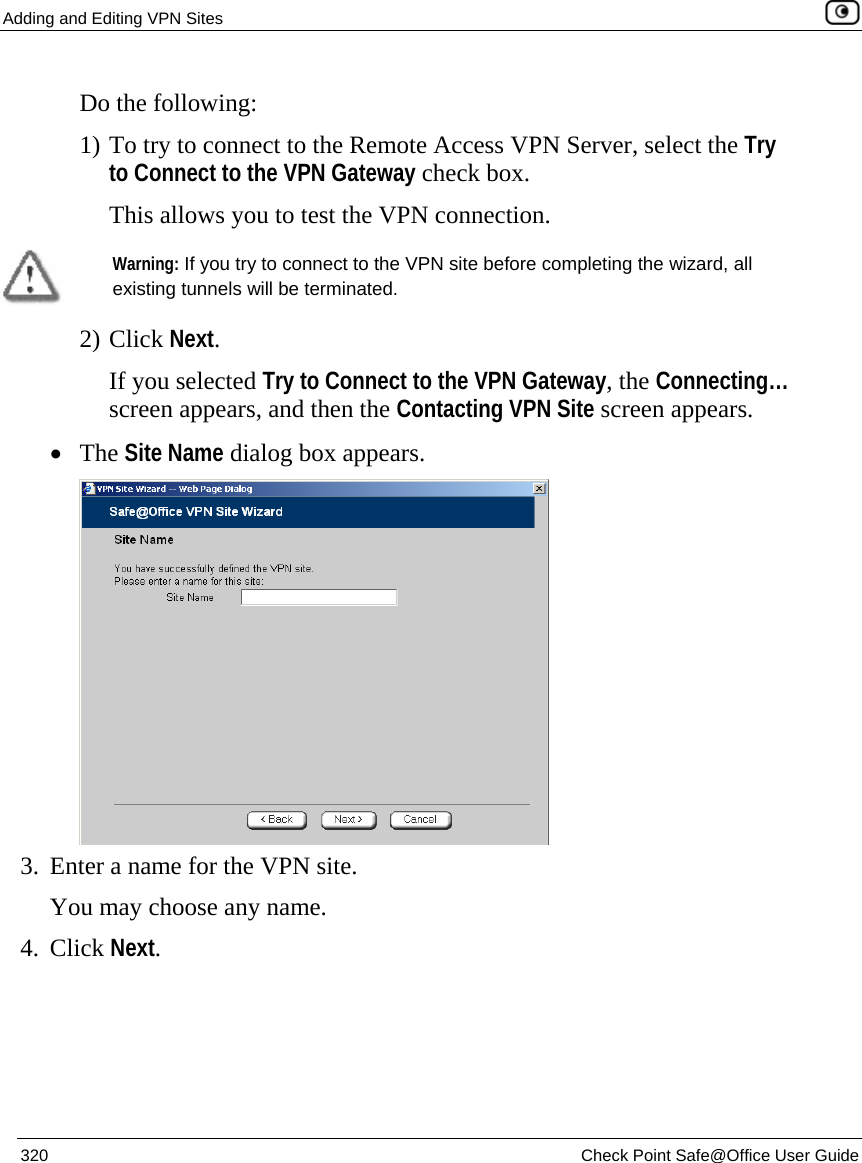
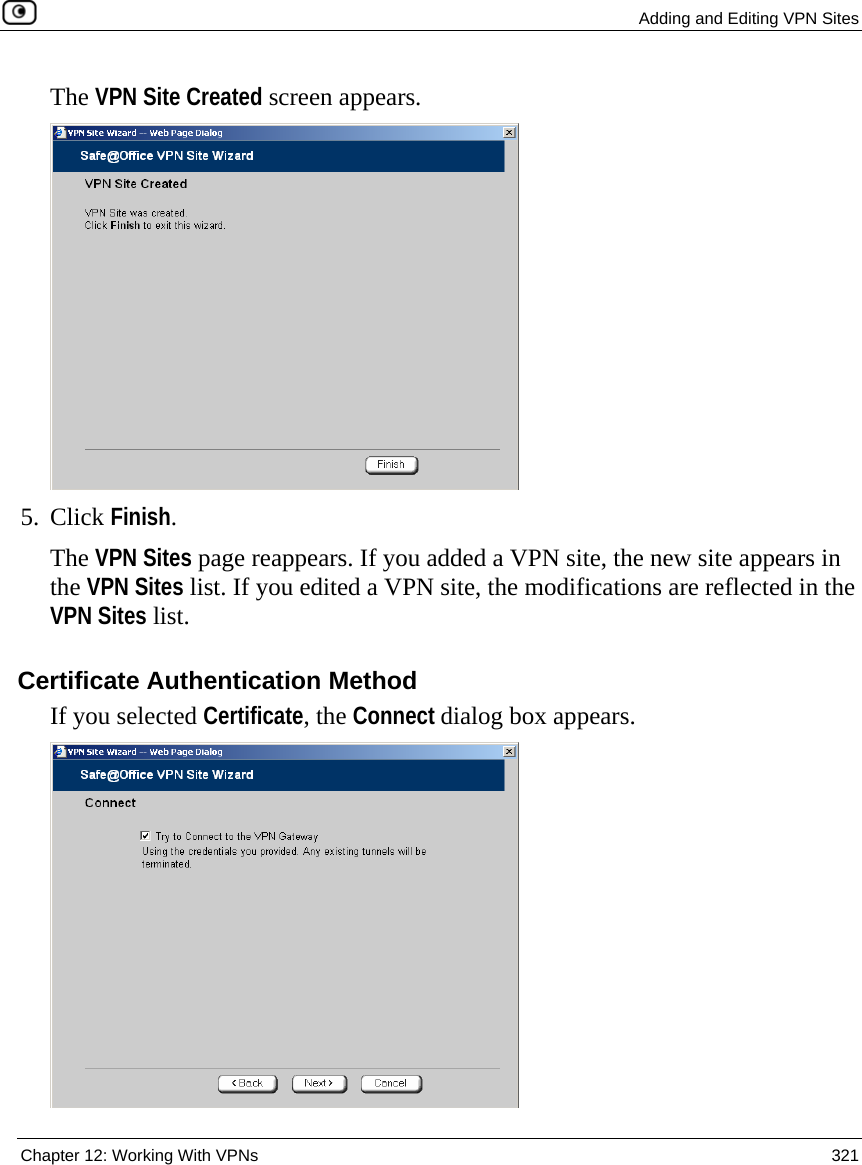
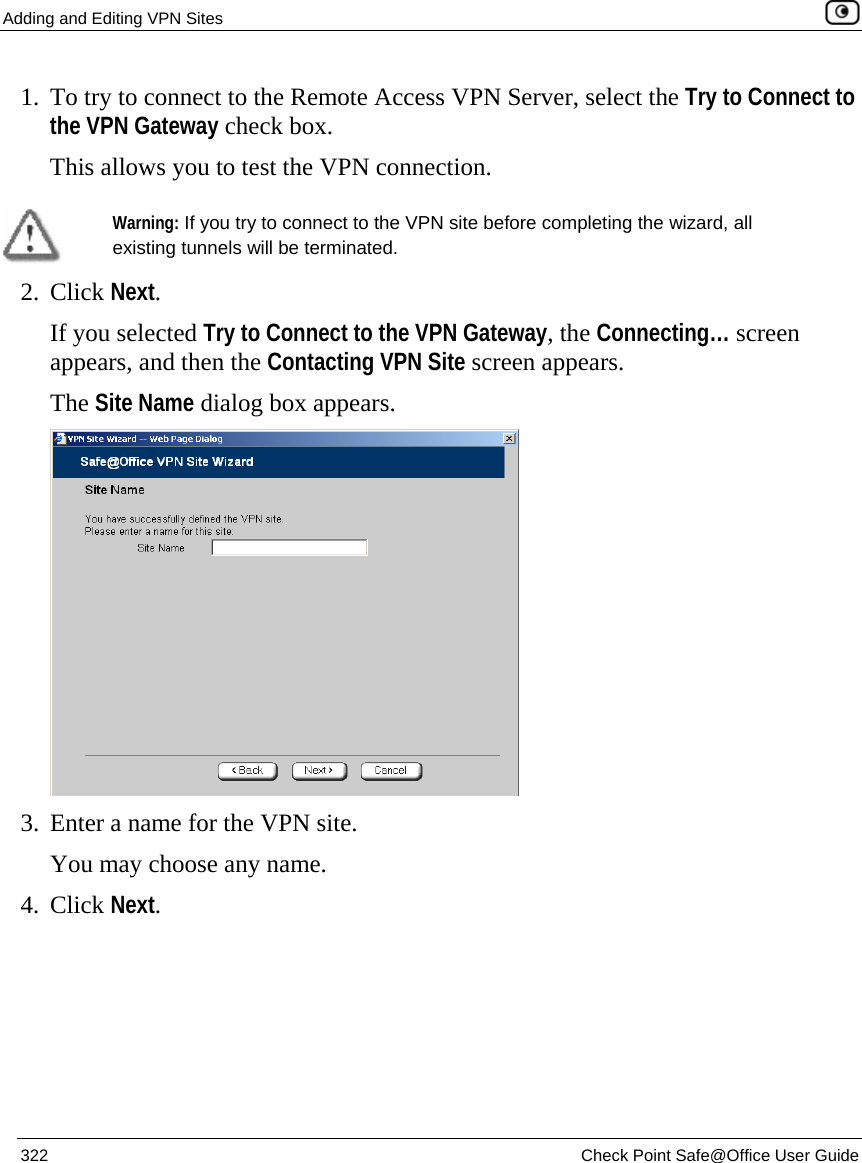
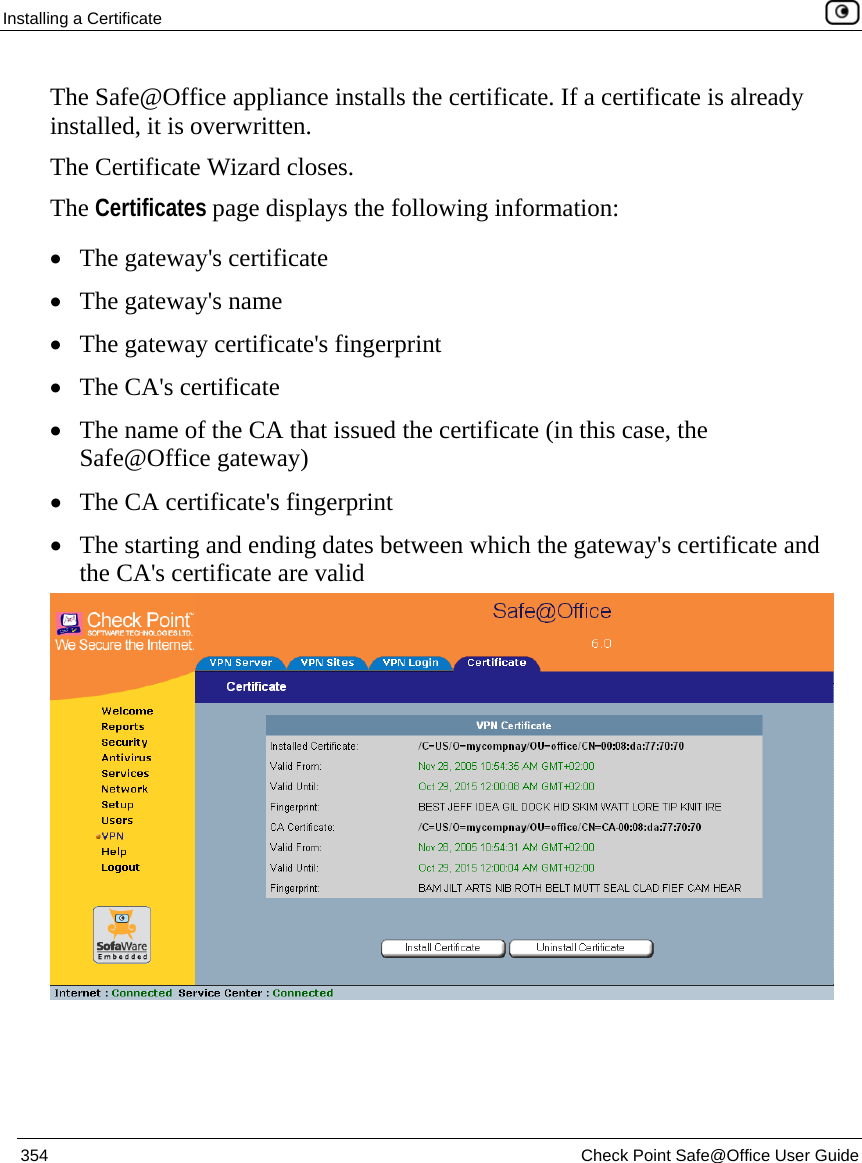
SofaWare Technologies SBX-166LHGE-5 Safe@Office/VPN-1 Edge User Manual Part 3
SofaWare Technologies Ltd. Safe@Office/VPN-1 Edge Users Manual Part 3
UserManual.wiki
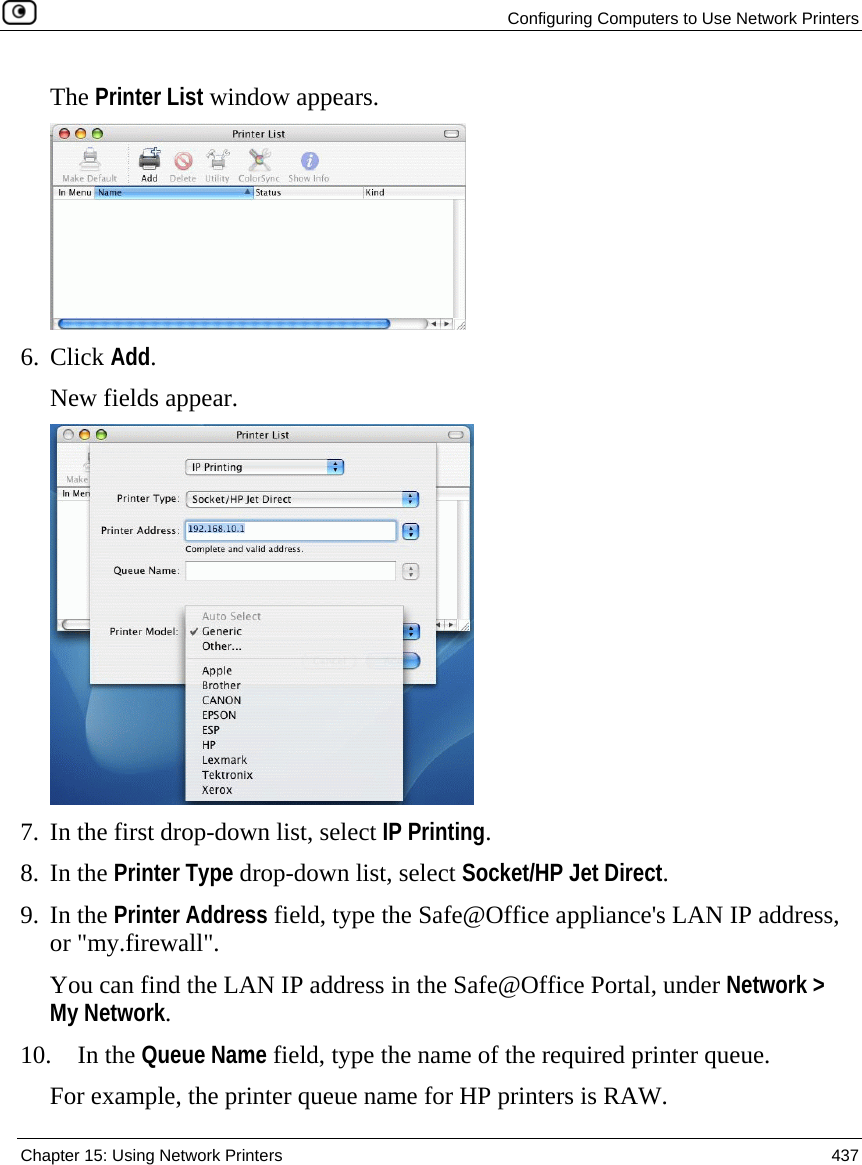
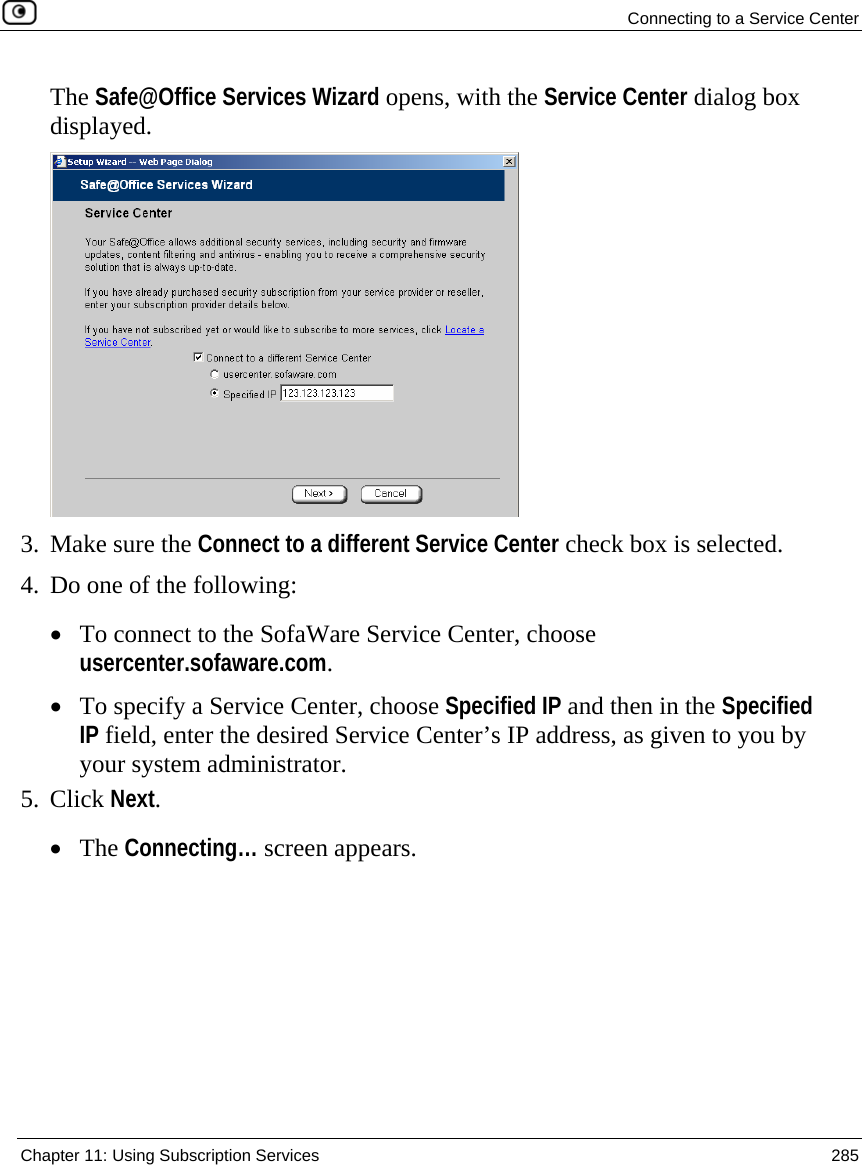
>
SofaWare Technologies
>
SBX-166LHGE-5 User Manual
>
Users Manual Part 3
Contents
1.
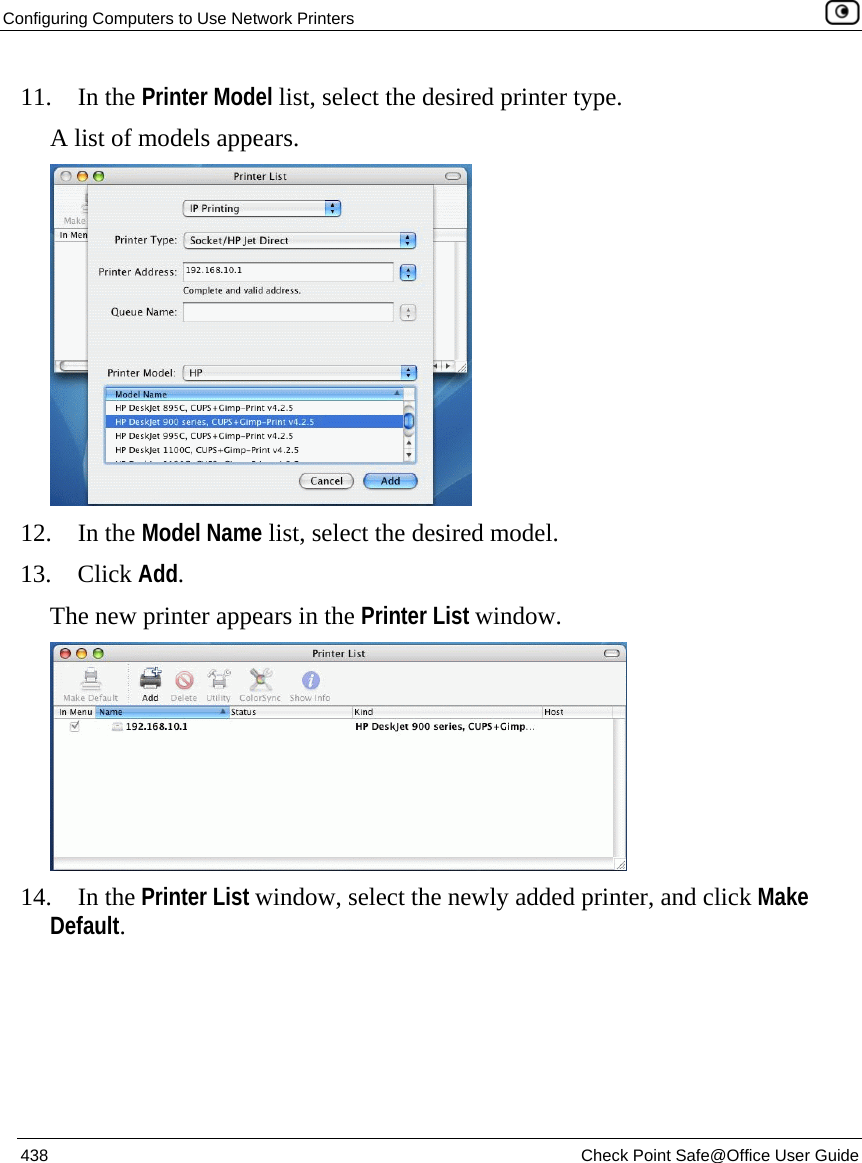
Users Manual Part 1
2.
Users Manual Part 2
3.
Users Manual Part 3
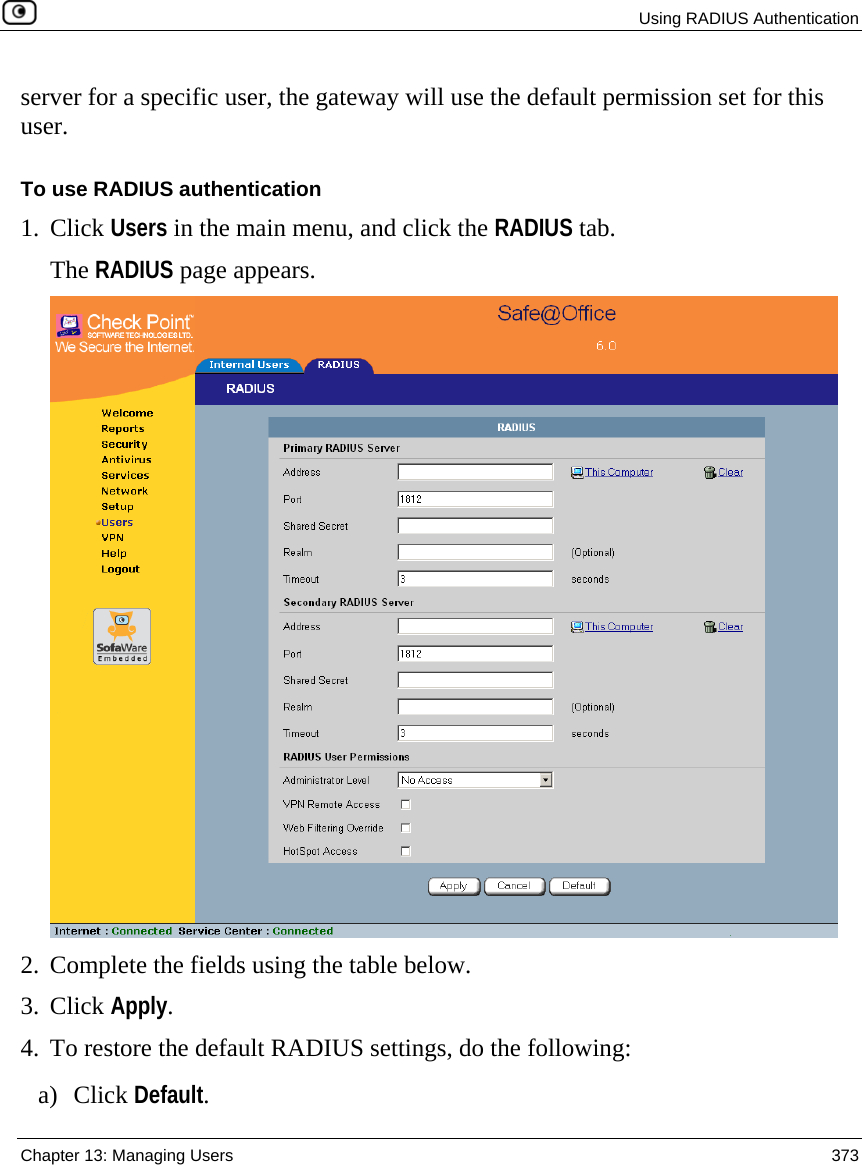
Users Manual Part 3
Navigation menu
Upload a User Manual
Namespaces
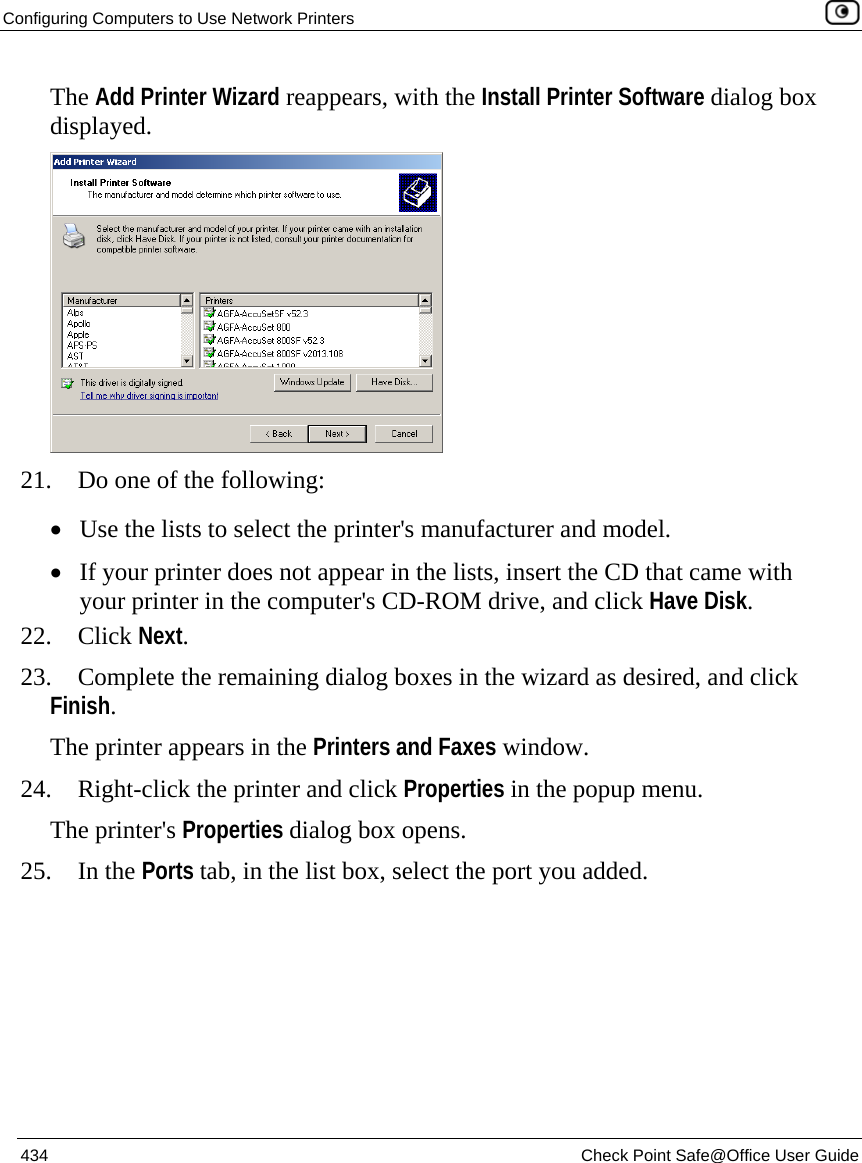
Wiki Guide
HTML
PDF
Info
Views
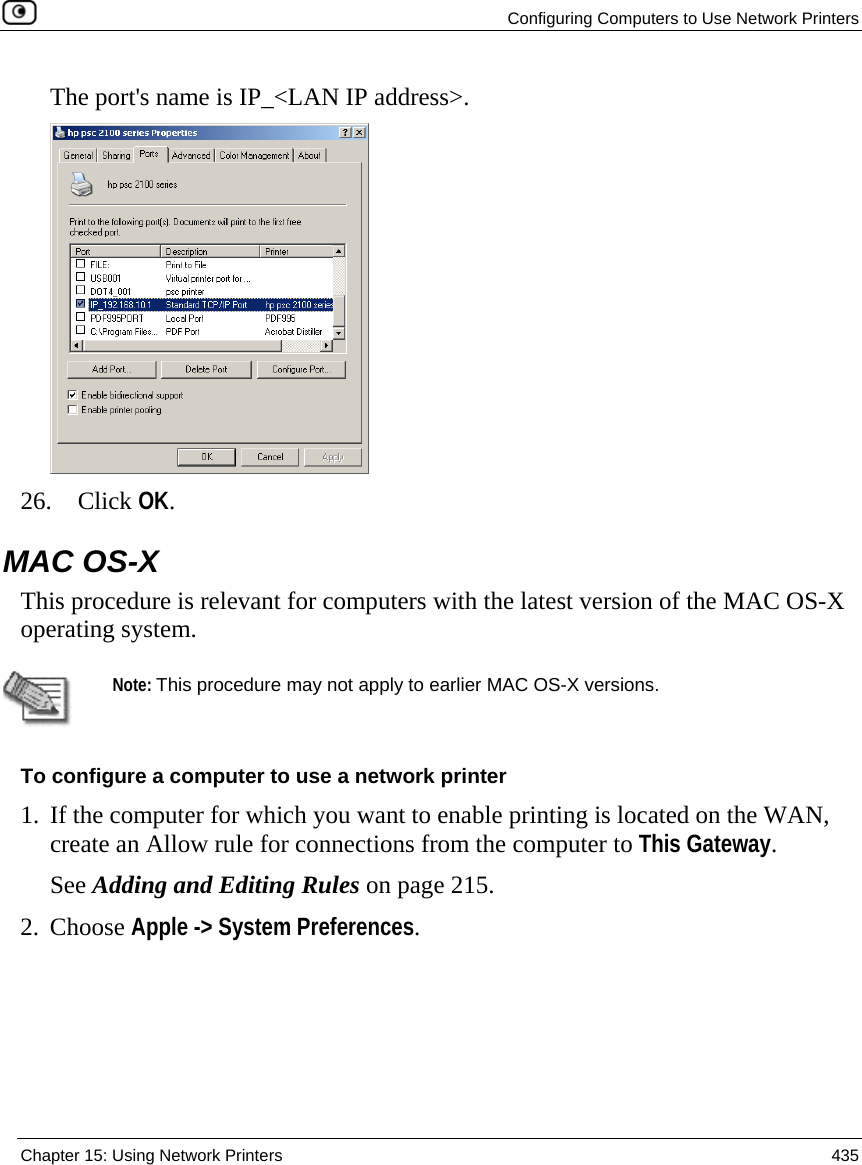
User Manual
Discussion / Help
Navigation


![Using Diagnostic Tools Chapter 14: Maintenance 411 Filter String Syntax The following represents a list of basic filter string elements: • and on page 411 • dst on page 412 • dst port on page 412 • ether proto on page 413 • host on page 414 • not on page 414 • or on page 415 • port on page 415 • src on page 416 • src port on page 416 • tcp on page 417 • udp on page 418 For detailed information on filter syntax, refer to http://www.tcpdump.org. and PURPOSE The and element is used to concatenate filter string elements. The filtered packets must match all concatenated filter string elements. SYNTAX element and element [and element...] element && element [&& element...]](https://usermanual.wiki/SofaWare-Technologies/SBX-166LHGE-5.Users-Manual-Part-3/User-Guide-728012-Page-127.png)
![Using Diagnostic Tools Chapter 14: Maintenance 415 EXAMPLE The following filter string saves packets that are not destined for port 80: not dst port 80 or PURPOSE The or element is used to alternate between string elements. The filtered packets must match at least one of the filter string elements. SYNTAX element or element [or element...] element || element [|| element...] PARAMETERS element String. A filter string element. EXAMPLE The following filter string saves packets that either originate from IP address 192.168.10.1 or IP address 192.168.10.10: src 192.168.10.1 or src 192.168.10.10 port PURPOSE The port element captures all packets originating from or destined for a specific port. SYNTAX port port Note: This element can be prepended by tcp or udp. For information, see tcp on page 417 and udp on page 418.](https://usermanual.wiki/SofaWare-Technologies/SBX-166LHGE-5.Users-Manual-Part-3/User-Guide-728012-Page-131.png)