Telian FGD6280 GSM850/PCS1900 Dual Band WLL Terminal User Manual
Telian Corporation GSM850/PCS1900 Dual Band WLL Terminal Users Manual
UserManual.wiki
>
Telian
>
FGD6280 User Manual
Users Manual
Navigation menu
Upload a User Manual
Namespaces
Wiki Guide
HTML
PDF
Info
Views
User Manual
Discussion / Help
Navigation

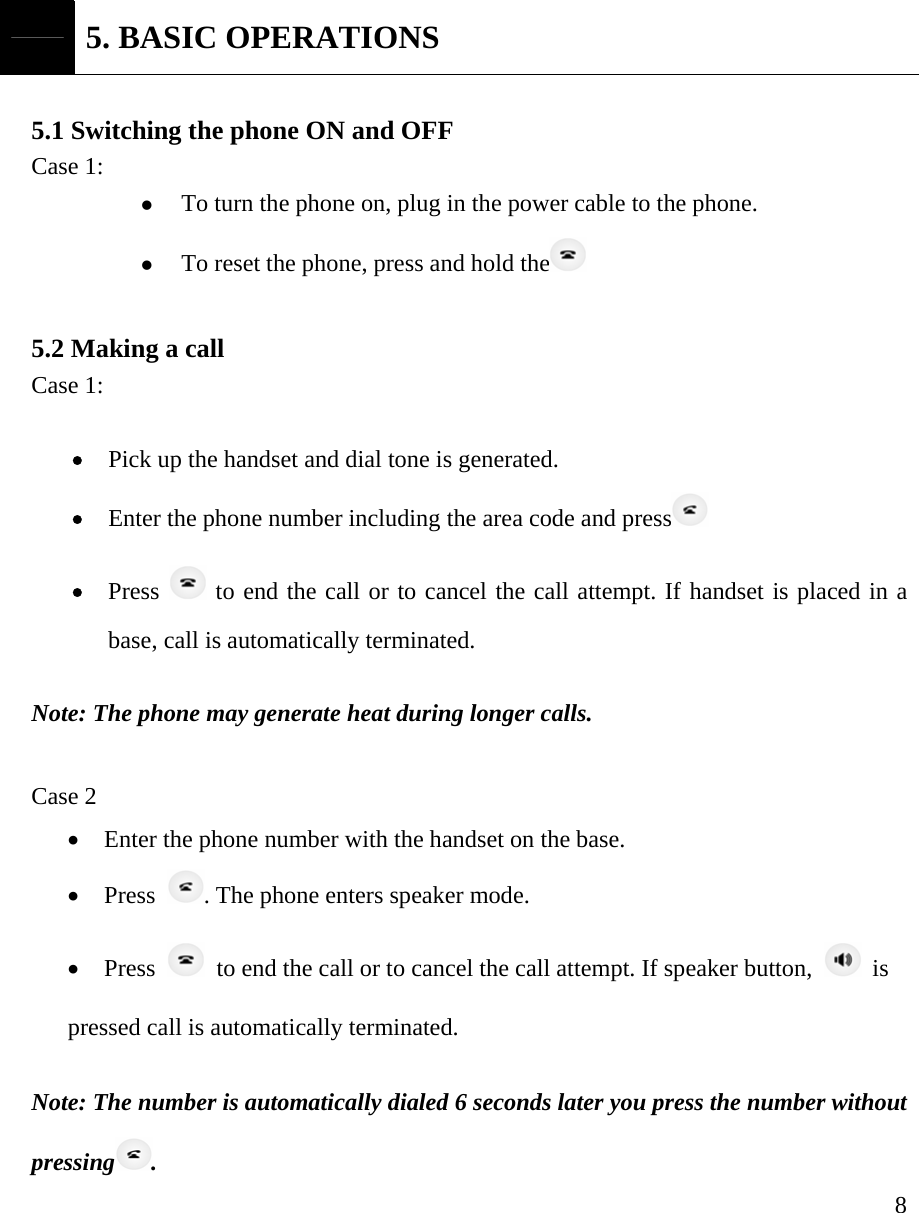
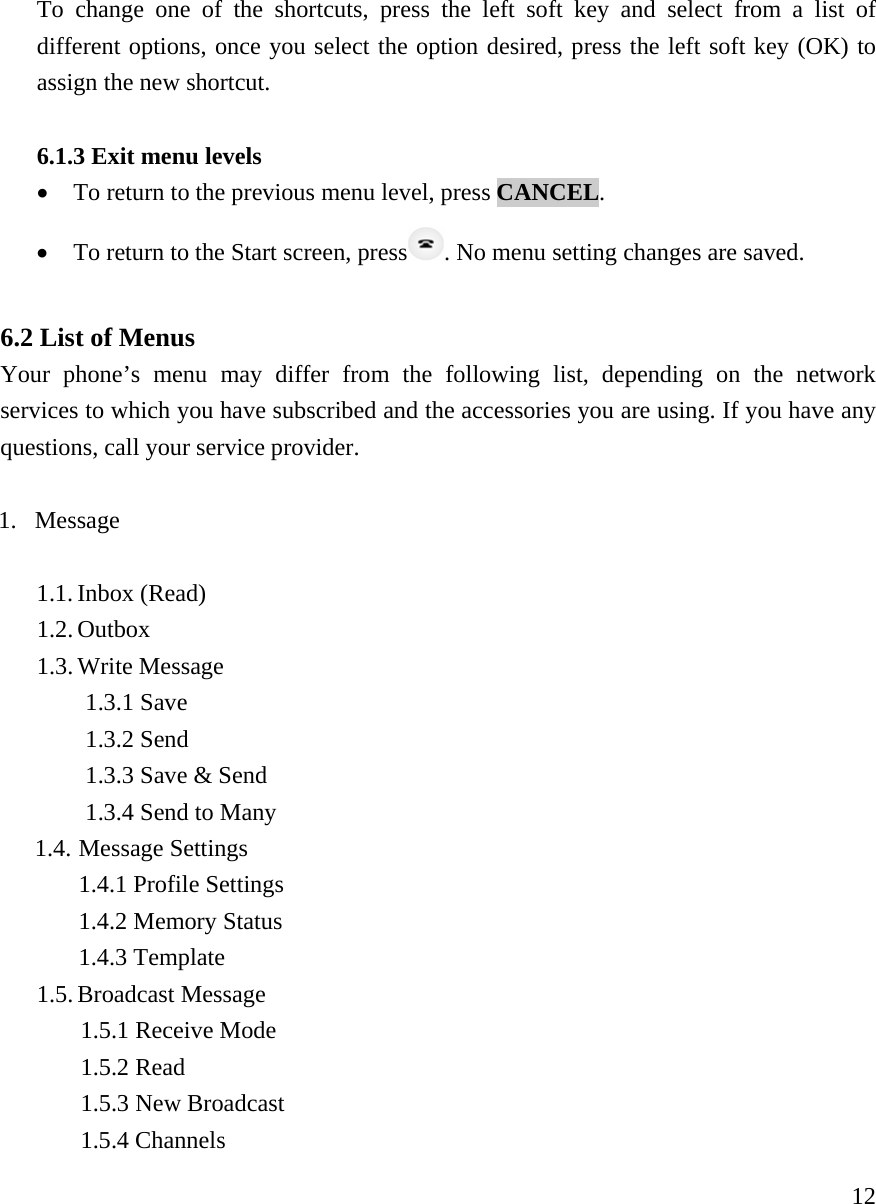
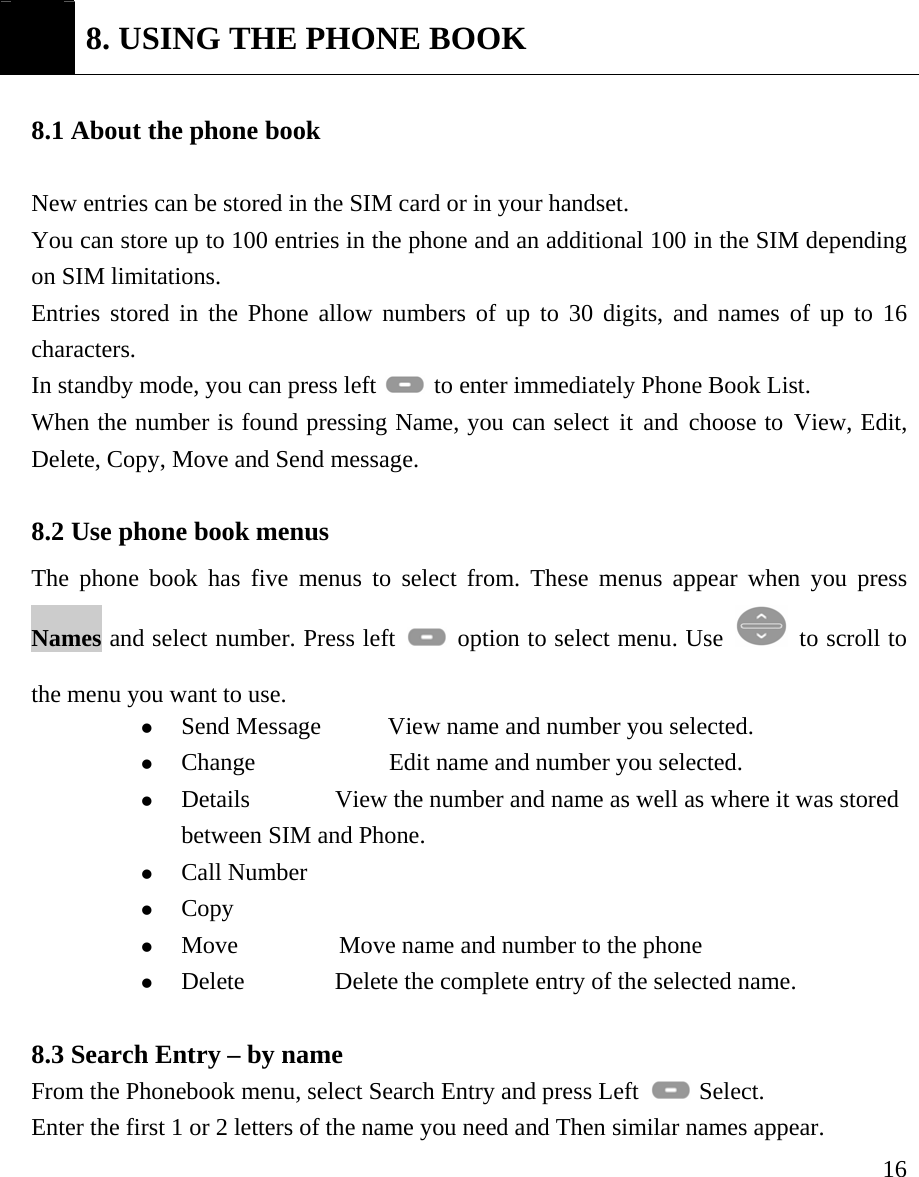
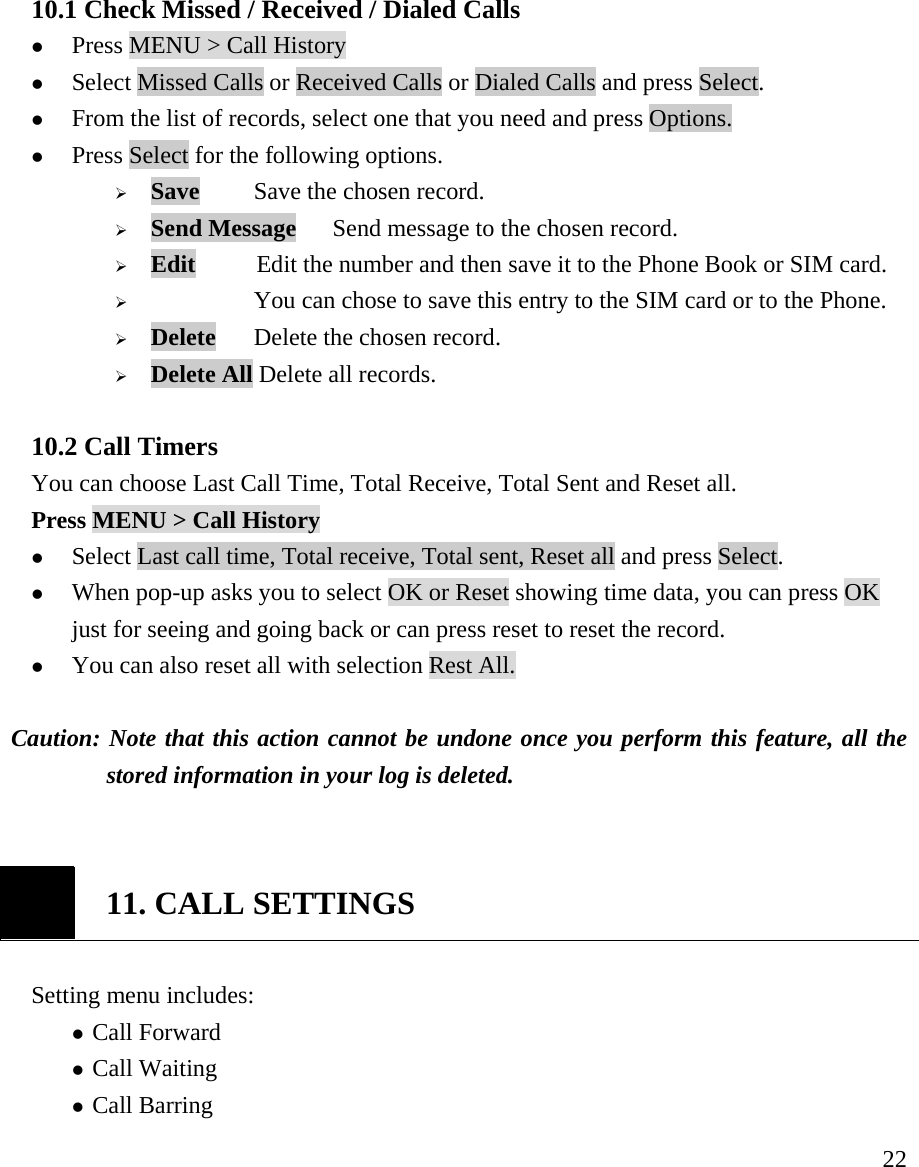
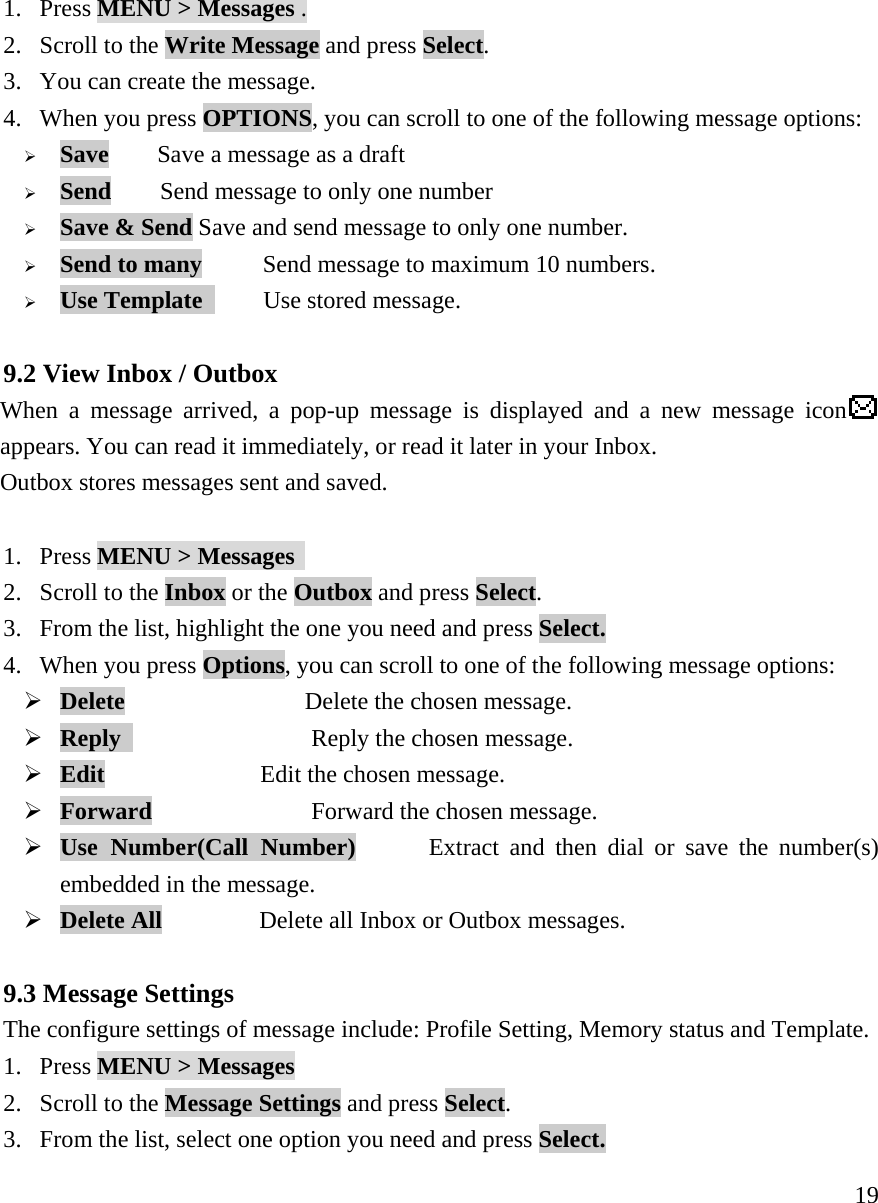
![17Select name using to scroll and press Left option to select Options. 8.4 Add a new phone book Entry To create a phonebook entry: 1. Press Menu > Phonebook. 2. Scroll to [Add New Entry] and press Select. 3. Press Save to SIM or Save to phone depending on where you want to store the phone entry. 4. Press left Edit to chose Name and Number 5. Add Name and Number 6. Press left Ok to complete input 8.5 Delete All You can delete all phonebook entries: 1. Press Menu > Phonebook 2. Scroll to [Delete all] and press Ok. 3. Press SIM or Phone where you want to delete all phone book entries. 4. Press Ok to confirm the delete of all phone book entries. Caution: Note that this action cannot be undone once you perform this feature; all the stored information in your phonebook is deleted. 8.6 Owner Number You can check, edit, erase and save your Owner Number: 1. Press Menu > Phonebook 2. Scroll to Owner number and press Select. 3. Scroll and choose Consult or Add new entry. 4. Press option to chose Edit or Erase 8.8 Check Memory Status](https://usermanual.wiki/Telian/FGD6280/User-Guide-710364-Page-19.png)
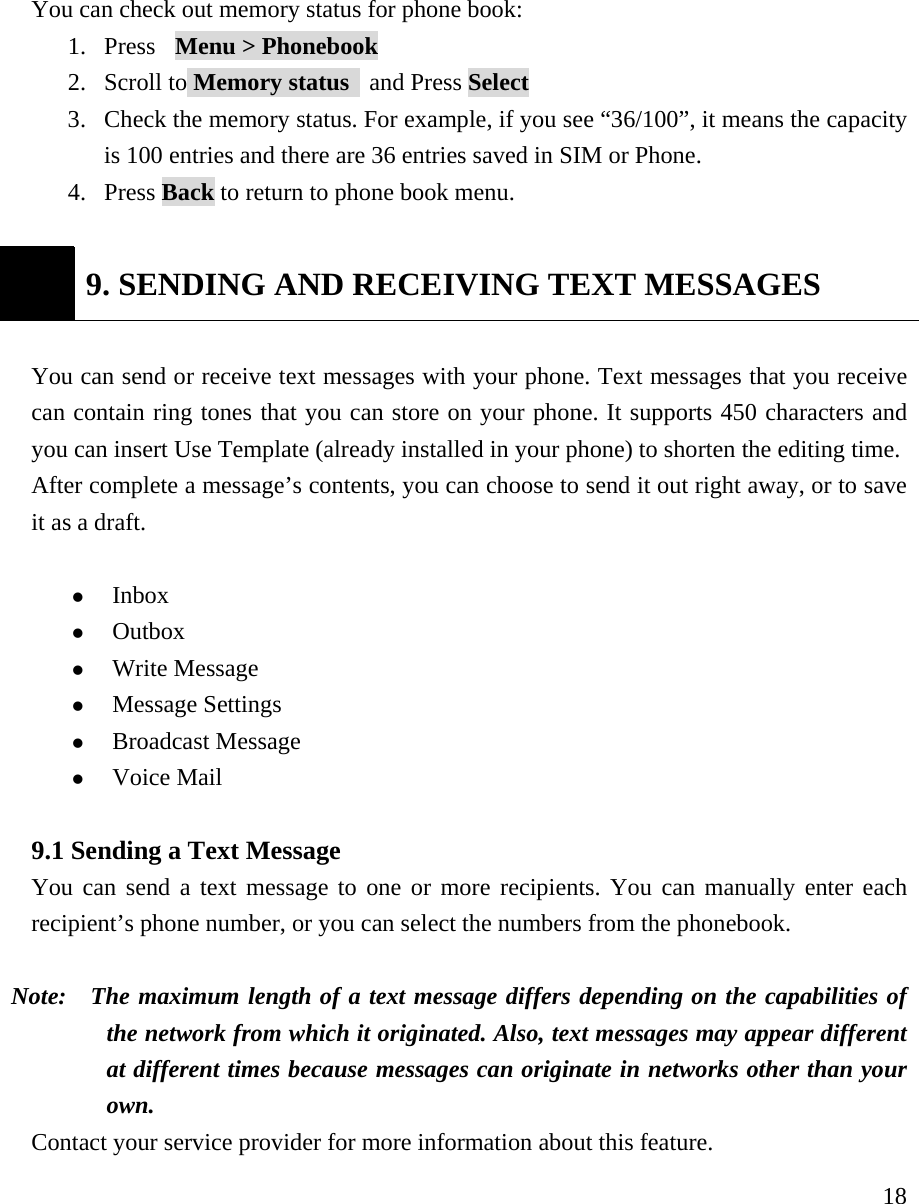
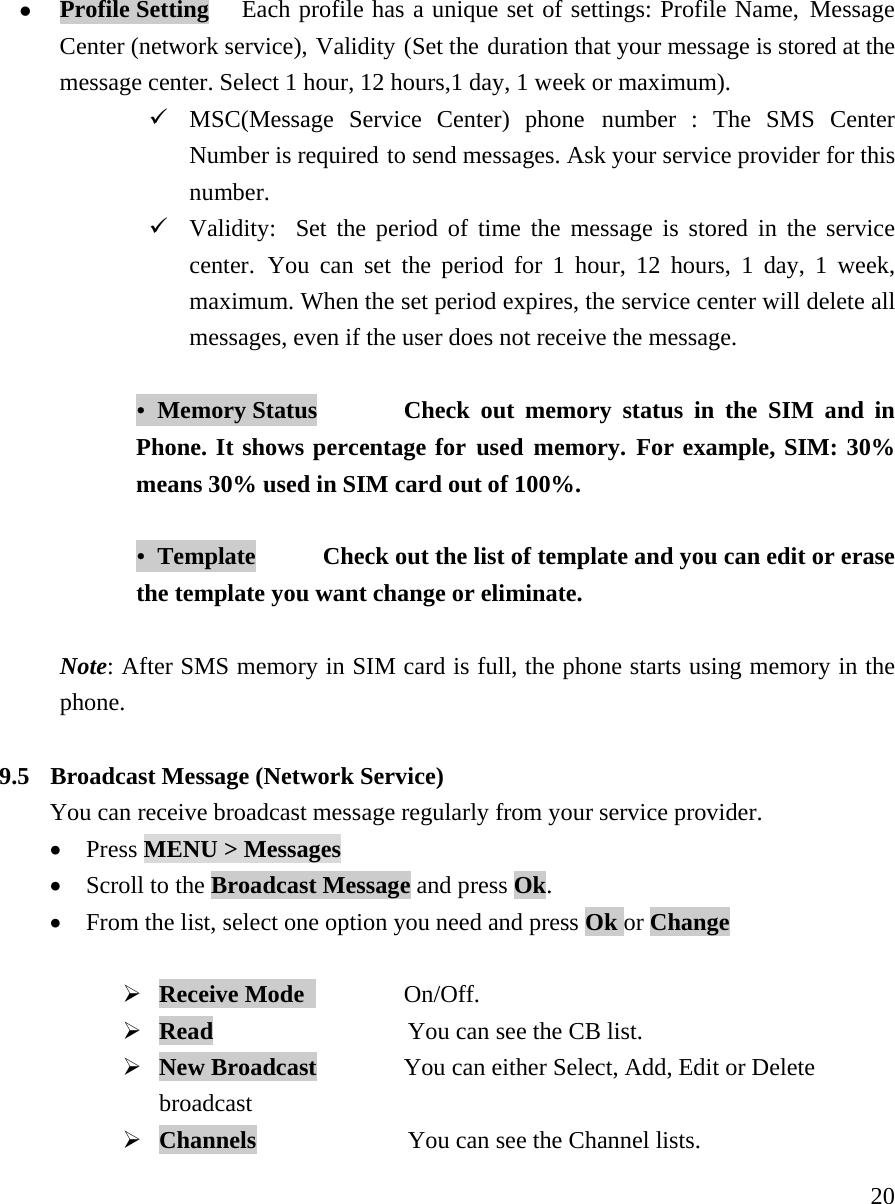
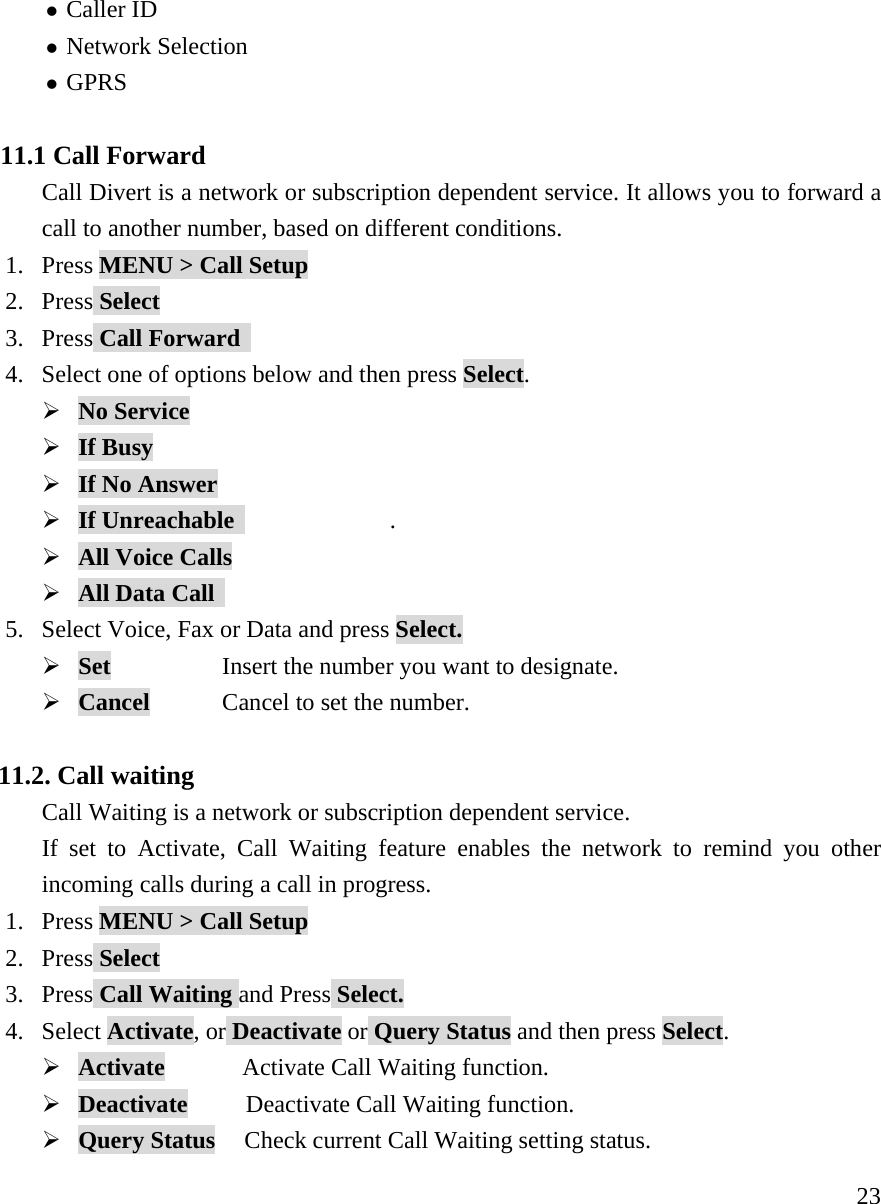
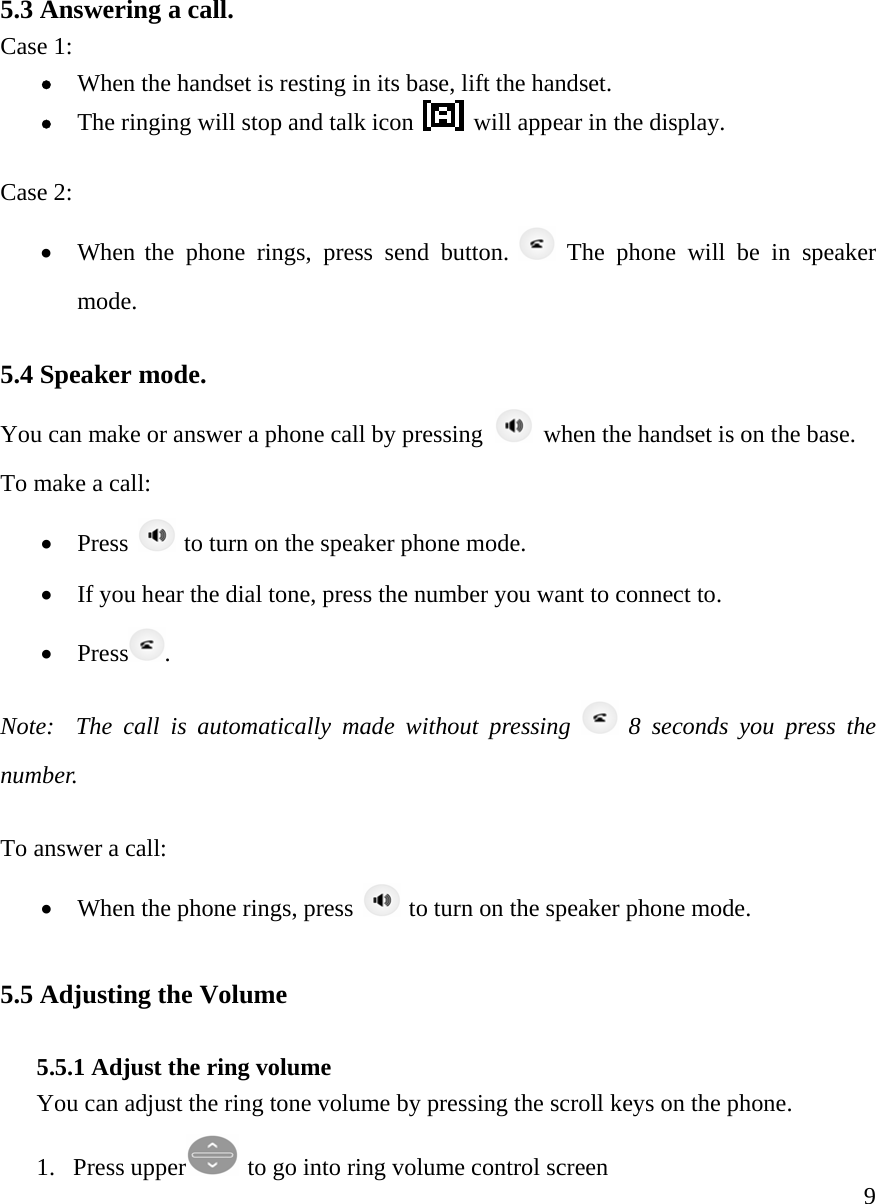
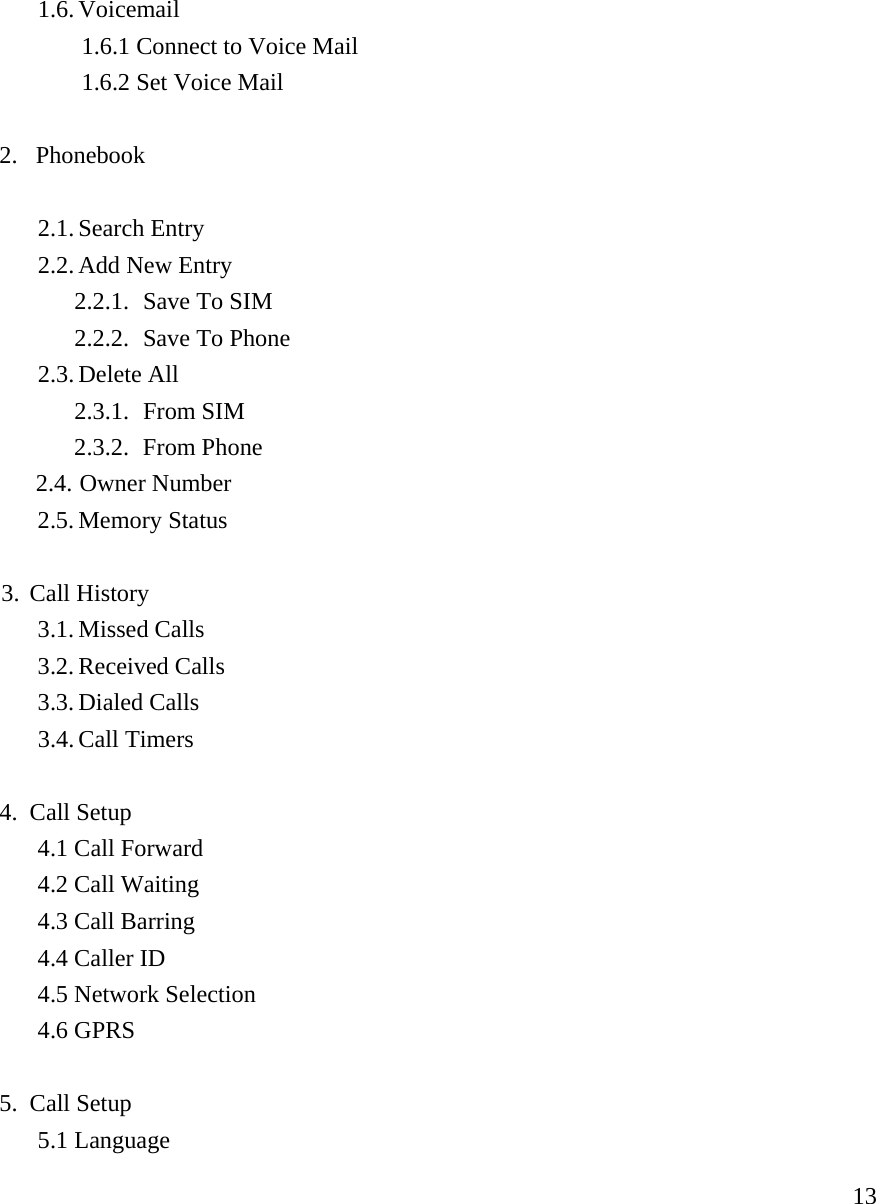
![21 9.6 Use Voicemail (Network Service) You can listen to your voicemail messages by calling your network voicemail phone number. Voicemail messages are stored on the network voicemail box, not on your phone. 1.Press MENU > Messages 2.Scroll to the [Voice mail] and press Select. 3.From the list, select one option you need and press Ok z Connect to Voice Mail Dial the network service number and connects you to the voice mail service. z Set Voicemail Enter or modify the network service number. z Note: Press and hold to call the voice mailbox. If there is no voice mail, “No Number to dial” message pops up. 10. USING CALL HISTORY The Call History keeps track of: z Missed Calls z Received Calls z Dialed Calls z Call Timers Note: Your phone can store up to 30 call numbers including missed, received and dialed call. When you miss a call(s), the message Missed calls icon appears on your phone’s screen. You can press Read to view Missed Calls list or press Back to ignore the message and go back to Standby. The records will be stored in Call History. You are notified of missed calls only when your phone is turned on in the service area from which the missed call originated.](https://usermanual.wiki/Telian/FGD6280/User-Guide-710364-Page-23.png)