Telian FGD8800 GSM850/PCS1900 Dual Band WLL Terminal User Manual
Telian Corporation GSM850/PCS1900 Dual Band WLL Terminal
UserManual.wiki
>
Telian
>
FGD8800 User Manual
Users Manual
Navigation menu
Upload a User Manual
Namespaces
Wiki Guide
HTML
PDF
Info
Views
User Manual
Discussion / Help
Navigation
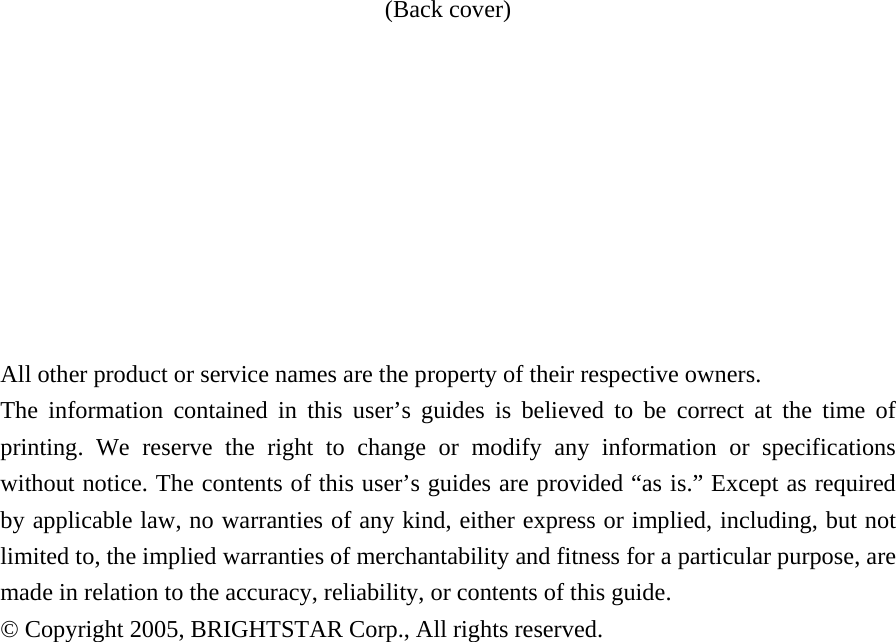


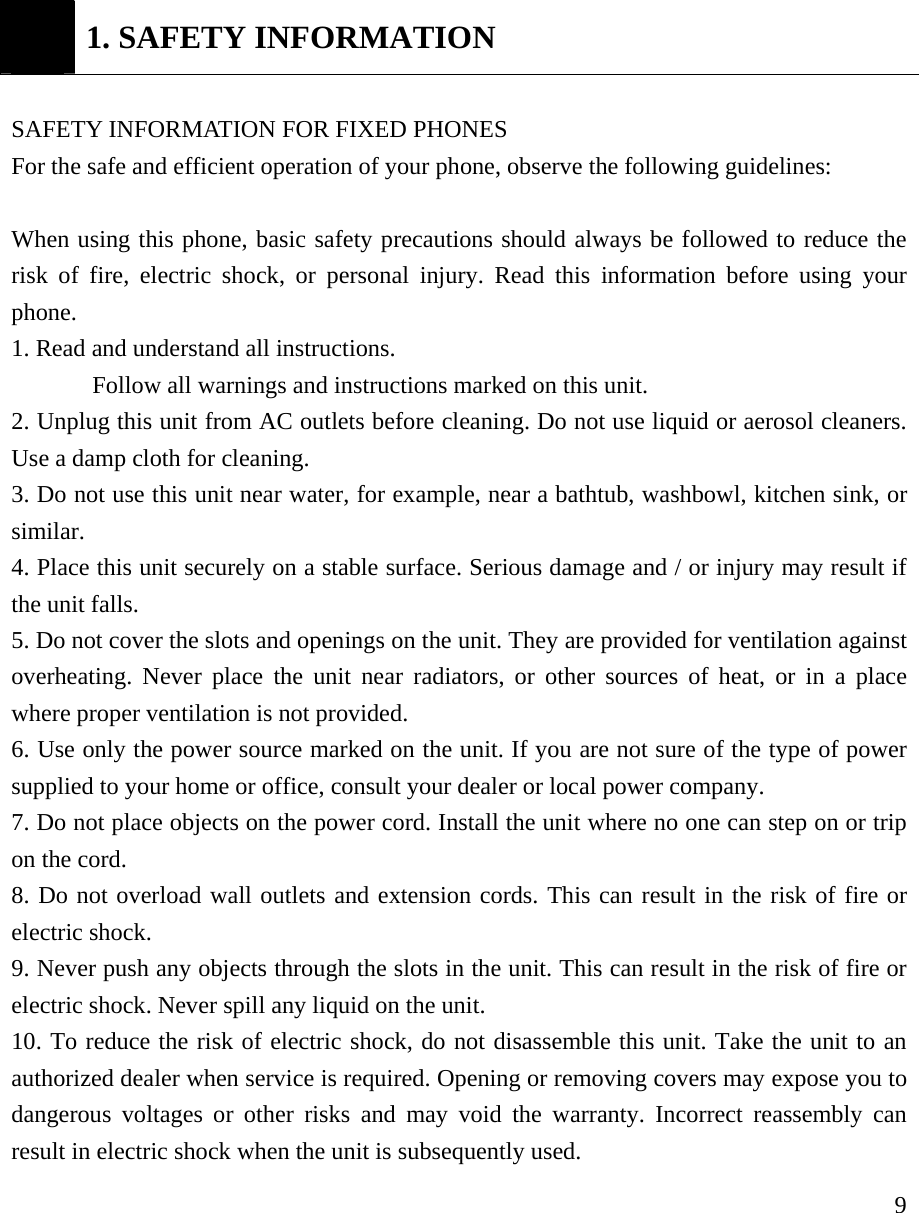


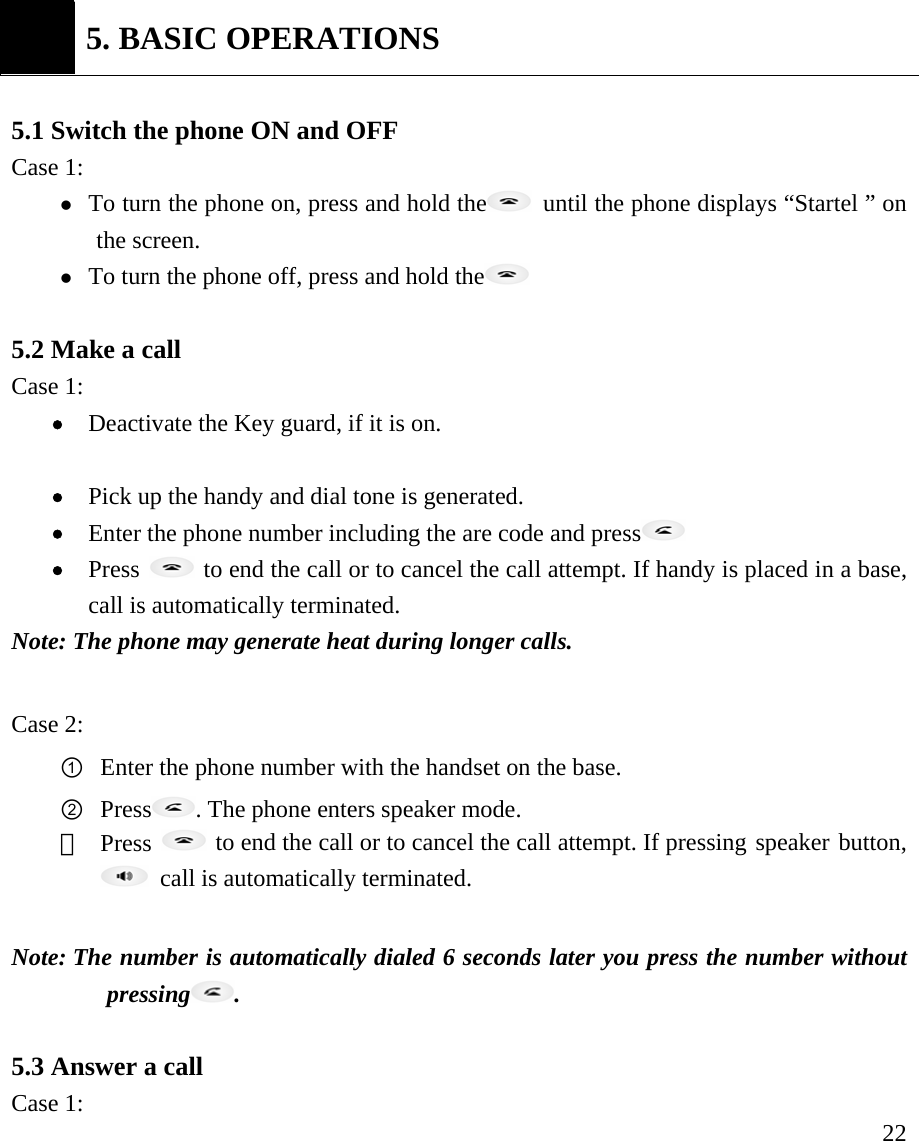
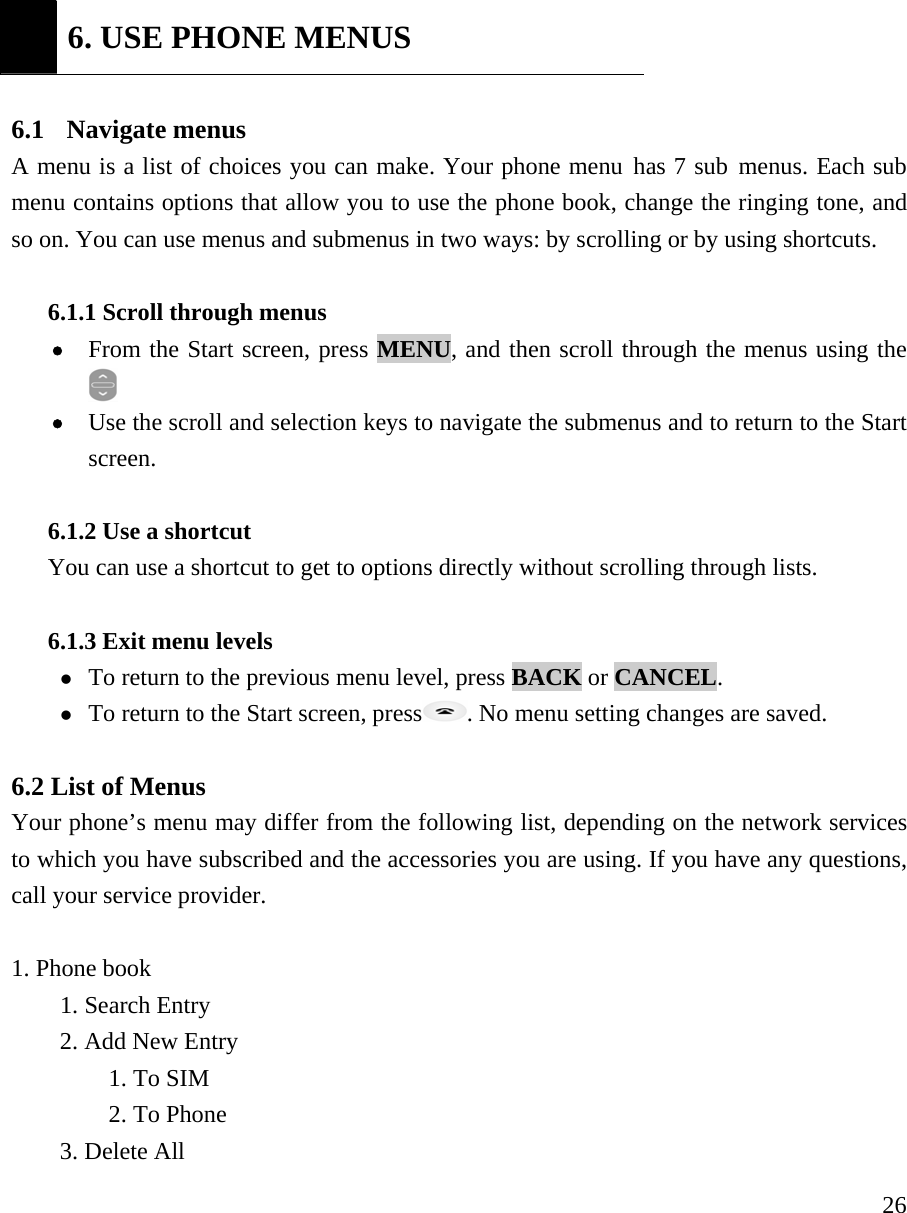

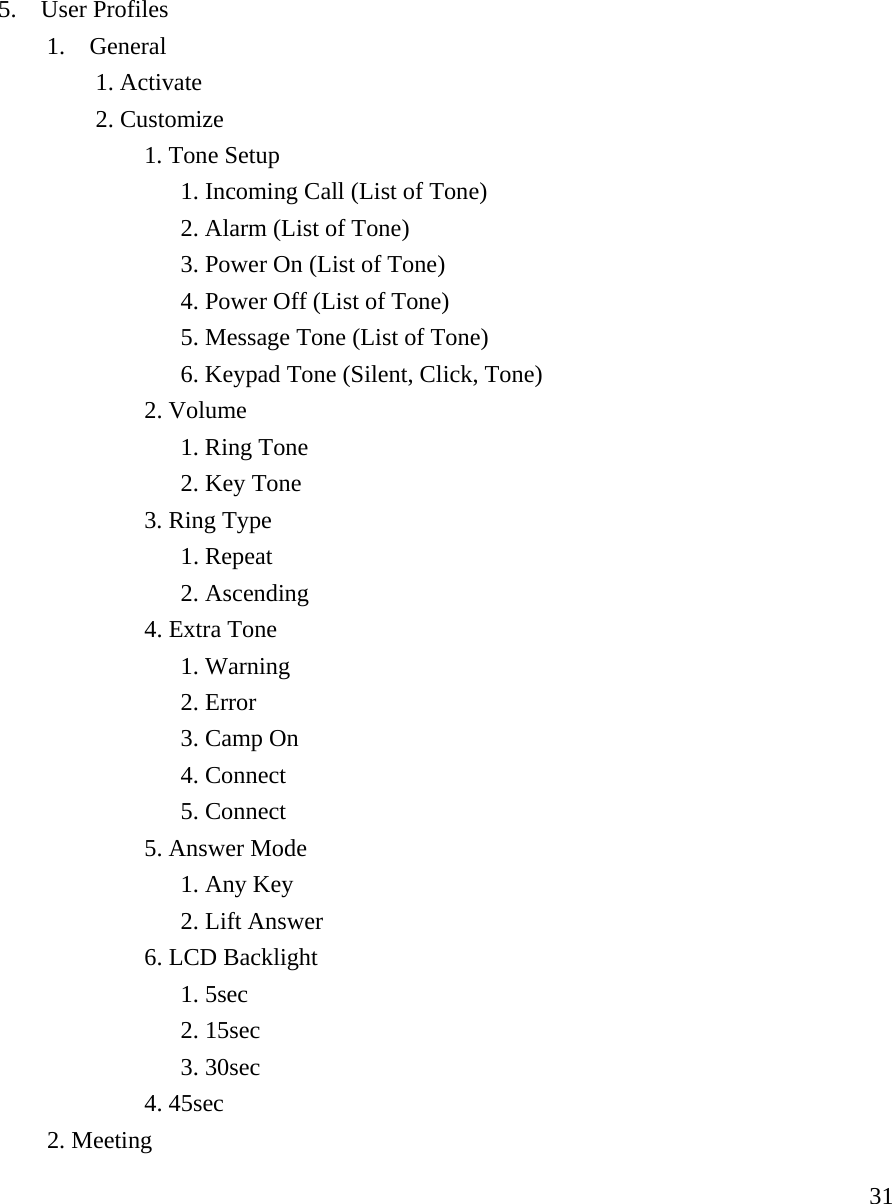
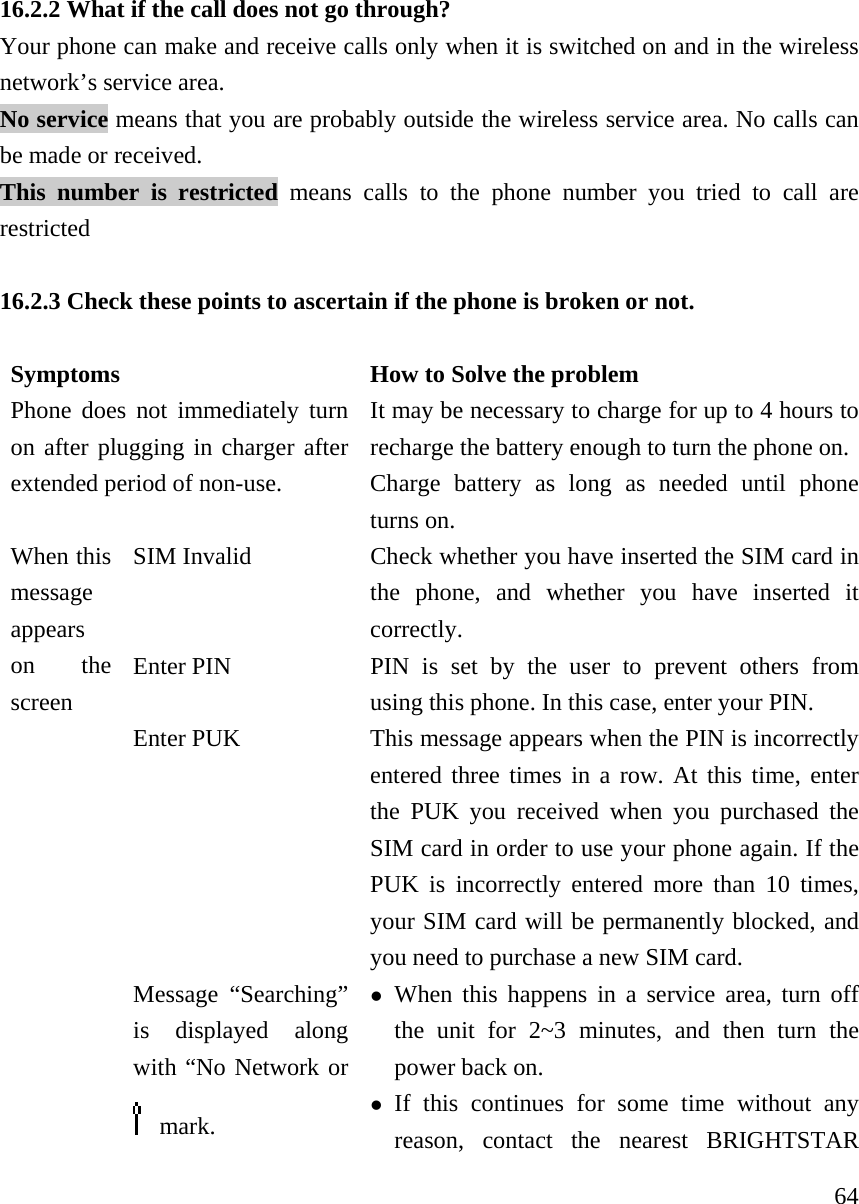
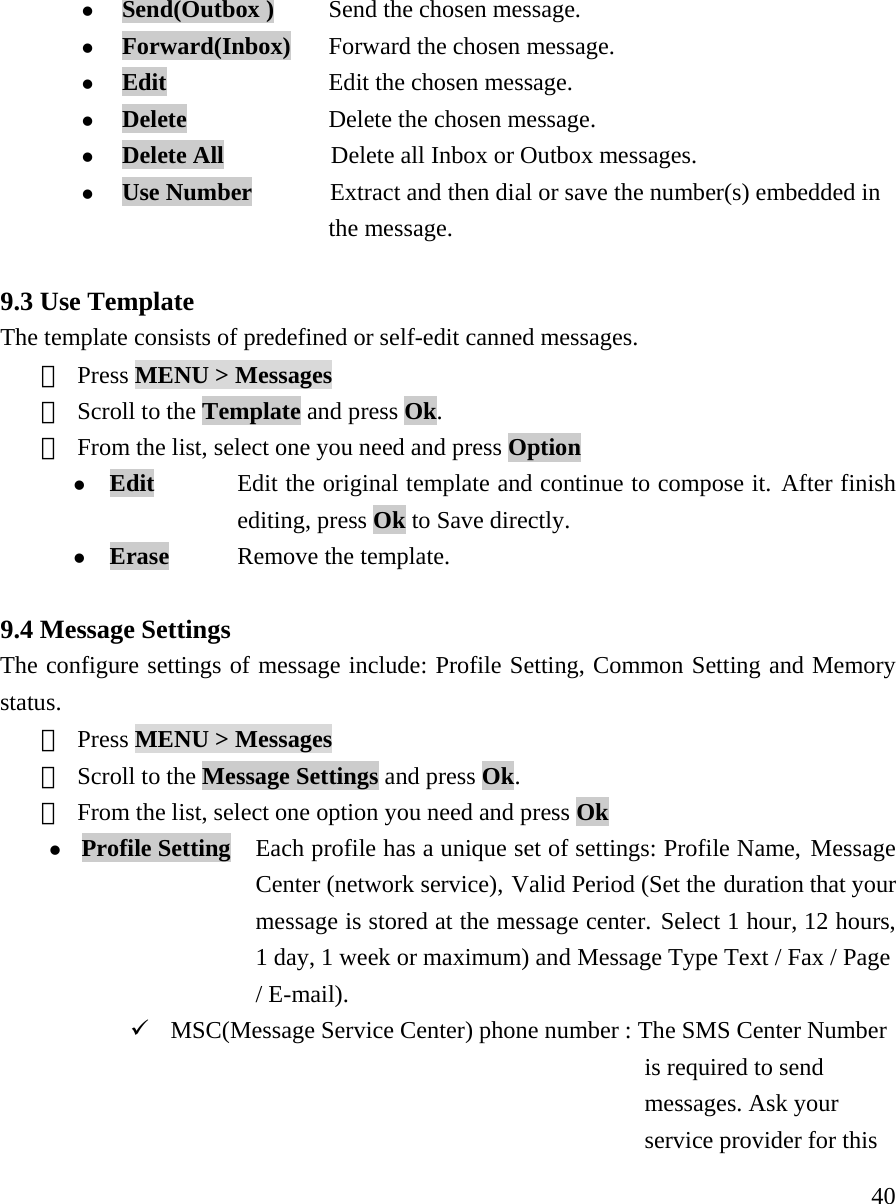
![33 7. ENTER LETTERS AND NUMBERS You can enter letters, as well as numbers, when storing information into your phone by using your phone’s keypad. To enter letters, press the key associated with the letter you wish to enter until it appears on the screen (numbers also appear). 7.1 Enter Letters When you want to add new names or when you view names in the phone book, your phone automatically switches to the ABC mode and displays the ABC icon. Key Characters Key Characters . , ? ! ’ “ : ; @ _ & 1 P Q R S 7 A B C 2 T U V 8 D E F 3 W X Y Z 9 G H I 4 9 (space),0 ()+ - * = # % J K L 5 \ / ~ < > f$ ¥§ £※[ ] ( ) M N O 6 Change letter case Press a key once or several times to enter the letter(s) you want. For example, press three times to enter the letter C. The selection displays. 7.1.1 Edit name To edit a name in the phone book: z Use upper to scroll the cursor to the left. z Use down to scroll the cursor to the right. z Press Clear to correct any mistakes.](https://usermanual.wiki/Telian/FGD8800/User-Guide-597108-Page-34.png)
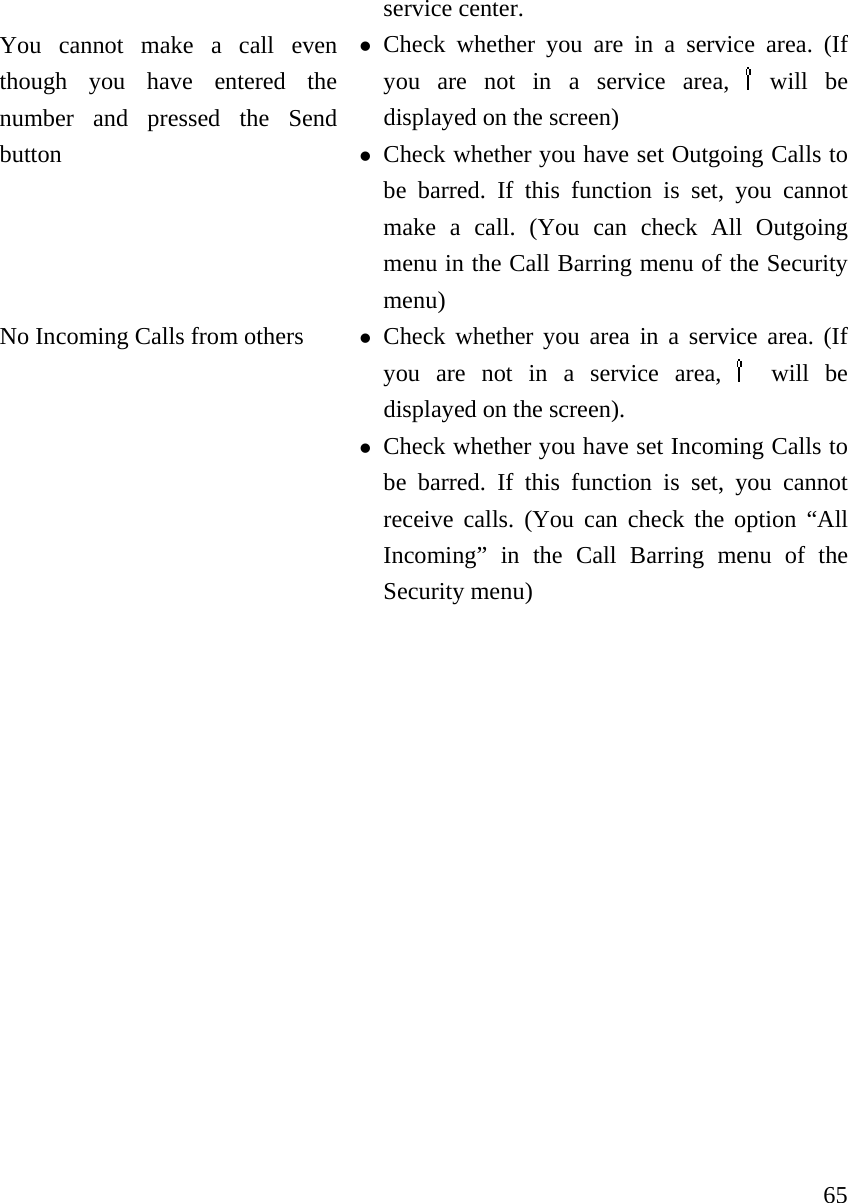
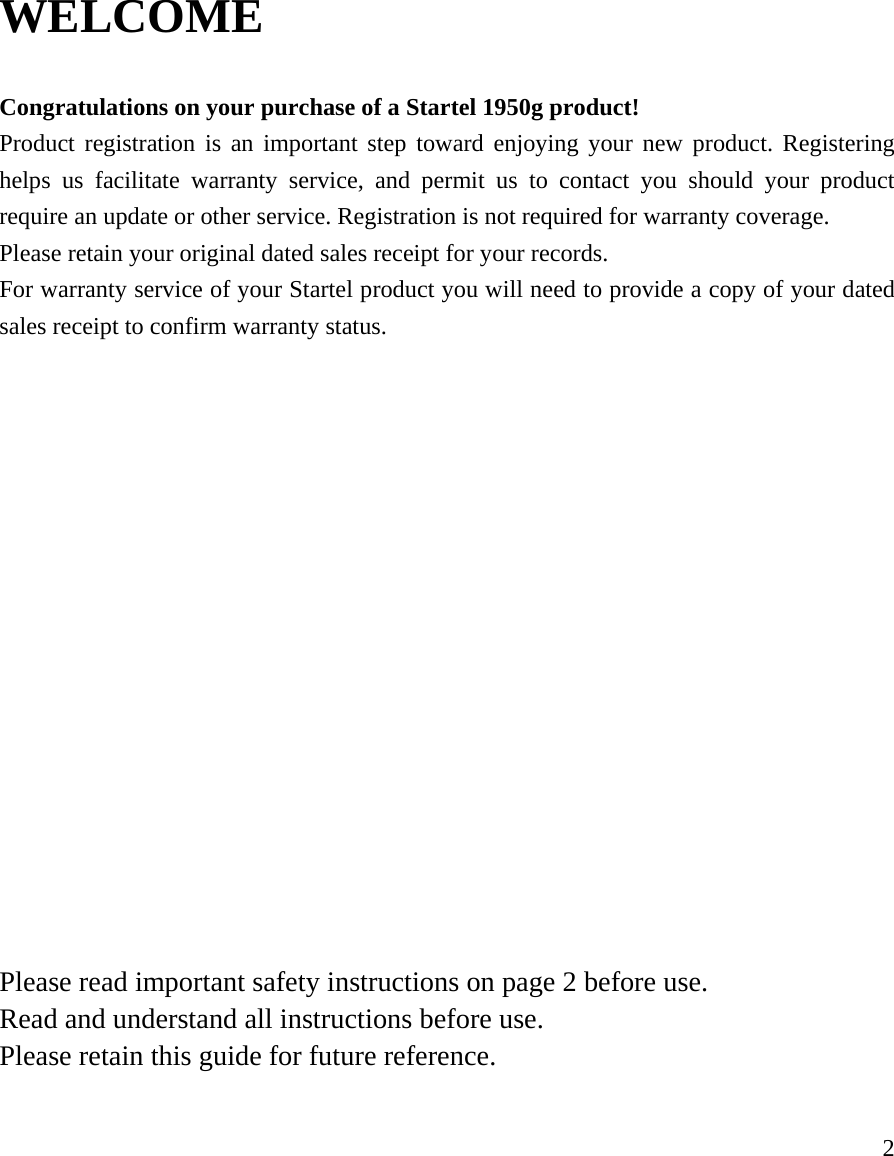
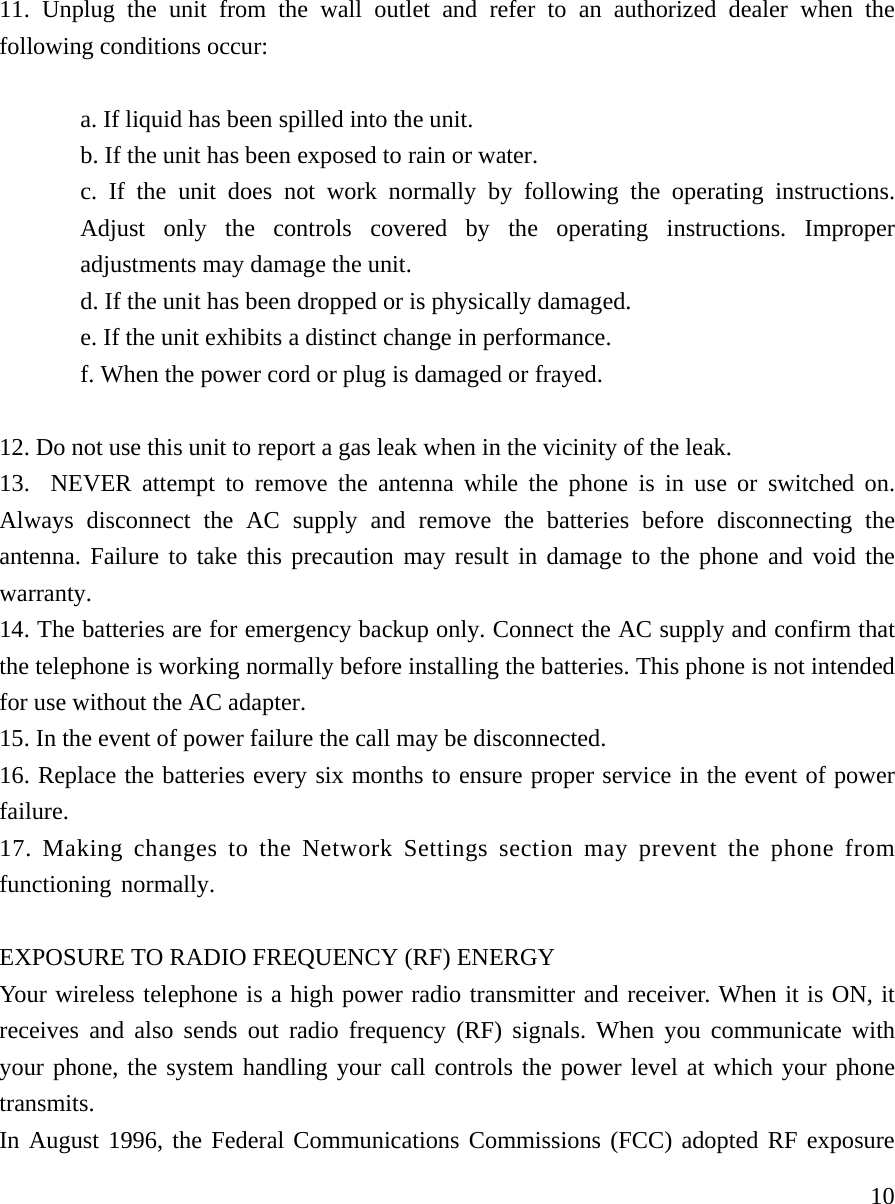
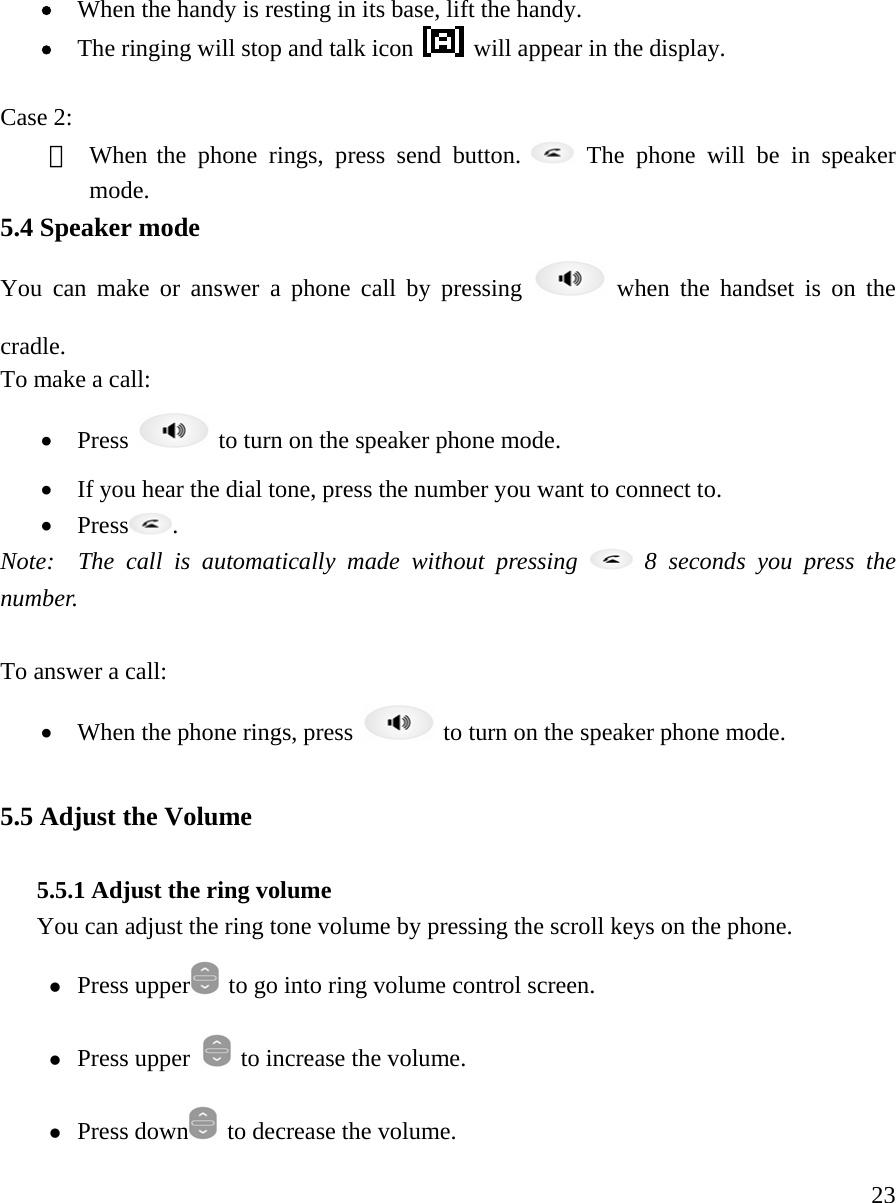
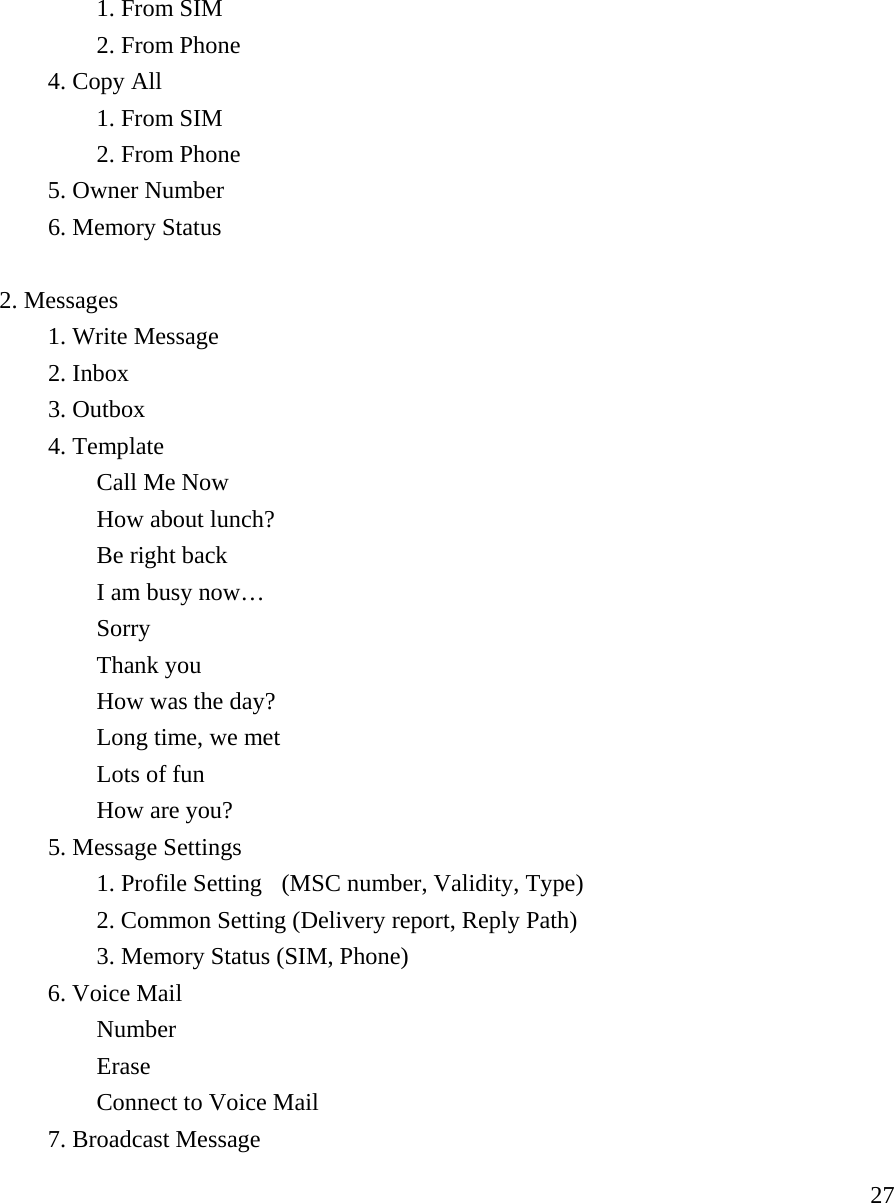
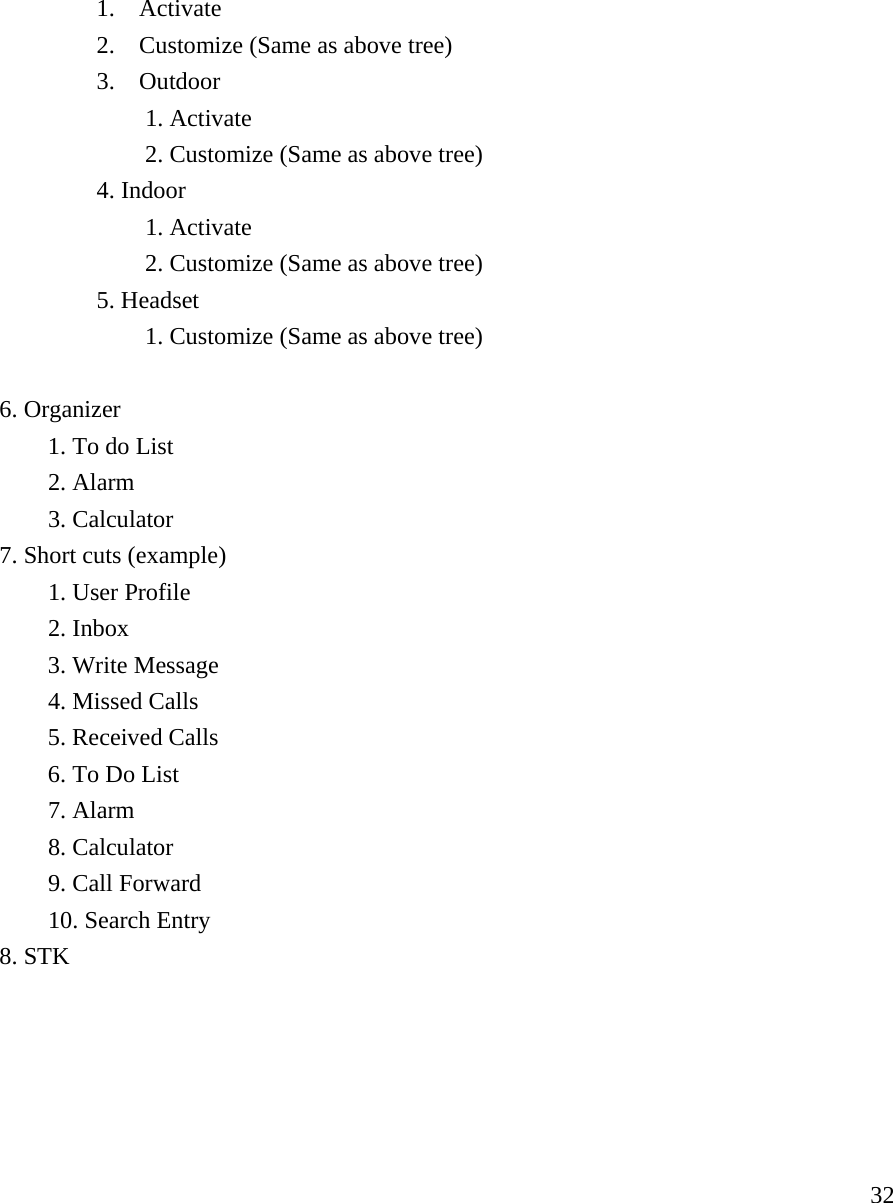
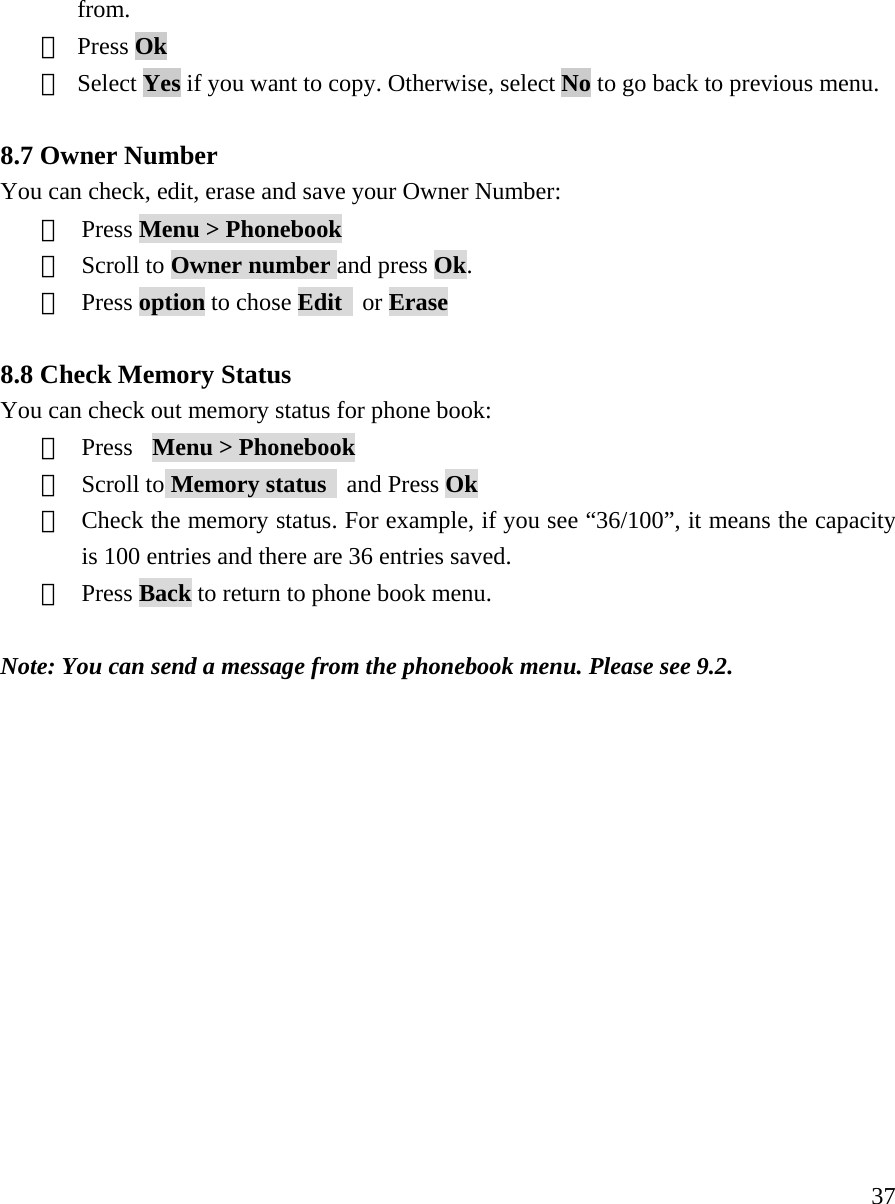
![36 Note: You can retrieve phone book using quick access in idle screen. Press “N+#” for quick access. “N” means the order number for the specific number stored in SIM. The total number of N can be limited per SIM. 8.4 Add a new phone book Entry To create a phonebook entry: ① Press Menu > Phonebook. ② Scroll to [Add New Entry] and press Ok. ③ Press To SIM or To phone depending on where you want to store the phone entry. ④ Press right Edit to chose Name and number ⑤ Add Name and number ⑥ Press right Ok to complete input ⑦ Press Done to save the change. 8.5 Delete All You can delete all phonebook entries: ① Press Menu > Phonebook ② Scroll to [Delete all] and press Ok. ③ Press To SIM or To phone where you want to delete all phone book entries. ④ Press Ok to confirm the delete of all phone book entries. ⑤ Select Yes if you want to delete. Otherwise, select No to go back to previous menu. Caution: Note that this action cannot be undone once you perform this feature; all the stored information in your phonebook is deleted. 8.6 Copy All Entries You can use this function to Copy numbers in the SIM card to your fixed phone, or vice versa: ① Press Menu > Phonebook ② Scroll to Delete all and press Ok. ③ Press From SIM or From phone where you want to copy all phone book entries](https://usermanual.wiki/Telian/FGD8800/User-Guide-597108-Page-37.png)

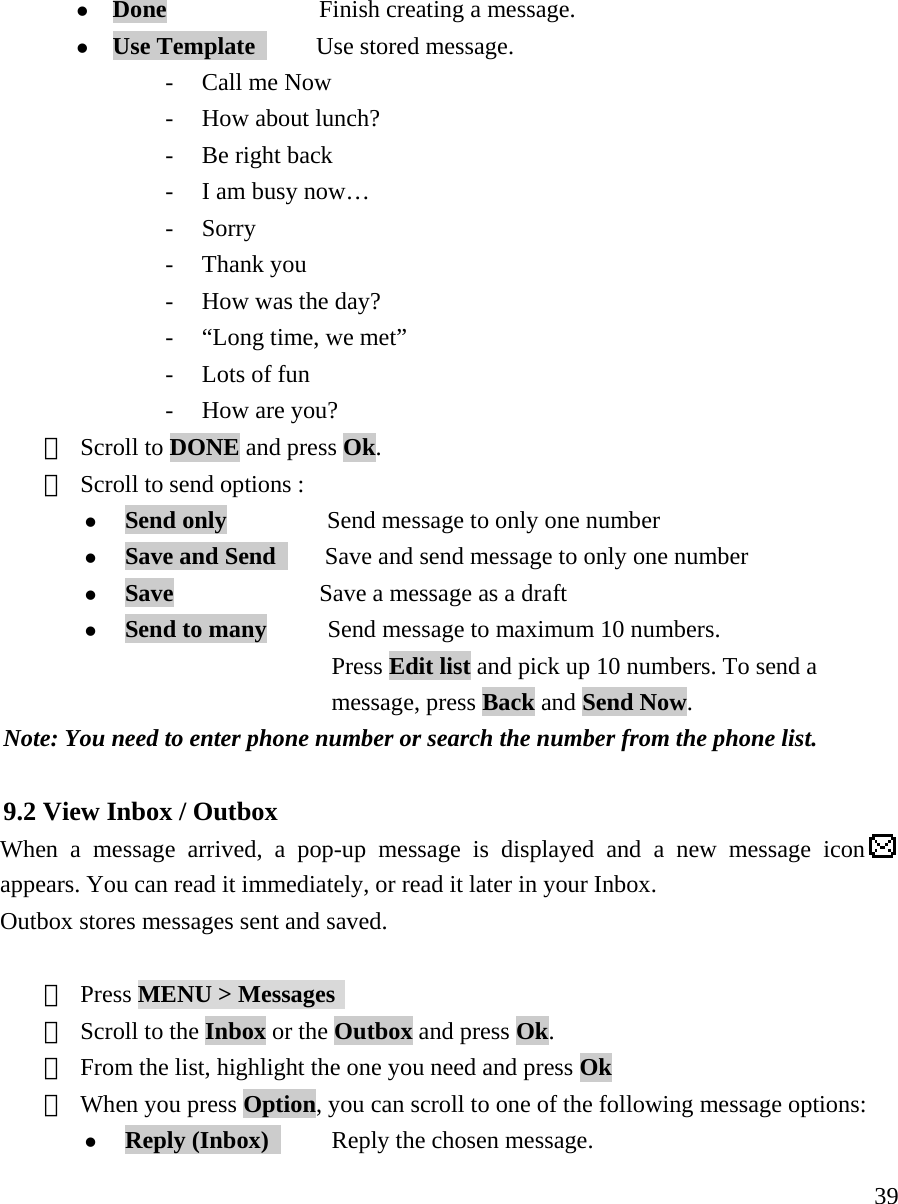
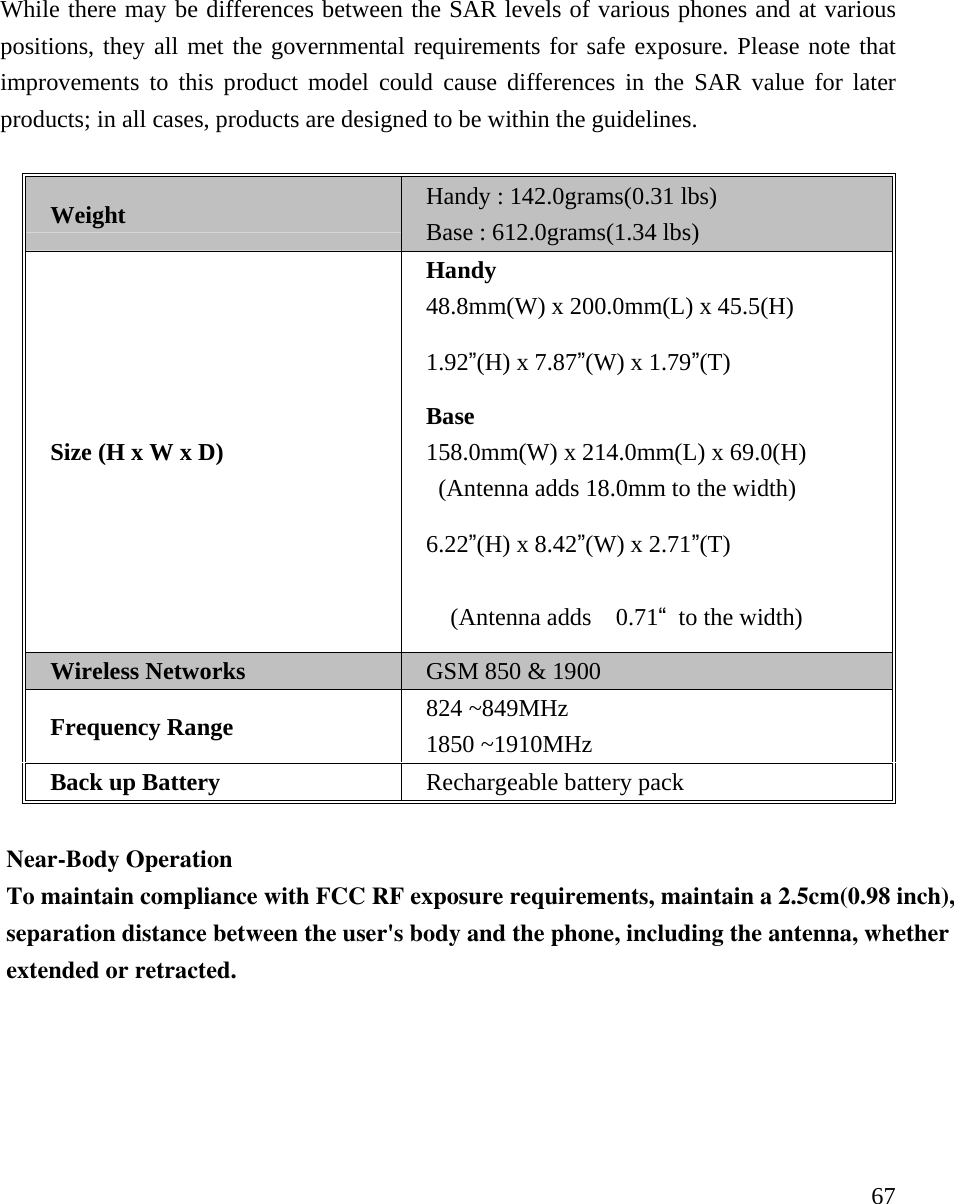
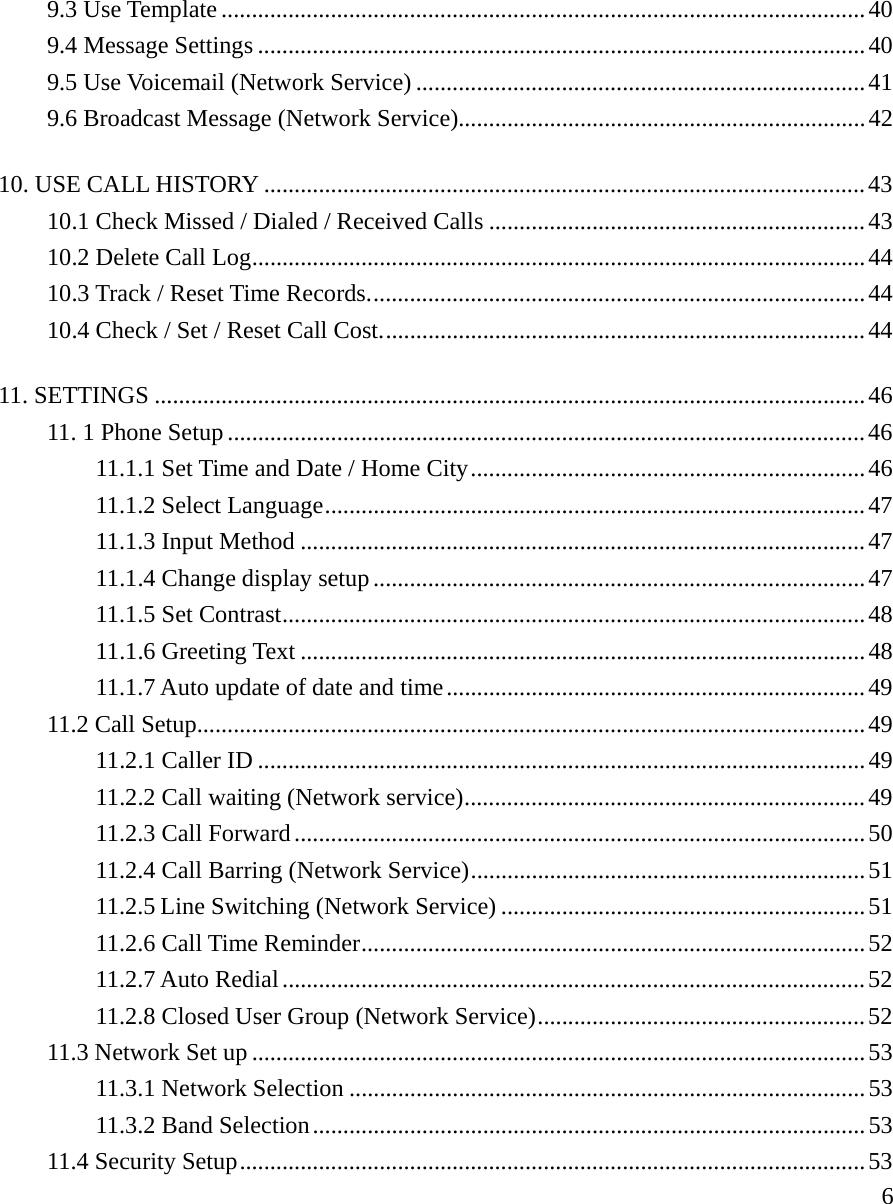
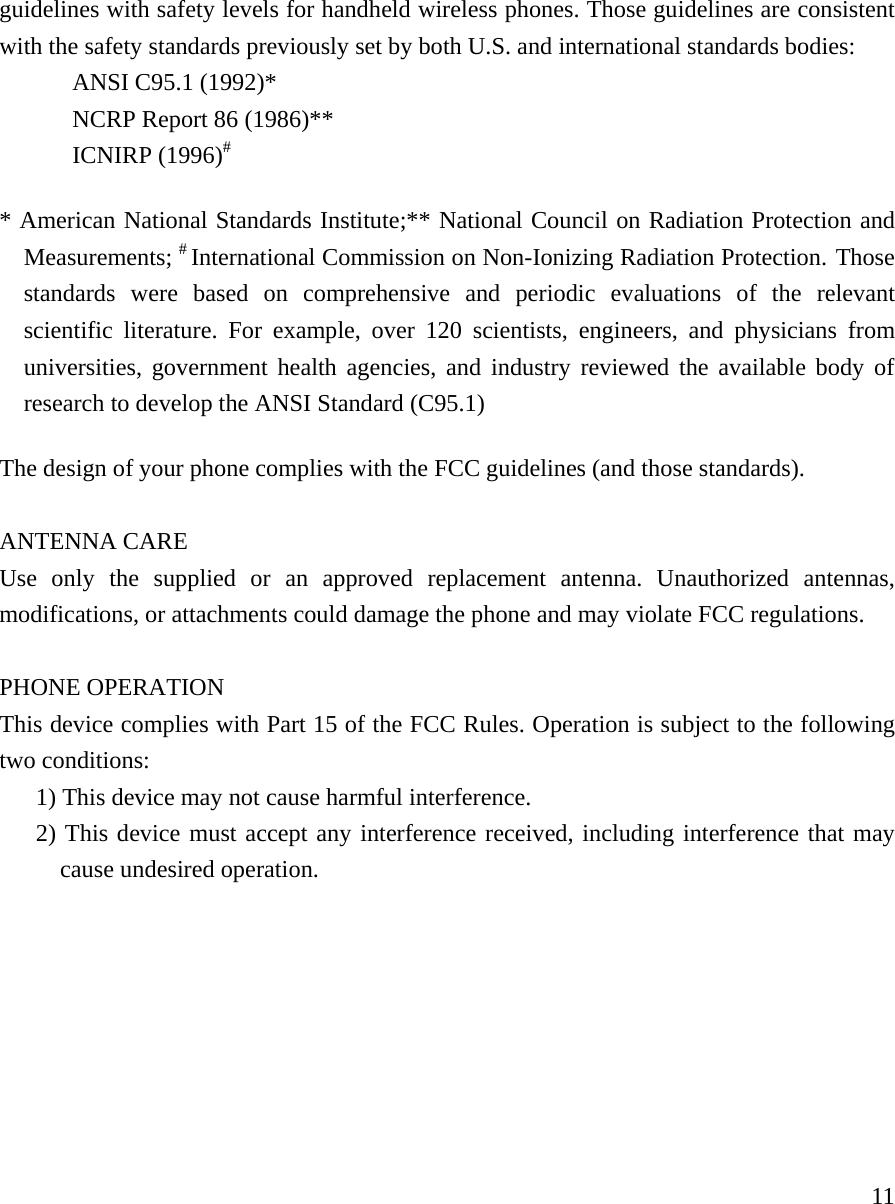
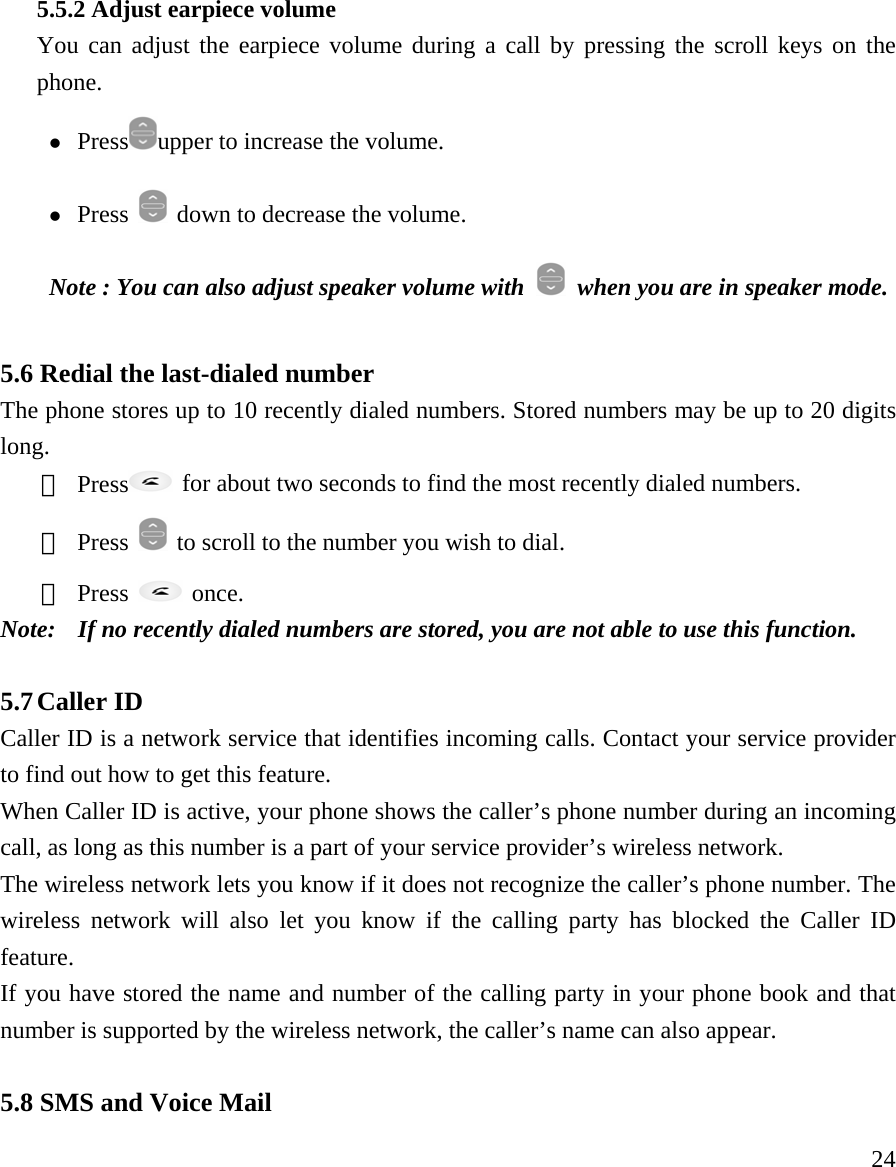
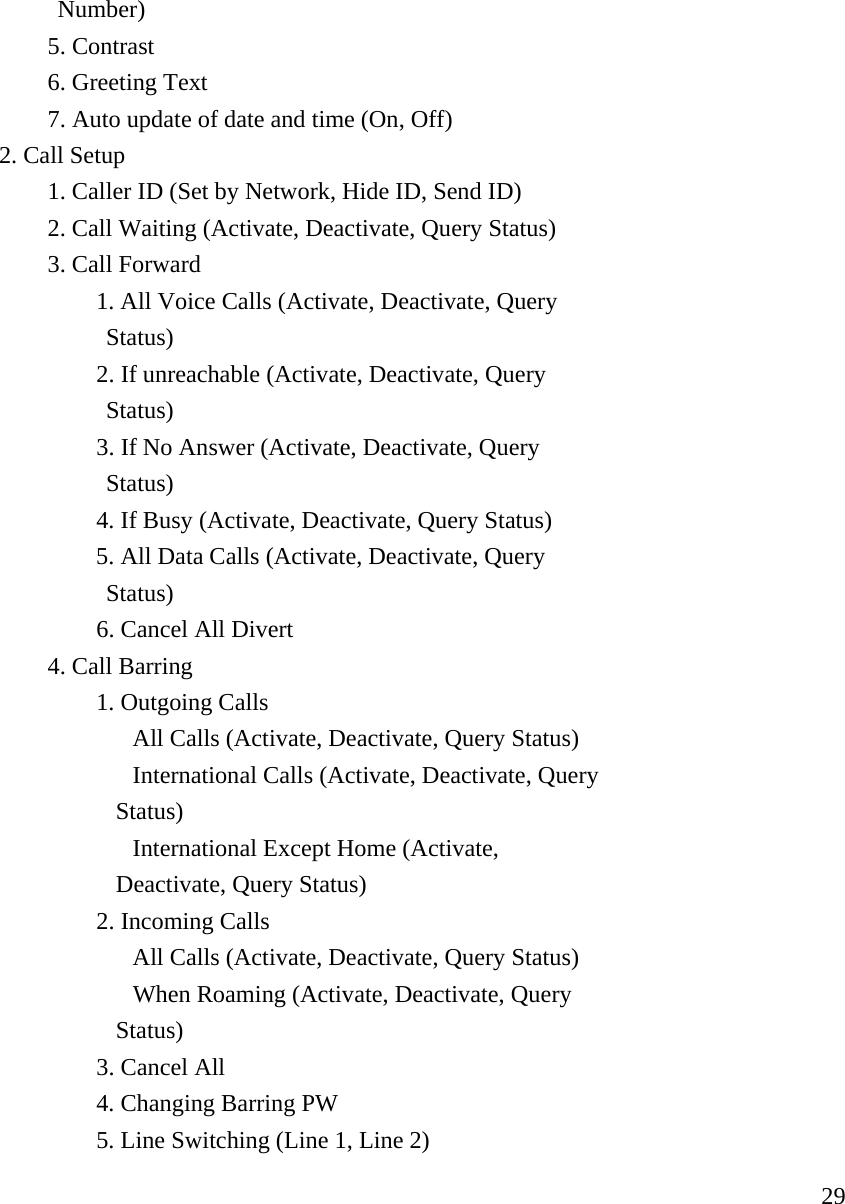
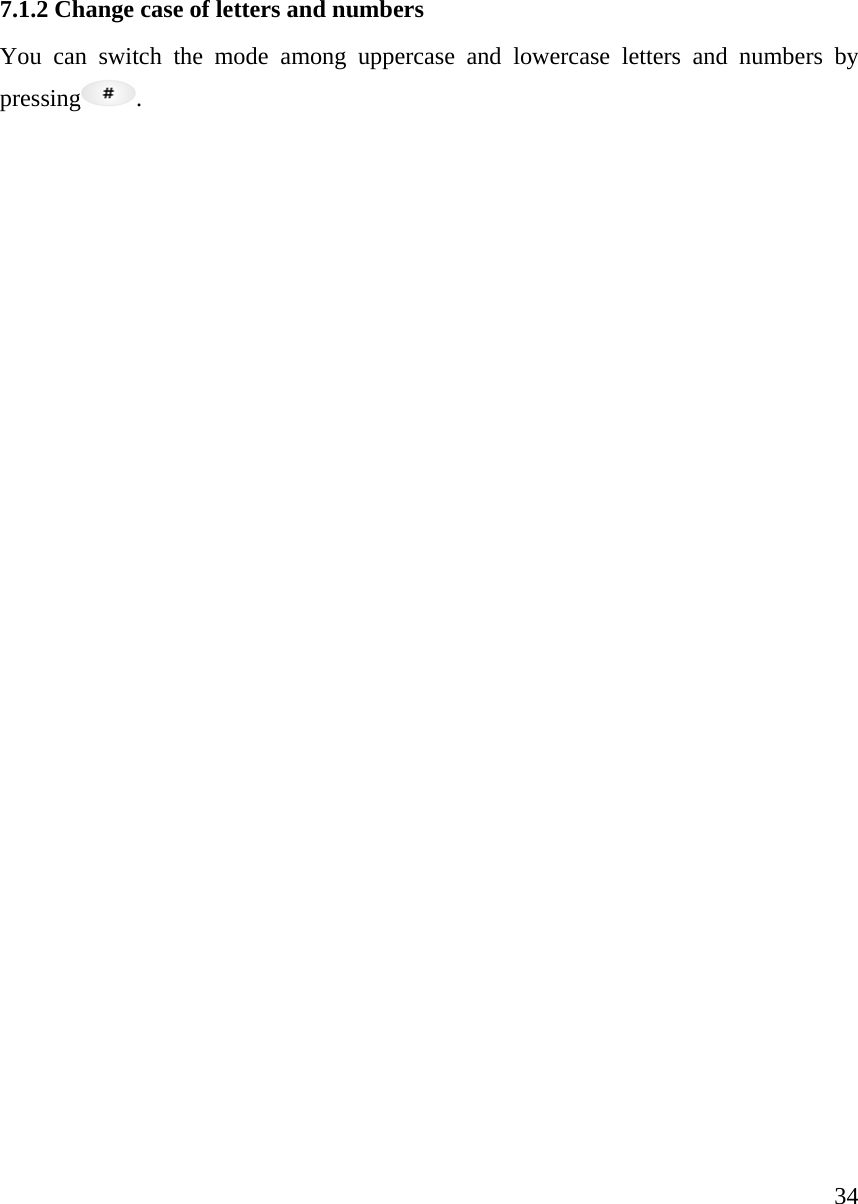
![41number. 9 Validity: Set the period of time the message is stored in the service center. You can set the period for 1 hour, 12 hours, 1 day, 1 week, maximum. When the set period expires, the service center will delete all messages, even if the user does not receive the message. 9 Type: When you set the message type, the network will convert the message to the type you have set. z Common Setting Delivery Report (to receive the delivery report informing you when a message is delivered) and Reply Path (lets the recipient of your message send you a reply message through your message center if provided by your network.). z Memory Status Check out memory status in the SIM and in Phone. It shows percentage for used memory. For example, SIM: 30% means 30% used in SIM card out of 100%. Note: After SMS memory in SIM card is full, the phone starts using memory in the phone. 9.5 Use Voicemail (Network Service) You can listen to your voicemail messages by calling your network voicemail phone number. Voicemail messages are stored on the network voicemail box, not on your phone. ① Press MENU > Messages ② Scroll to the [Voice mail] and press Ok. If there is no network service numbers listed, “Empty” is displayed; press Ok and then select Edit to create one. ③ From the list, select one option you need and press Ok z Empty & Edit Enter or modify the network service number. z Erase Delete all pre-saved info of the chosen Voice Mail Server. z Connect to Voice Dial the network service number and connects you to the voice mail service. Note: Press and hold to call the voice mailbox. If there is no voice mail, “No Number to dial” message pops up.](https://usermanual.wiki/Telian/FGD8800/User-Guide-597108-Page-42.png)