TriMark ERX3 EASK.CAN RF User Manual
TriMark Corporation EASK.CAN RF Users Manual
UserManual.wiki
>
TriMark
>
ERX3 User Manual
Users Manual
Navigation menu
Upload a User Manual
Namespaces
Wiki Guide
HTML
PDF
Info
Views
User Manual
Discussion / Help
Navigation
![e-ASK Electronic Access Security Keyless-entry e-ASK Keyless-entry System Installation & Instructions (UM26 ~ 24324-02) CCAANN MMuullttiipplleexx SSyysstteemm 4 6 Rev. B 9/08 2 Table of Contents Introduction .............................................................................................3 Standard e-FOB Operation and Features .............................................3 Cargo e-FOB Operation and Features ..................................................4 Non-doorbell e-PAD Operation and Features ......................................5 Locking doors with keypad ...................................................................5 Secure Operations................................................................................5 e-ASK CAN DIP Switch Configuration –...............................................6 Configuration A [SW 4 off / SW 5 off / SW 6 off]: .............................6 Configuration B [SW 4 off / SW 5 off / SW 6 on]: .............................6 Configuration C [SW 4 off / SW 5 on / SW 6 off]:.............................6 Configuration D [SW 4 off / SW 5 on / SW 6 on]: .............................7 Configuration A [SW 4 off / SW 5 off / SW 6 off]: .............................7 Configuration B [SW 4 off / SW 5 off / SW 6 on]: .............................7 Configuration C [SW 4 off / SW 5 on / SW 6 off]:.............................7 Configuration D [SW 4 off / SW 5 on / SW 6 on]: .............................7 Additional Features.................................................................................8 Dome/Porch Light Activation ................................................................8 e-PAD Anti-tamper Deactivating Feature .............................................8 e-Grab Handle Lighting.........................................................................8 Trim Pot Variable Resistors ..................................................................9 Learn Switch Connector .......................................................................9 Status LED............................................................................................9 Miscellaneous I/O Module Features .....................................................9 Door locking and unlocking ..............................................................9 Lock and Unlock Confirmation..........................................................9 Deactivate Lock Confirmation.........................................................10 Door Ajar Warning ..........................................................................10 Alarm ..............................................................................................10 Timed Dome/Porch Light Activation ...............................................11 Compartment Light Activation ........................................................11 Auxiliary 1 Output Activation...........................................................11 Teaching Additional Transmitter FOBs ..............................................12 Teaching Keypad New Authority / Access Codes .............................14 Assign New Access Codes.................................................................15 Troubleshooting ....................................................................................16 Appendix A: Connectors and Pinouts ............................................... XX](https://usermanual.wiki/TriMark/ERX3/User-Guide-1017802-Page-1.png)
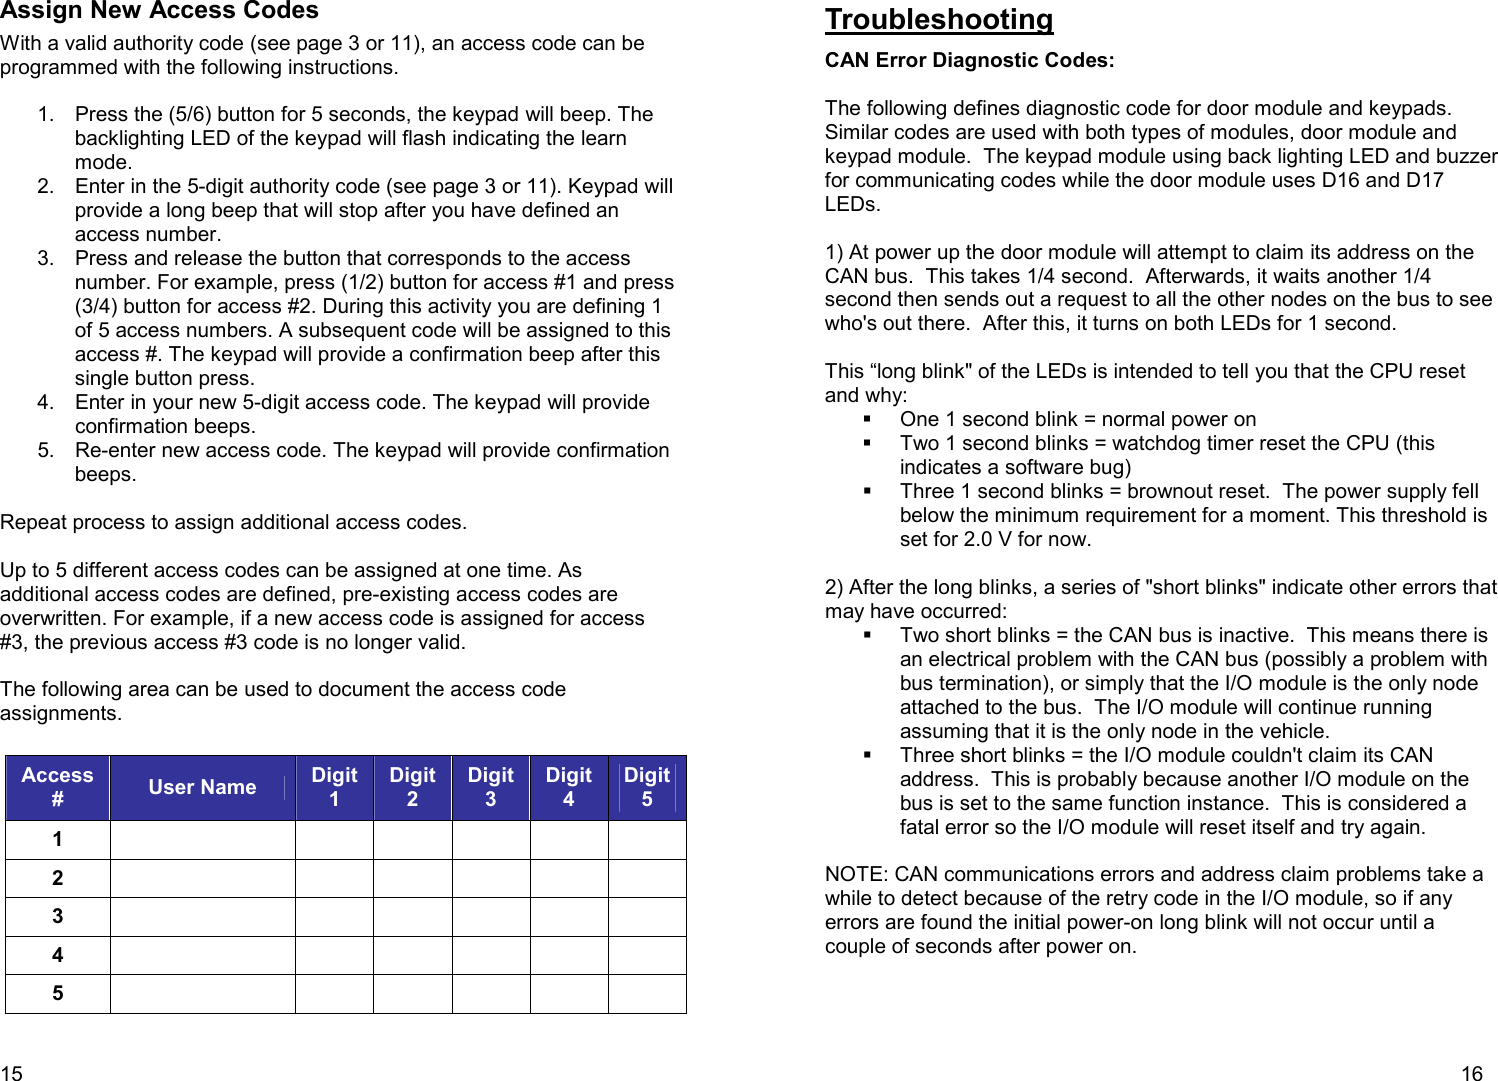
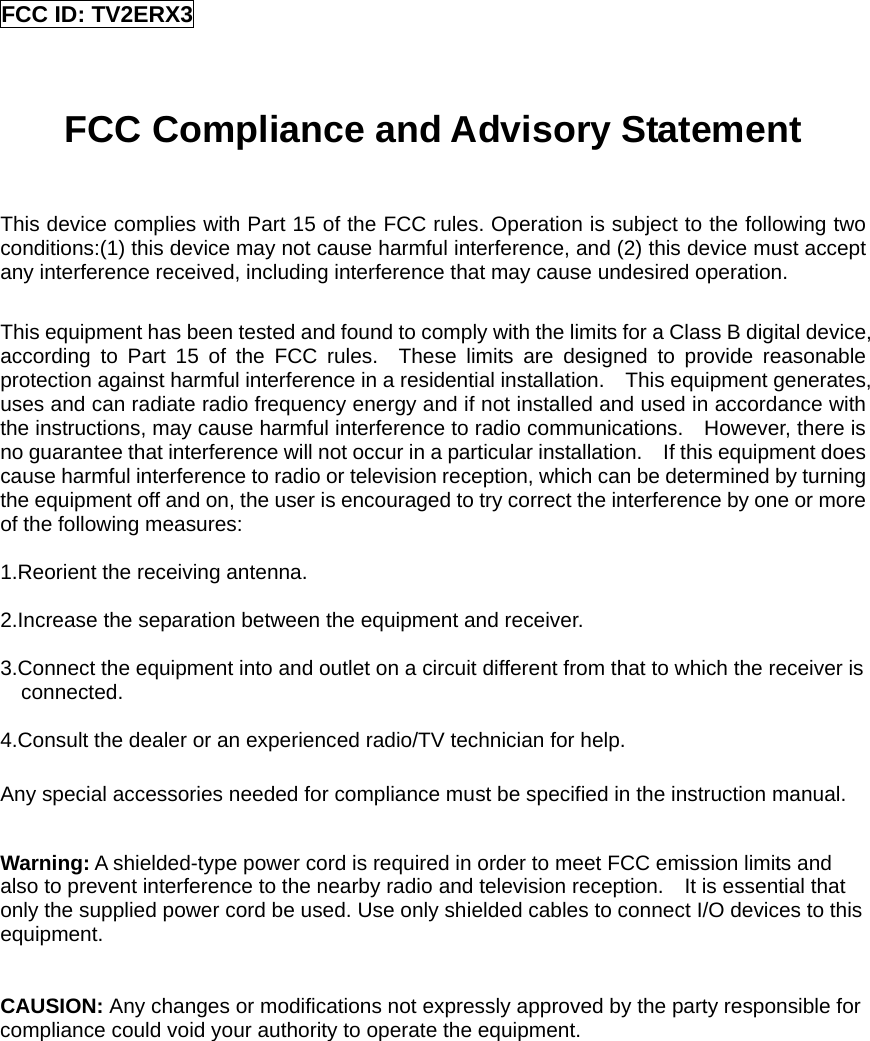
![5 Non-doorbell e-PAD Operation and Features The e-PAD is shipped with default authority and access codes. Unless the OEM or dealer has changed default codes, the authority and access codes are as follows: Access code: Digit 1 Digit 2 Digit 3 Digit 4 Digit 5 1/2 3/4 5/6 7/8 9/0 Authority code: Digit 1 Digit 2 Digit 3 Digit 4 Digit 5 7/8 7/8 7/8 7/8 7/8 Locking doors with keypad Press and hold down the (1 / 2) or (1) button for 1-2 seconds. An access code is not needed to lock the doors. Secure Operations Entering a valid 5-digit access code enables secure operations. After entering an access code, the keypad is enabled for 5 seconds and a sixth button press initiates a secure operation, such as unlocking the doors. Notes: • The authority code does not allow for secure operations. It is only used to assign access codes (see page 14 for information on setting access codes). • If an unassigned button or no button is pressed while the system is enabled, the keypad reverts back to disabled state. • The secure keypad operations are set depending on the system configuration. 6 e-ASK CAN DIP Switch Configuration – • DIP switches 1-3: The settings of DIP switches 1-3 define CAN address of the IO RF receiver module. The setting a unique address is required if multiple modules are used on CAN network. If only 1 module is used on network then all DIP switches should be set to default ON position. • DIP Switch 1: On • DIP Switch 2: On • DIP Switch 3: On • DIP switches 4-6: The setting of DIP switches 4-6 define configuration of the IO RF receiver module. Different configurations of provide different functionality for keypad and interior switches. Most customers use default configuration D setting. See configuration setting definitions below. • Keypad Dip Switch Setting Configurations: The following operations are dependent on system configuration. Entering a 5-digit access code enables the keypad. After entering the access code, one must press a 6th digit to unlock specific doors or perform an operation according to the following listing. Configuration A [SW 4 off / SW 5 off / SW 6 off]: • Button (1/2): unassigned • Button (3/4): unlocks all entry and compartment doors • Button (5/6): unassigned • Button (7/8): toggles Aux 1 output • Button (9/0): activates zone 6 unidirectional actuation Configuration B [SW 4 off / SW 5 off / SW 6 on]: • Button (1/2): Unlocks all entry door(s) • Button (3/4): Unlocks all entry and compartment doors • Button (5/6): Unassigned • Button (7/8): toggles Aux 1 output • Button (9/0): activates zone 6 unidirectional actuation Configuration C [SW 4 off / SW 5 on / SW 6 off]: • Button (1/2): Unlocks all entry doors • Button (3/4): Unlocks all doors assigned to relay bank A • Button (5/6): Unlocks all doors assigned to relay bank B • Button (7/8): Unlocks all doors assigned to relay bank C • Button (9/0): Unlocks all doors assigned to relay bank D](https://usermanual.wiki/TriMark/ERX3/User-Guide-1017802-Page-3.png)
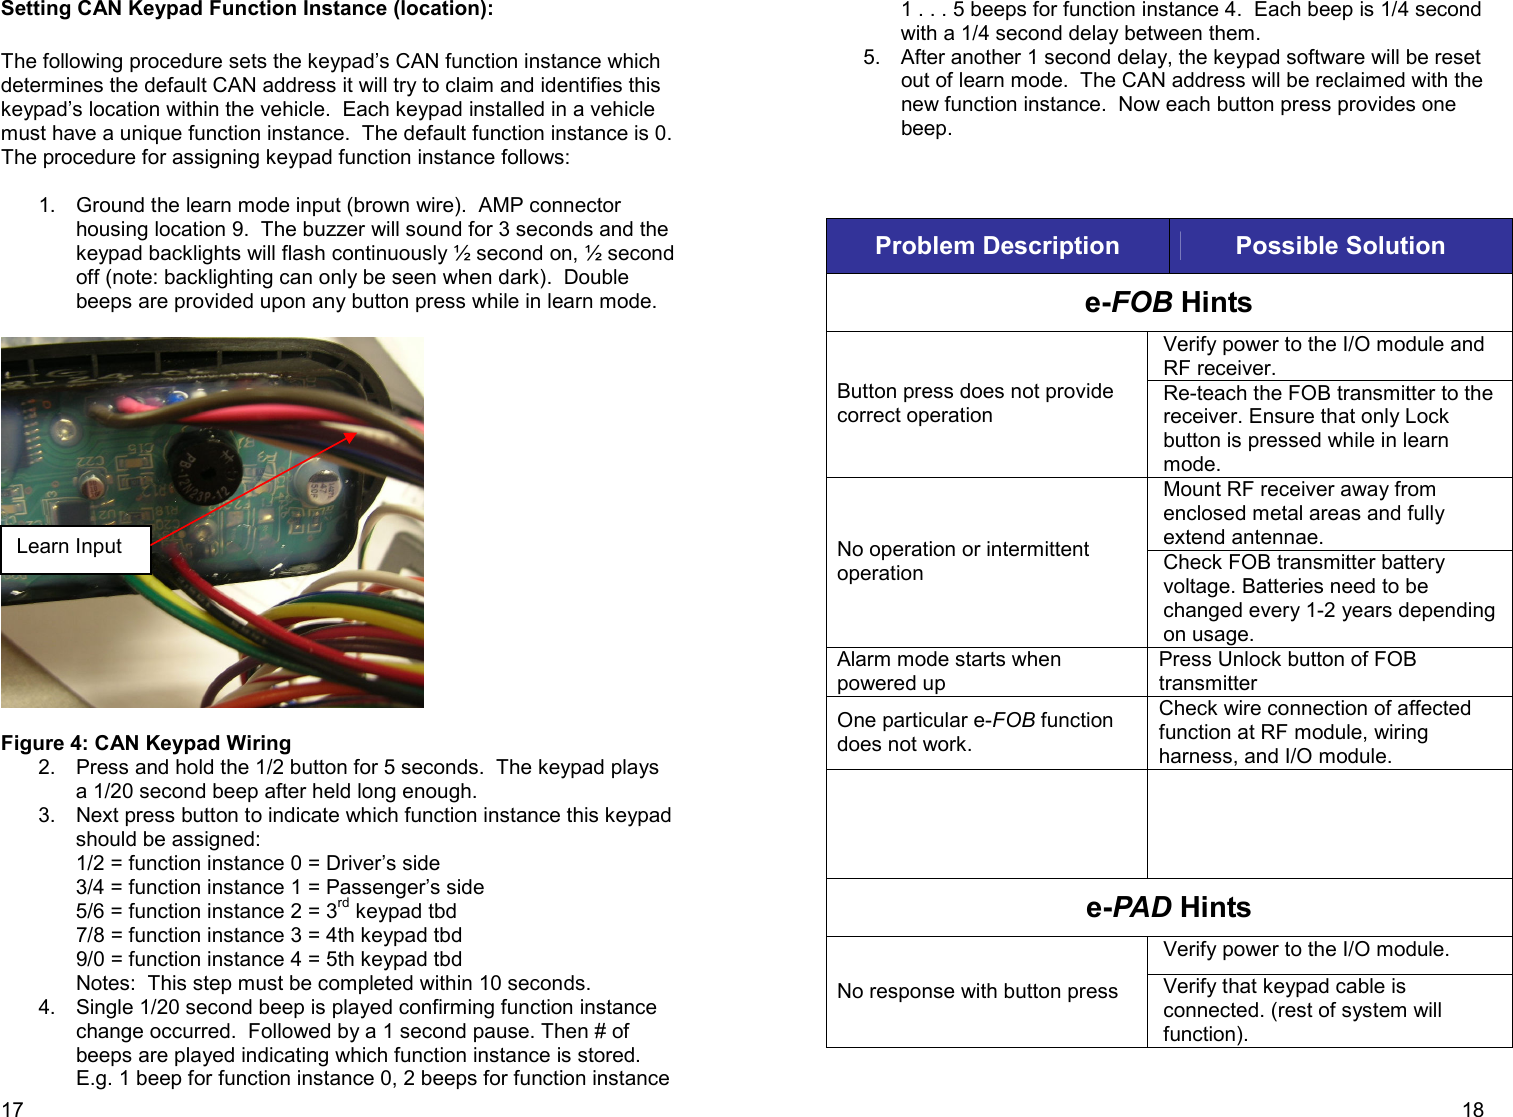
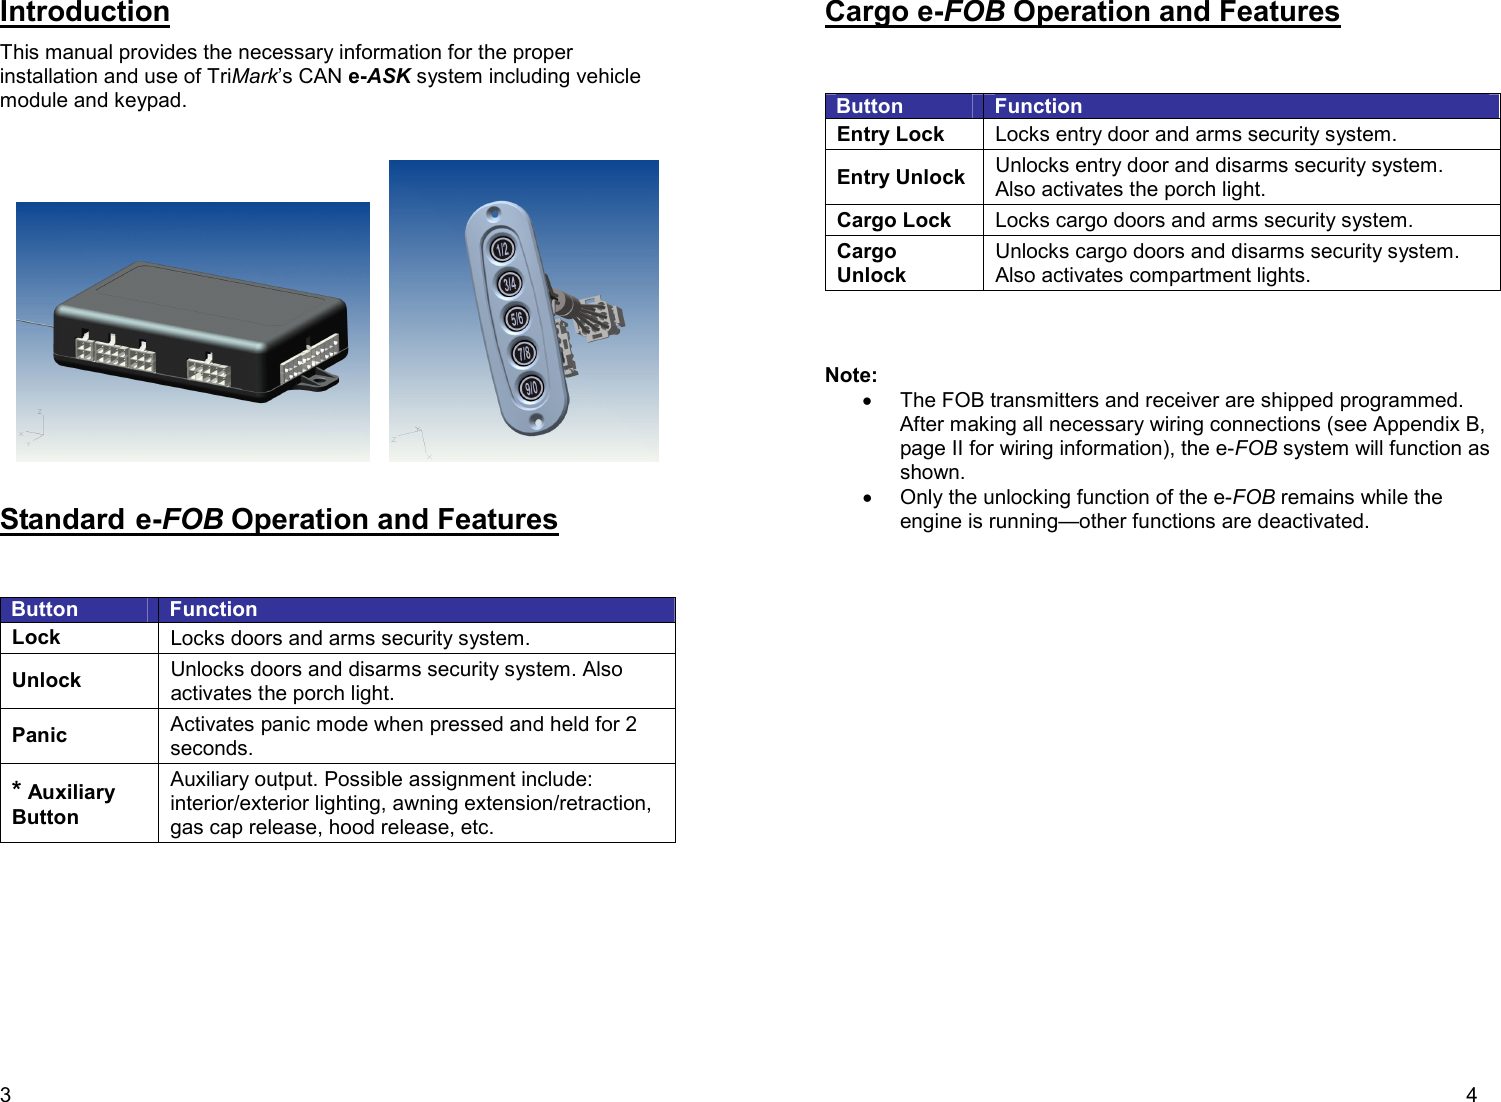
![7 Configuration D [SW 4 off / SW 5 on / SW 6 on]: • Button (1/2): Unlocks all entry doors • Button (3/4): Unlocks all entry and compartment doors • Button (5/6): Unlocks all curb side compartment doors (relay banks C-D) • Button (7/8): Unlocks all driver side compartment doors (relay banks A-B) • Button (9/0): Toggles Aux 1 output • Interior Switch Dip Switch Setting Configurations: The following vehicle switch assignments of connector J1 and 3 define functional assignment of interior switches. When the switch input is grounded, its corresponding function is specified. Configuration A [SW 4 off / SW 5 off / SW 6 off]: 1) J3 pin 4: Locks all doors 2) J3 pin 3: Unlocks all doors 3) J1 pin 1: Unassigned 4) J1 pin 2: Unassigned 5) J3 pin 5: Unassigned 6) J3 pin 2: Unassigned Configuration B [SW 4 off / SW 5 off / SW 6 on]: 1) J3 pin 4: Locks all doors 2) J3 pin 3: Unlocks all doors 3) J1 pin 1: Locks all compartment doors (banks A-D, not entry door relays) 4) J1 pin 2: Unlocks all compartment doors (banks A-D, not entry door relays) 5) J3 pin 5: Locks entry door(s) 6) J3 pin 2: Unlocks entry door(s) Configuration C [SW 4 off / SW 5 on / SW 6 off]: 1) J3 pin 4: Locks all doors 2) J3 pin 3: Unlocks entry door(s) 3) J1 pin 1: Unlocks bank A compartment(s) 4) J1 pin 2: Unlocks bank B compartment(s) 5) J3 pin 5: Unlocks bank C compartment(s) 6) J3 pin 2: Unlocks bank D compartment(s) Configuration D [SW 4 off / SW 5 on / SW 6 on]: 1) J3 pin 4: Locks all doors 2) J3 pin 3: Unlocks all doors 8 3) J1 pin 1: Unlocks curb-side compartment doors (banks C-D) 4) J1 pin 2: Unlocks driver-side compartment doors (banks A-B) 5) J3 pin 5: Locks entry door(s) 6) J3 pin 2: Unlocks entry door(s) Notes: • See the table on page 8 for S2 DIP switch assignments. • Configuration D is the default. • DIP switch 7: The setting of DIP switch 7 defines the type of remote fob transmitter, either standard fob or cargo fob. • Off: Standard fob • On: Cargo fob • DIP switch 8: The setting of DIP switch 8 defines the type of CAN protocol, either RV-C or SAE J1939. • Off: RV-C • On: SAE J1939 Additional Features Dome/Porch Light Activation The dome/porch light is activated for a timed duration (5-60 seconds) whenever a keypad button is pressed or when system is unlocked from FOB transmitter or vehicle switch. The time duration is dependent on the trim pot setting. The dome/porch light is deactivated with starting the engine or locking the entry doors. e-PAD Anti-tamper Deactivating Feature After repeated attempts to enter incorrect codes (20 button presses without enabling), the keypad enters an inactive mode that disables button for 1 minute. This helps prevent undesired access by entering random codes. No beep will sound with button press while the system is disabled. e-Grab Handle Lighting The grab handle is lit continuously. The e-PAD back lighting is lit with a button press and while training new access and authority codes.](https://usermanual.wiki/TriMark/ERX3/User-Guide-1017802-Page-4.png)